Overview
Each site can have its own instance in the HqO application. Please note, to add a new building/site in XM Admin, a user must have “Manager” roles.
.png?cb=b669ef4648bce494fbdfa86efa5f3f7d)
How Does it Work?
Mobile Experience
-
A user can have access to multiple buildings in our mobile experience
-
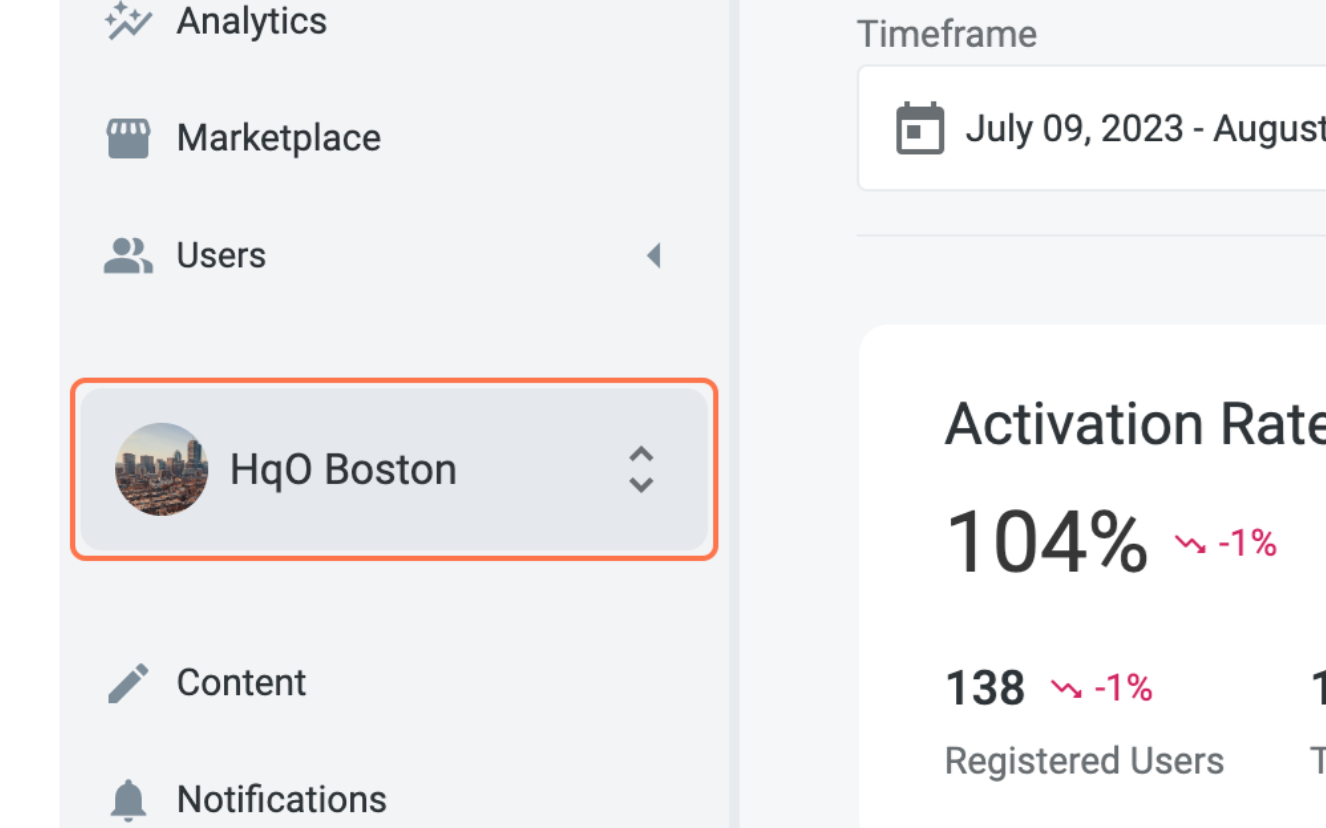
If a user has multiple buildings attached to their profile, they have the ability to toggle between them in the left sidebar
XM Admin Experience
-
Admins can select which buildings they are viewing in Admin through the building picker
-
Admins can manage, edit, and create the buildings under their portfolio
Managing/Adding Sites (Buildings)
View Sites in XM Admin
Step 1: Navigate to the building picker in the left navigator
Step 2: Select the site you would like to view/manage
View Portfolios in XM Admin
Step 1: Navigate to the building picker in the bottom left corner
Step 2: Select “Manage All”
Step 3: View the portfolio and the assets/sites within it

Adding a New Site in XM Admin
Please note: This functionality is not currently available for all users in XM Admin. If you would like to create a site, please contact your HqO Customer Success Manager or Implementation Manager.
Step 1: Navigate to the building picker in the left navigator
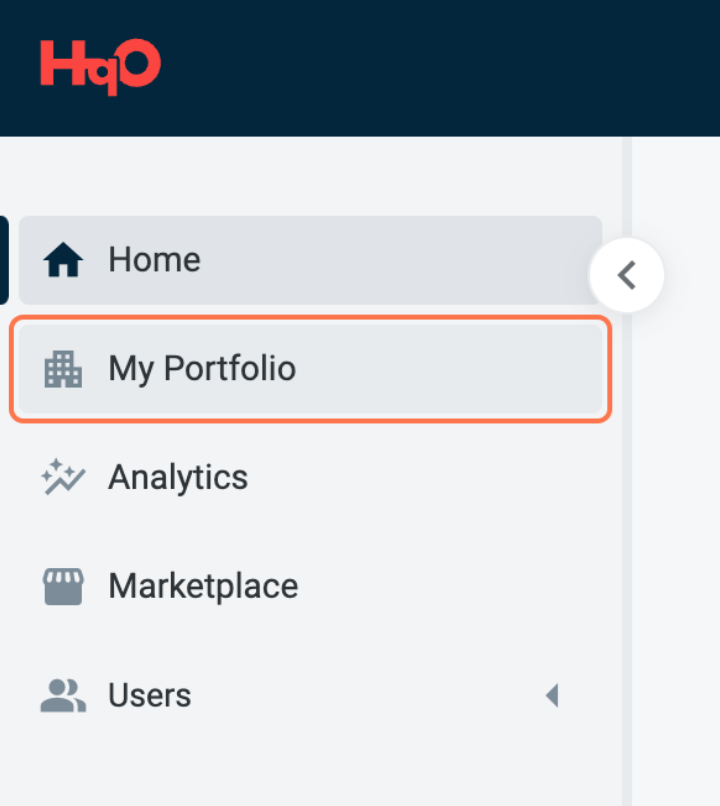
Step 2: Select “My Portfolio” in the left navigator
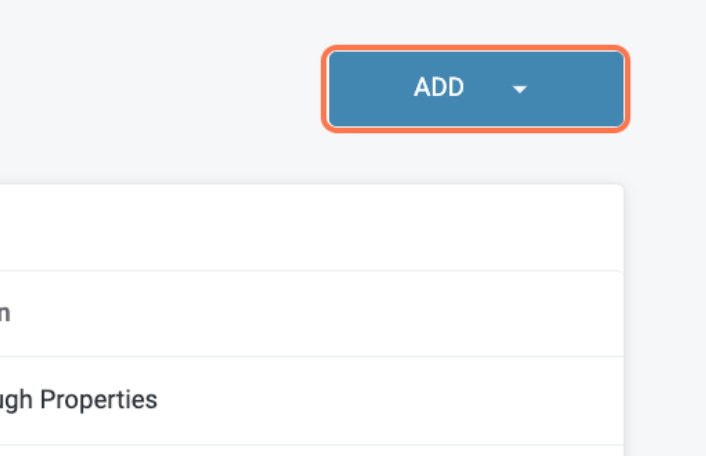
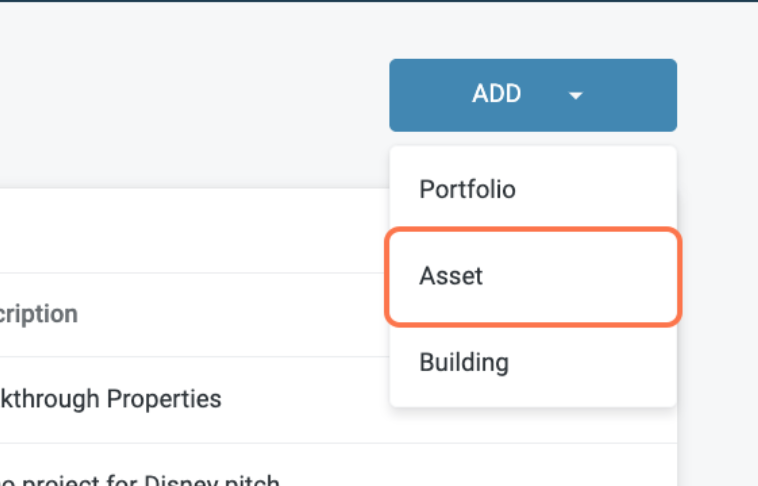
Step 3: Select “Add” in the top right corner
Step 4: Select “Asset” or “Building” (some options may be hidden depending on the admin’s user role)
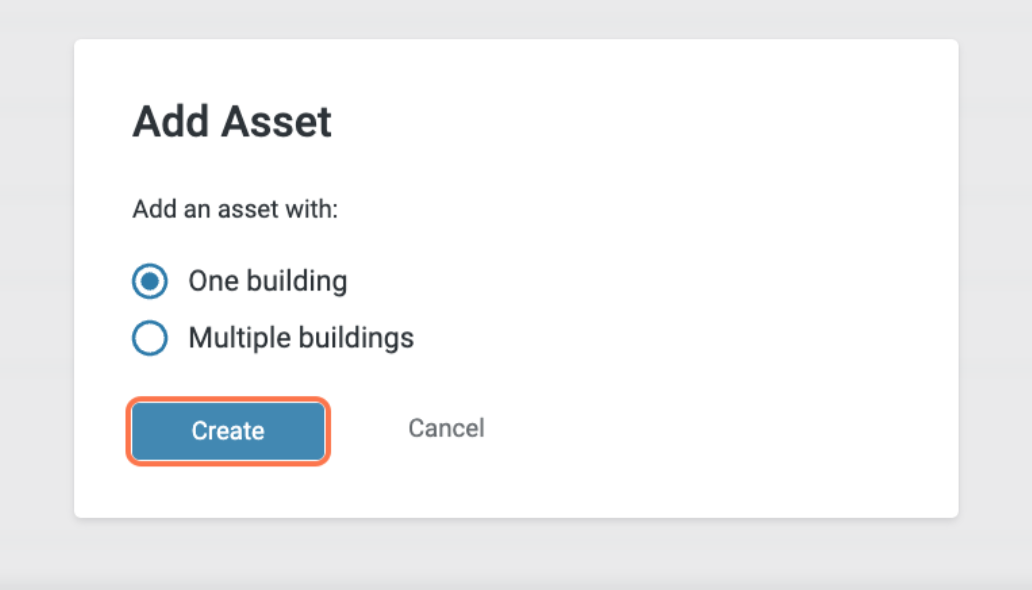
Step 5: If “Asset” was selected, specify if there are one, or multiple buildings within the asset. Then select “Create.”
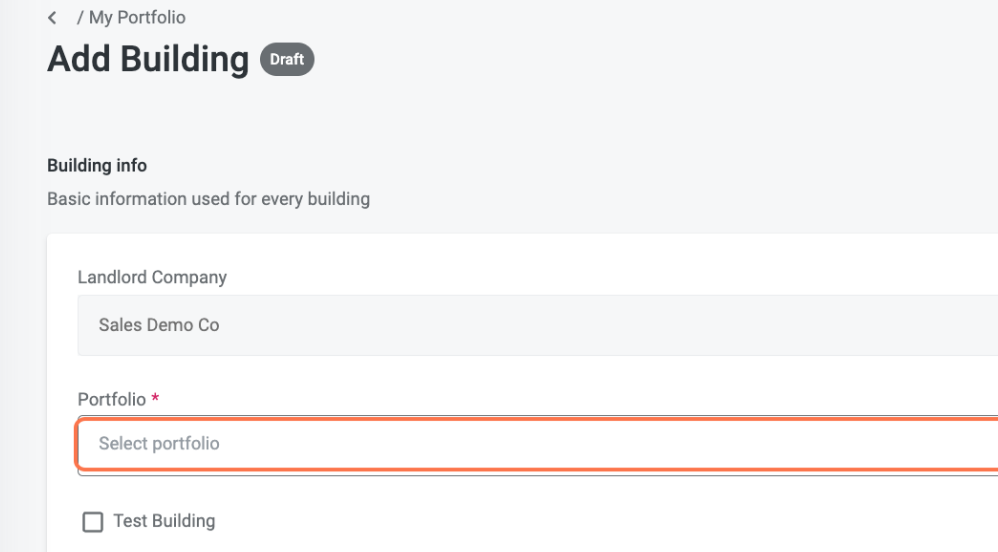
Step 6: Select which portfolio the site will love under
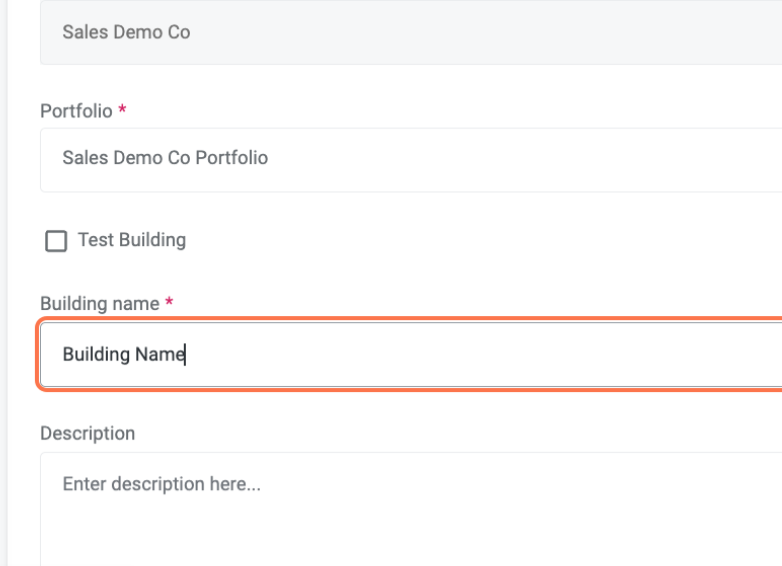
Step 7: Type in the site’s name
The “Description” field is optional.
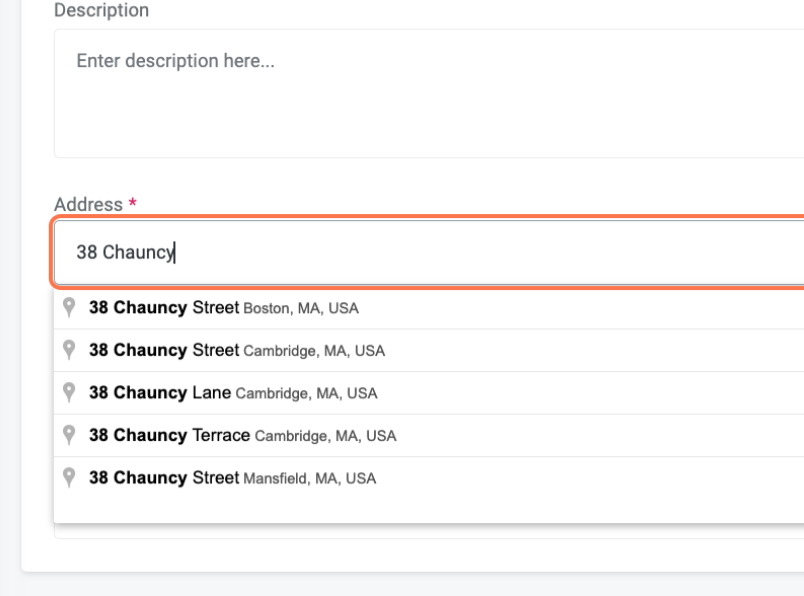
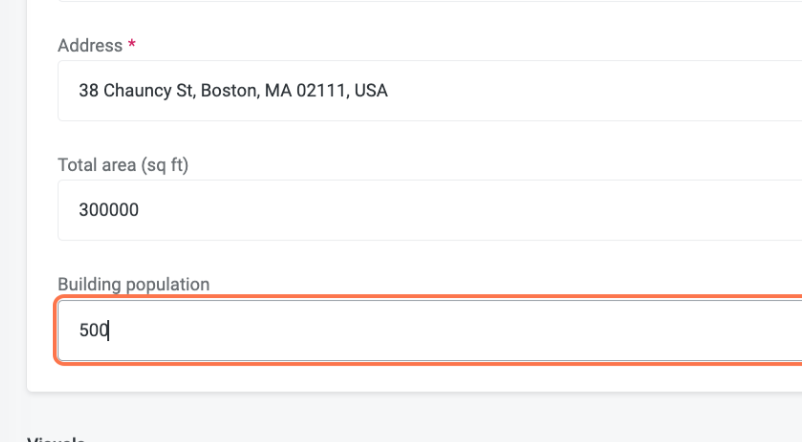
Step 8: Type in the site’s address
Step 9: Type in the site’s building population and square footage.
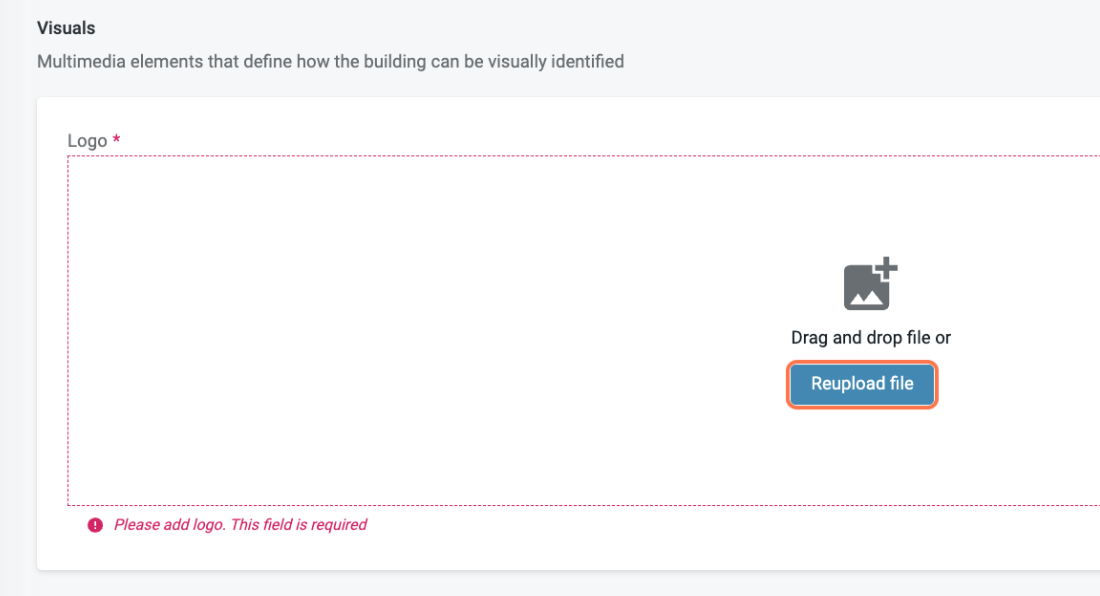
Step 10: Upload an image of the site. This image will appear only in the building picker circle.
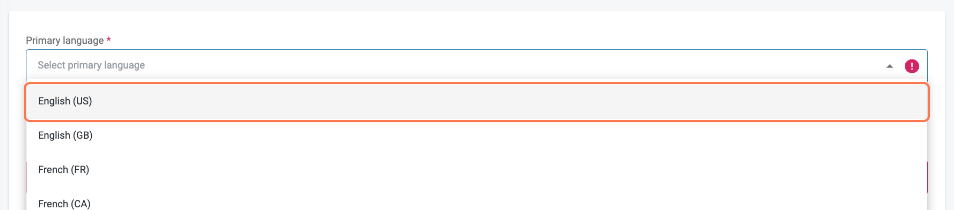
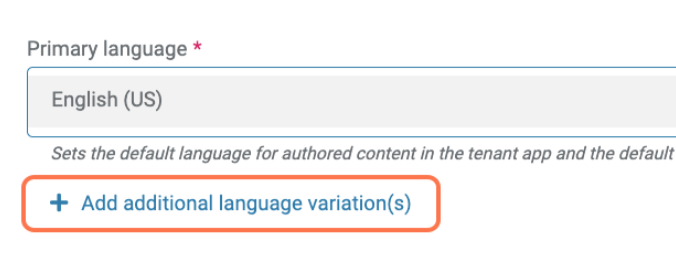
Step 11: Select the building’s language. if there are multiple languages, select “Add additional language variations” to add more.
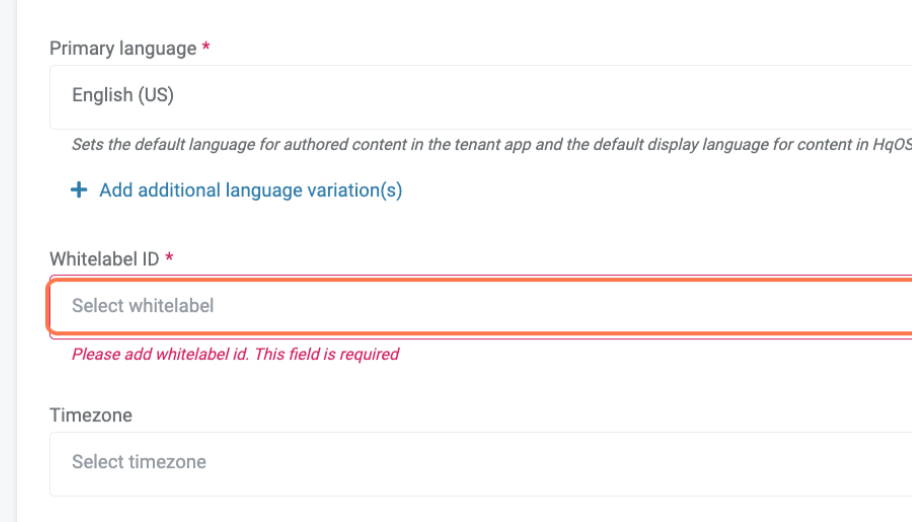
Step 12: Select which whitelabel app the site will be attached to.
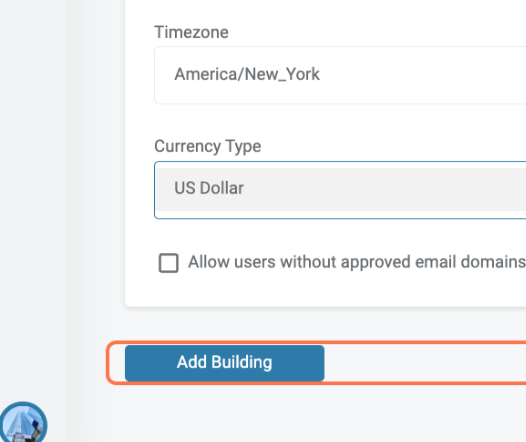
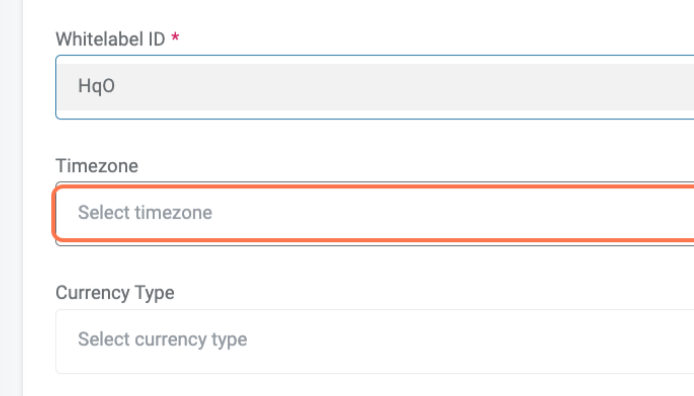
Step 13: Select the site’s timezone.
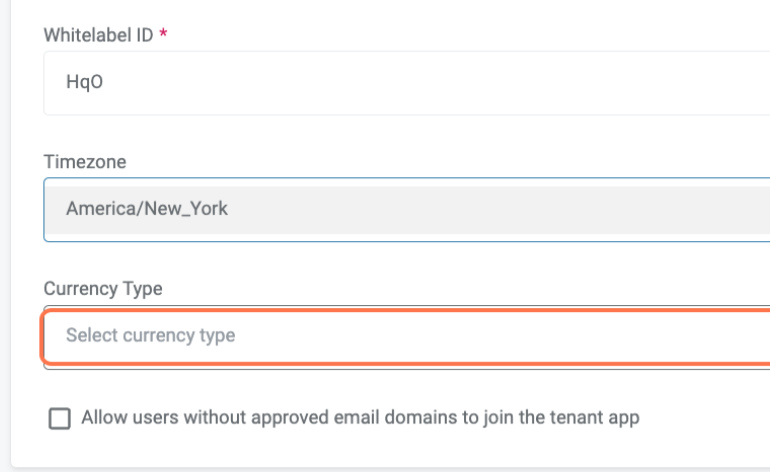
Step 14: Select the site’s currency type.
Step 15: Select “Add Building.”