Surveys & Feedback Overview
Understand your users more than ever before by creating short custom surveys. Whether you are looking for user input about events, amenities, or other workplace needs, our Survey Builder will allow you to collect user feedback. Feedback will give you insights in real-time, so you can maximize your workplace investments and better understand how your employees feel about your workplace.
With this functionality, you can create a survey multiple choice and/or open feedback questions, publish that survey to the app with the option to target audiences, and view the responses within HqO Administration.
Mobile App Experience
-
Survey will be linked to a Call to Action button in a Content Tile
-
User can submit responses to the survey
Admin Experience
-
Select “create” from the surveys screen
-
Create custom survey with multiple choice and/or open feedback questions
-
Publish survey via content
-
View responses in HqO Admin
Configuring Surveys
Best Practices
-
Limit the survey length to 5 questions maximum in order to make feedback gathering simple and intuitive for users.
-
To gather quantitative data, it is recommended to use multiple choice questions. To gather qualitative data, it is recommended to use open questions.
-
You will be able to select either “Multiple choice” or “Open question” when creating the survey in HqO Administration
-
Steps to Create Surveys
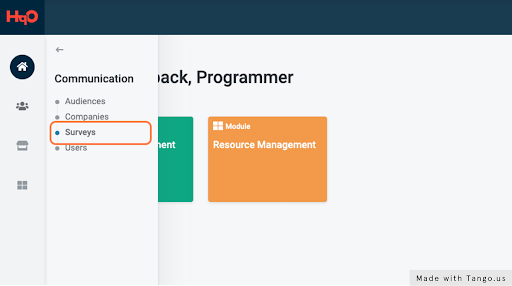
Step 1: To start creating Surveys navigate to the Communication tab and select “Surveys”.
Step 2: Click the “+ Create” button, which will guide you to the “Create survey” form.

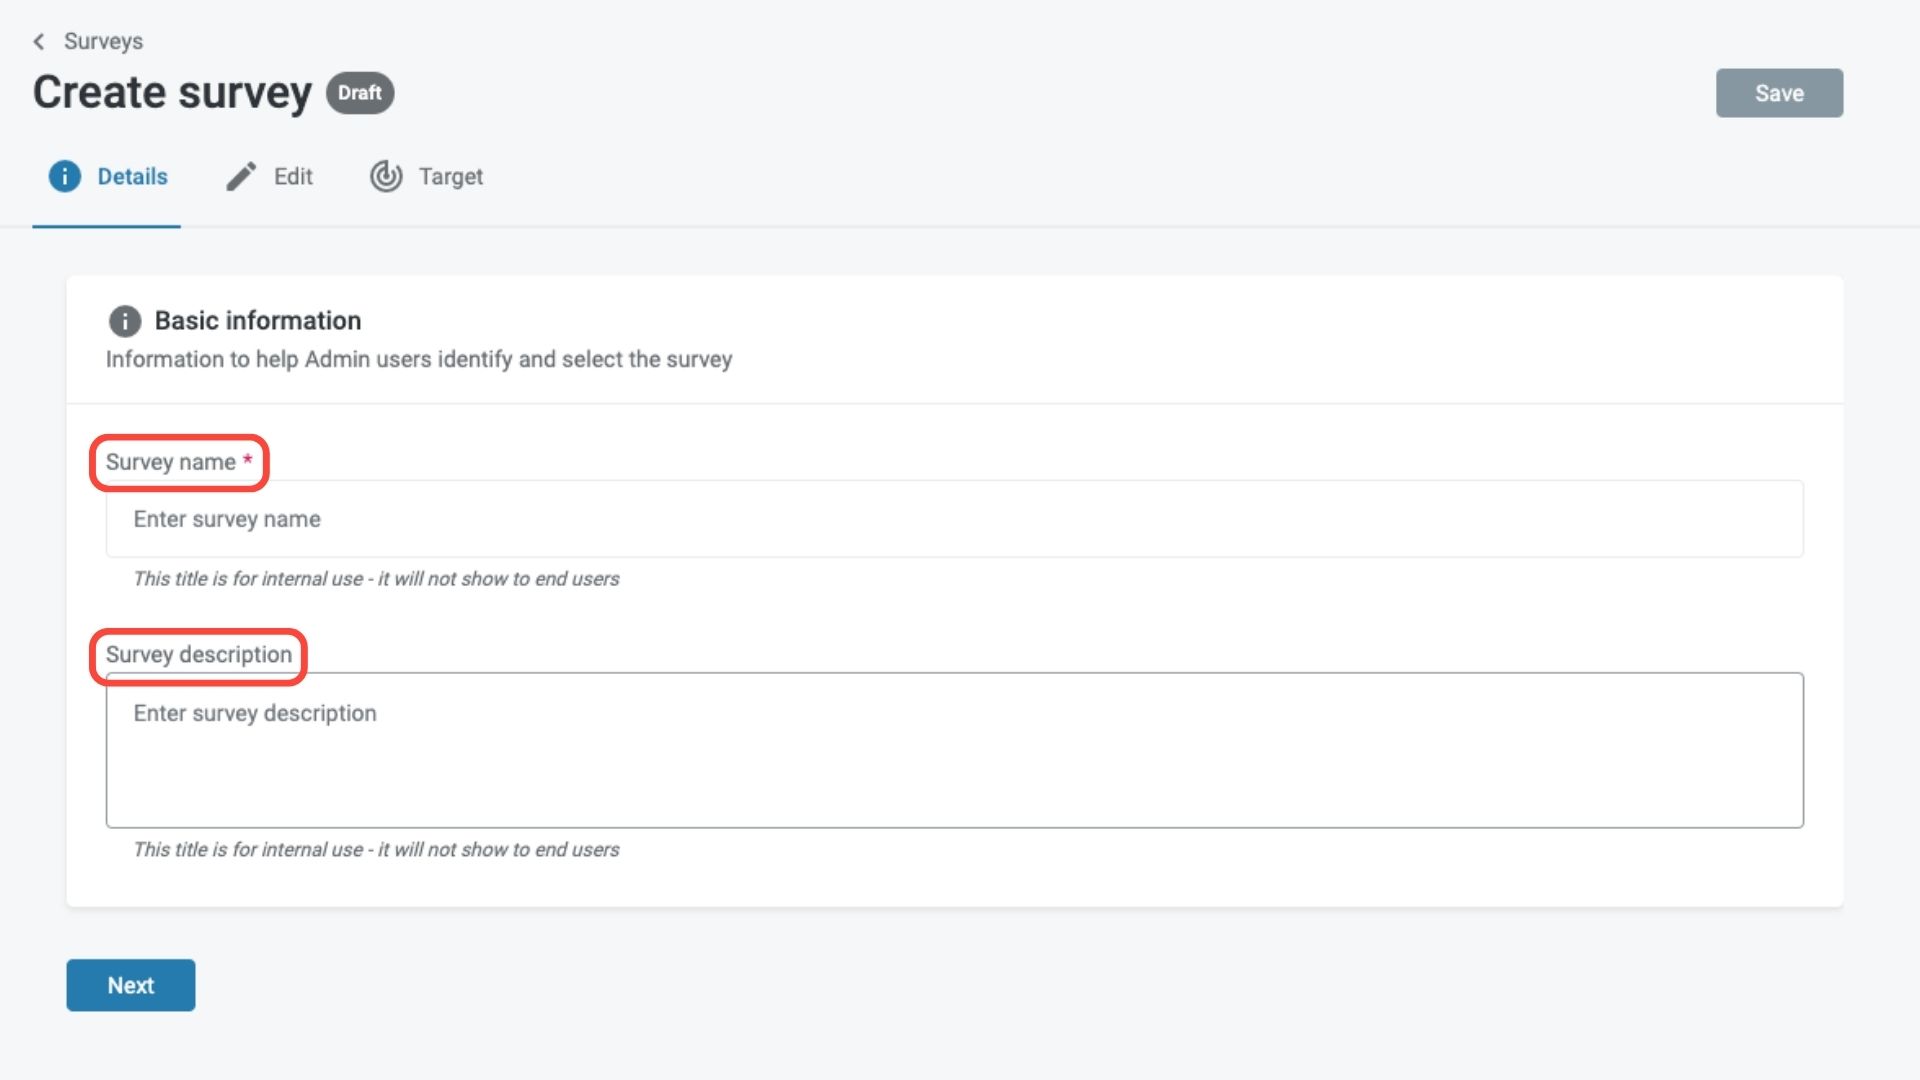
Step 3: Enter the Basic Information.
-
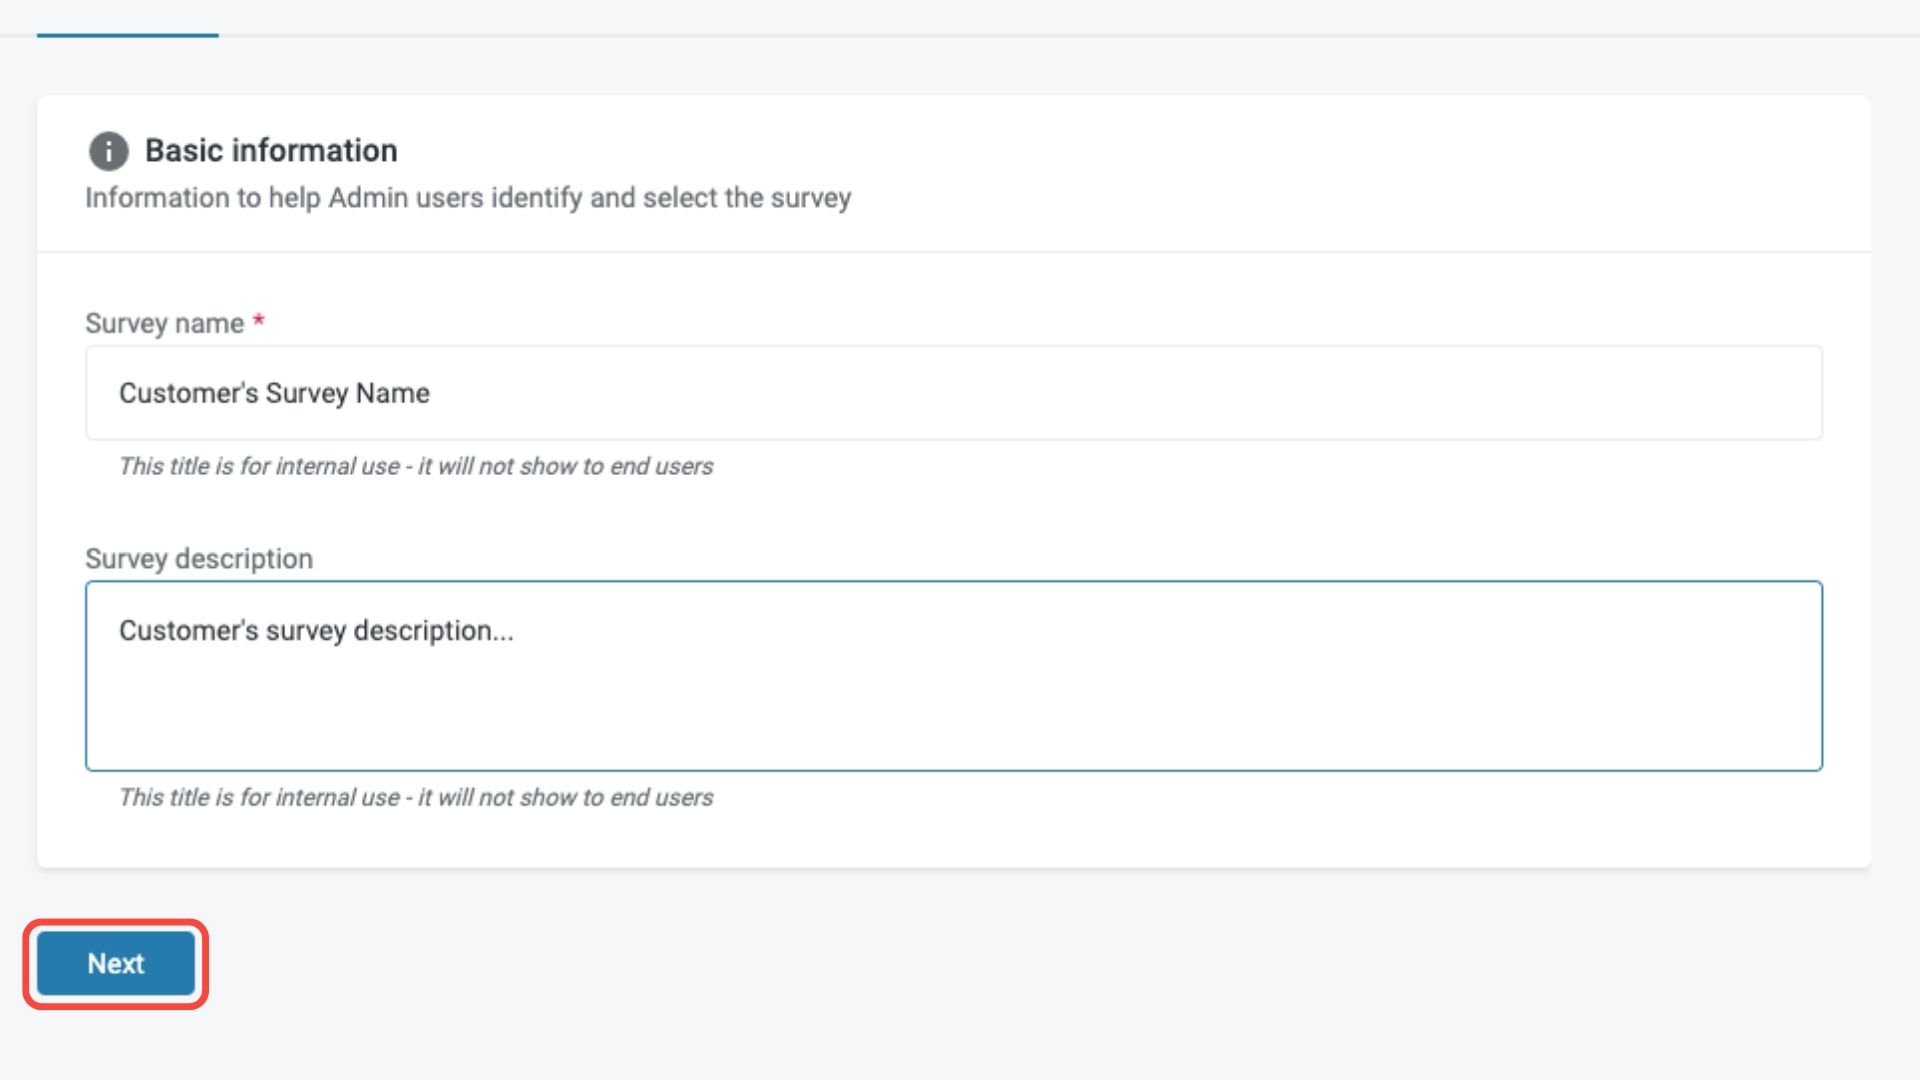
Fill out the “Survey name”. This title is for your internal use to manage surveys and will not show to end users
-
Fill out the “Survey description”. This description is for your internal use to manage surveys and will not show to end users
Step 4: Click the “Next” button to begin creating survey
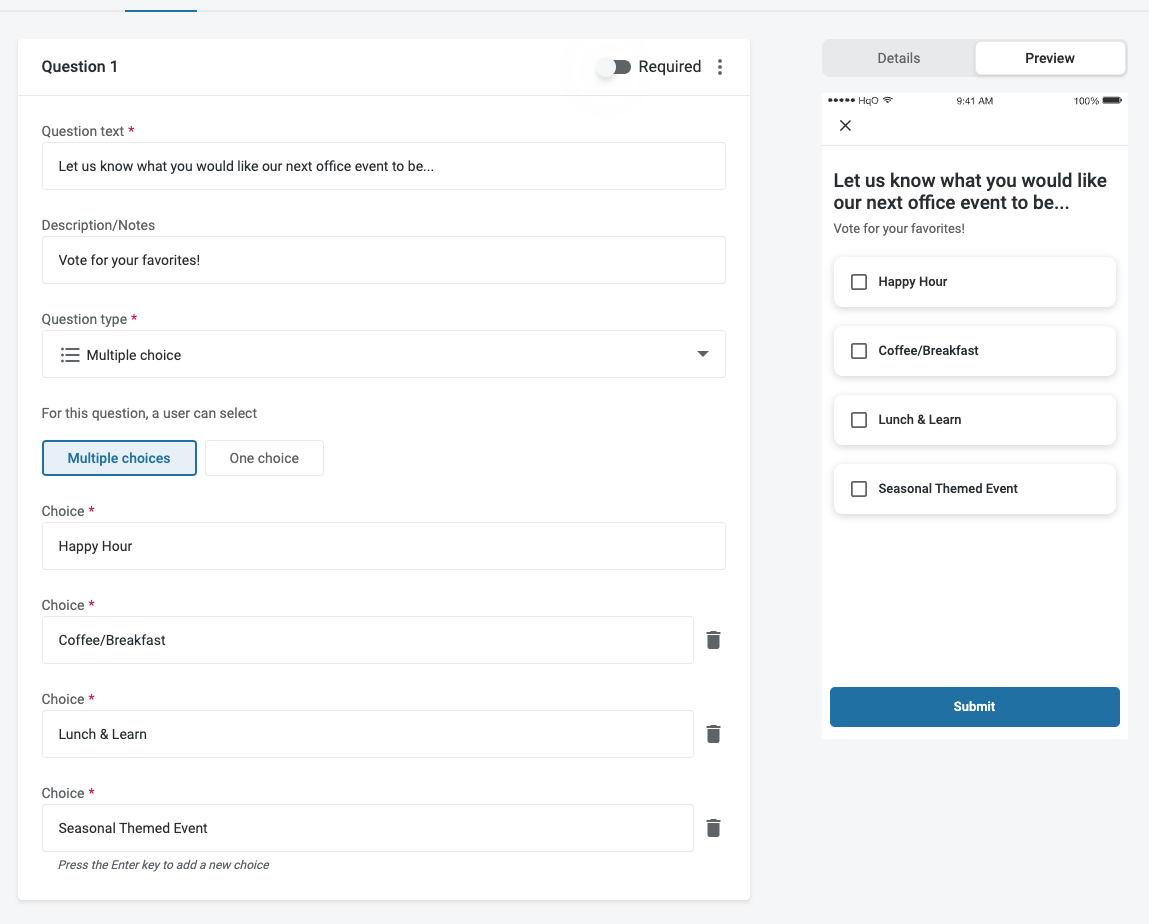
Step 4: Enter the question you want to ask in the “Question text” field. Enter a description (optional) in the “Description/Notes” field to prompt the user or to provide more question details.
.jpg?cb=007f43c76eaa90d398b00d8e481f3464)
Step 5: Select a “Question type”: either Multiple choice or Open question.
-
Multiple choice - This allows respondents to select one or more choices from a list. If you want users to be able to select multiple answers, choose “Multiple choices”. If you want users to be limited to one answer, choose “One choice”.
-
Enter text in the “Choice” field to add an option. Tap the Enter key to add a new choice. You can add an unlimited amount of choices, but it is recommended to share 5 or less options.
-
-
Open question - This allows respondents to type their answer or give a “free response” answer.
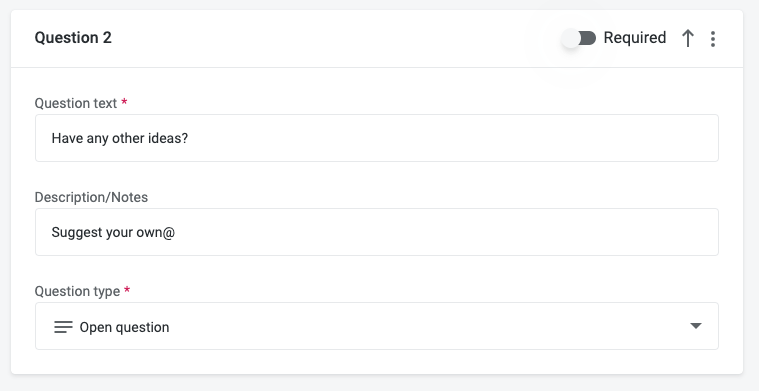
Step 6: Continue creating and editing your survey so that it fits your needs. Some examples of how you can edit the survey include:
-
Making a question required
.jpg?cb=5b317f9de3f48f171232a9626f126aac)
-
Re-ordering questions
.jpg?cb=1760b43b163013fb015b57606e6be09c)
-
Duplicating questions
.jpg?cb=1f74654dc9933182e45ac9750a291ddc)
-
Deleting questions
.jpg?cb=72a6379e028b93a643e537e417ac5b1e)
Step 7: Click “Target” to choose the delivery method.
-
If the content tile you are promoting the survey through is already created, then search for the content by name and select it from the dropdown options. Click “Save” to finish creating the survey.
Please note that a CTA (“Call to Action”) button will be created on the piece of content with the survey attached.
.jpg?cb=62b88d89a5188ba6c5f1d9d0257b71cd)
-
If the survey you are promoting is created before a tile is made, click “Save”. Then, create a piece of content to promote it utilizing the below steps.
-
Head to Content Creator to create a tile. If you need guidance on how to do so, please check out this page.
-
Under “Additional modules”, check “CTA Button”. This will add a rectangular button to the bottom of your content tile, which we will later link to the survey.
.jpg?cb=10c3d734407b4a4ea0f3c3013df816d5)
-
-
Once the “CTA Button” box is checked, additional fields will appear at the bottom of the content creation page. Enter the “CTA button text” add text to the button, and then select “View a link”.
.jpg?cb=e6ca1a612738eb66a1c9e99636517c44)
-
Select “Screen in this app”. Click on the drop down menu and select “Surveys”.
.jpg?cb=8d8f8f5a3883d386f14497f330f1d7ff)
-
In the “Surveys” field that has now appeared, begin typing your survey’s name, and then select it once it appears.
.jpg?cb=db97e8afe26797acb7f24fcc66dbc18f)
-
Finish creating the content tile as usual
When choosing a Metadata Category on the Edit page of content creator, select “Feedback”.
Steps to Manage Surveys
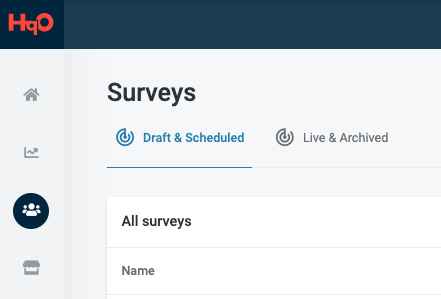
Step 1: To start managing Surveys navigate to the Communication tab and select “Surveys”. Surveys are available to Admin users with the role Programmer.
Step 2: Once you are on the Surveys page, you will see two tabs: “Draft & Scheduled” and “Live & Archived”. Under each tab, you will be able to view the status of the survey.
.jpg?cb=3ce54b84b57657652a464fedc42f7c4c)
Survey Status Key
-
“Draft”
-
If a survey is saved but not linked to a piece of content, then the survey status is “Draft”. This can still be edited or deleted.
-
-
“Scheduled”
-
If survey is linked to a piece of content that is scheduled, then the survey status is “Scheduled”. This can still be edited or deleted. If the survey is deleted, then the content tile will not impacted.
-
-
“Live & Archived”
-
If survey is attached to a piece of content and the content is live, then the survey status is “Live”. If survey is attached to a piece of content and the content is archived, then the survey status is “Archived”. A “Live” or “Archived” survey cannot be edited or deleted.
-
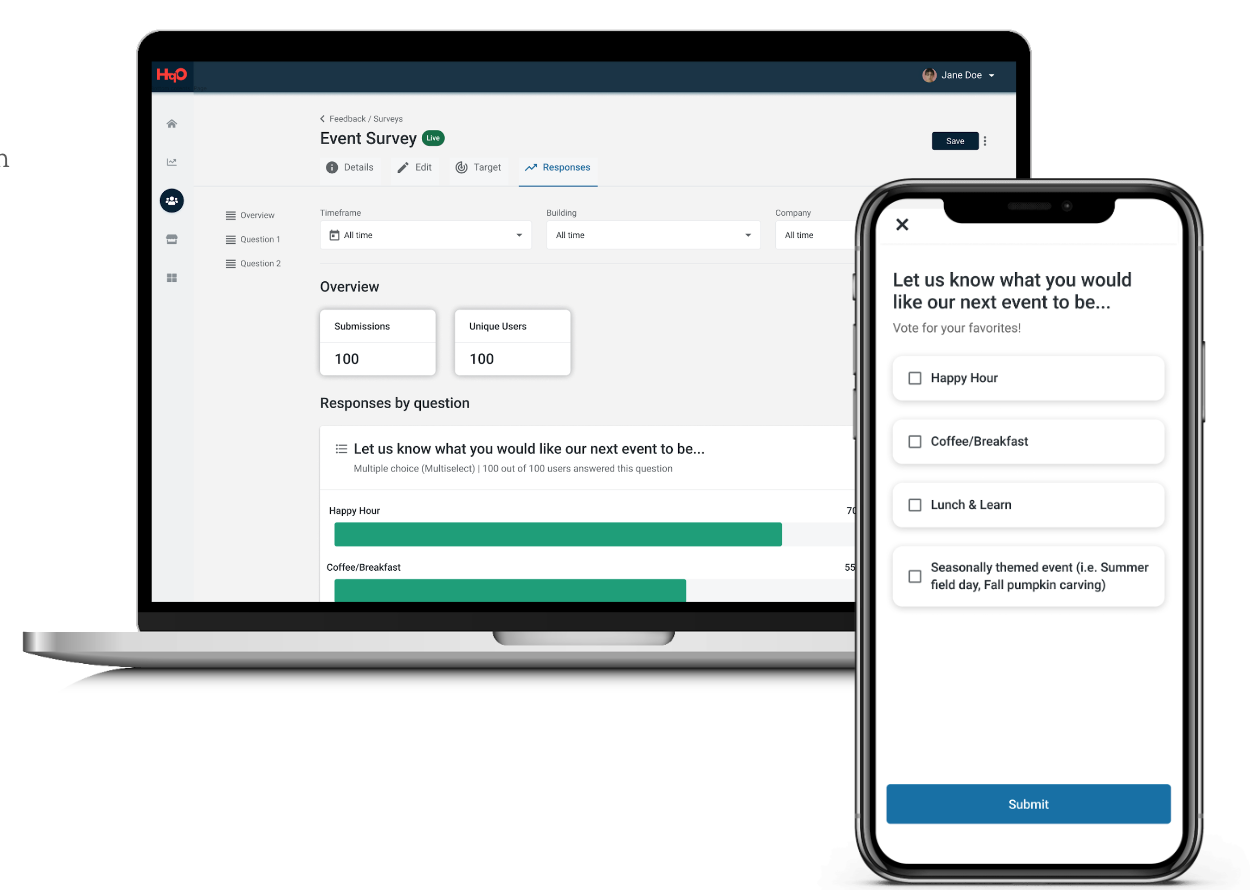
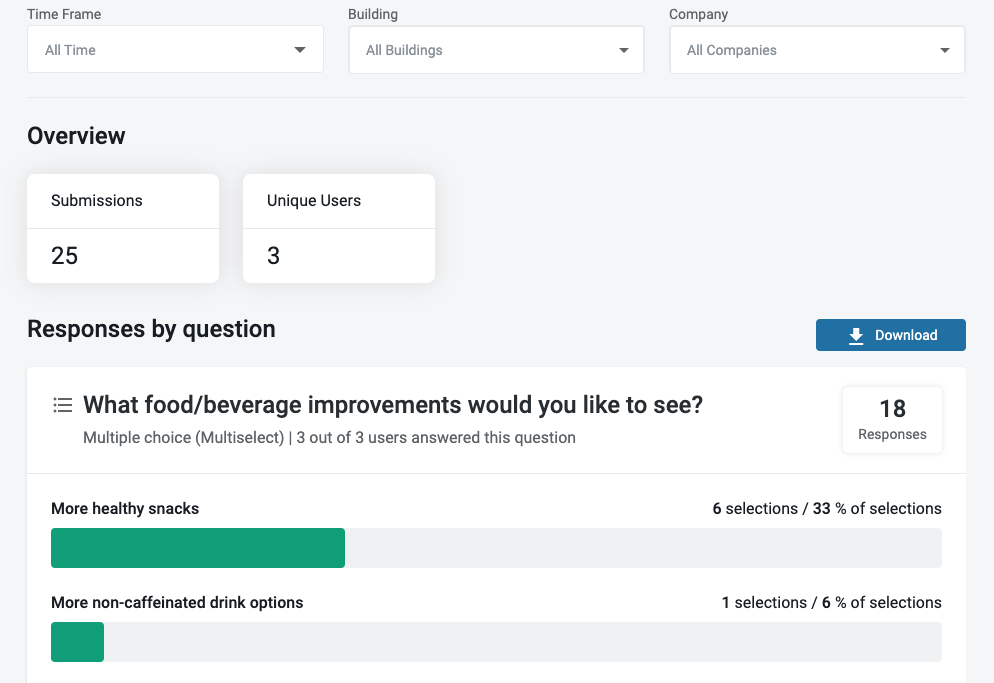
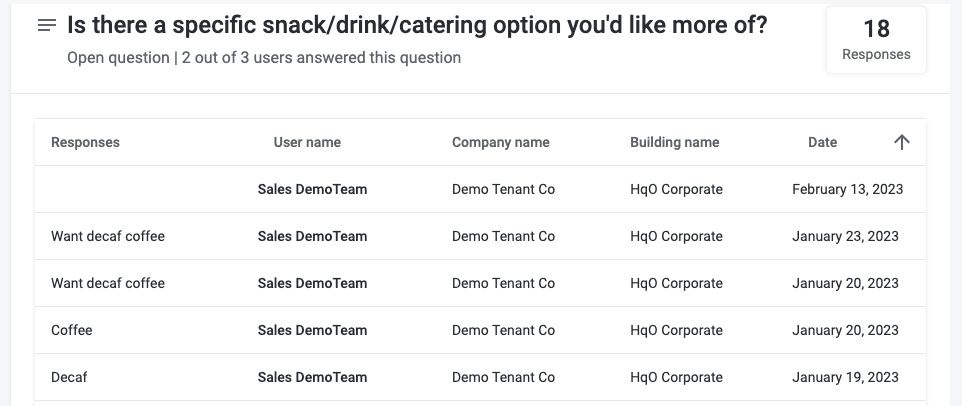
Steps to View Survey Results
-
Log into HqO Admin and navigate to Surveys under the communication tab
-
Navigate to the Live & Archived tab
-
Search for the survey name
-
Navigate to the Responses tab
-
Optional: Filter by Date, Building and/or Company
Frequently Asked Questions
Can a user submit multiple responses to the same survey?
Yes, currently there is no limit to the number of responses a user can submit to a published survey.
Can I customize the audience that can see the survey?
Yes, the survey will have the same audience as the content tile it is linked to. Audiences can be user, company or building based.