Bulk Visitor Registration
Overview
The Bulk Visitor Registration feature streamlines and expands the existing visitor registration process by allowing users to add multiple visitors—each with their own host, arrival date, and time—all within a single session. Instead of submitting the form repeatedly for each individual, users can build a list of visitors directly on the form, review or edit details as needed, and then submit everything as a group. This makes it significantly easier to manage complex scenarios such as conferences, large events, or staggered visitor schedules, offering a smoother, more efficient workflow for coordinating multiple arrivals across different hosts and times.
Key Benefits
-
Flexible Host, Date, and Time Selection: Allows users to assign each visitor a unique host, arrival date, and time within the same form, accommodating varied visit schedules.
-
Live Visitor List: Enables users to add and view all visitor entries within a session before submitting, supporting multiple visitors across different hosts and times in one organized list.
-
Enhanced Registration Process: Reduces the need to reload or re-enter form details for each new visitor, allowing for multiple entries in a single submission.
-
Simplified Event Coordination: Perfect for scenarios requiring complex visitor scheduling, like large events or staggered meetings, where multiple visitors and hosts are involved.
How to get started
-
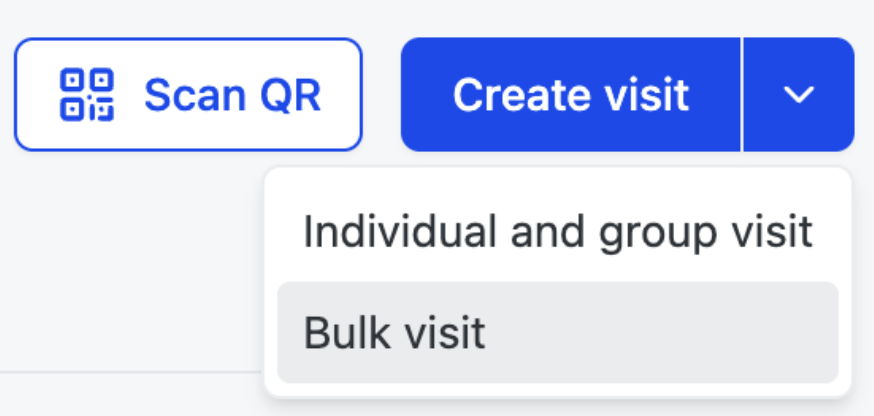
In the Visitor Management dashboard, select the dropdown menu for Create visit, and select “Bulk visit”
-
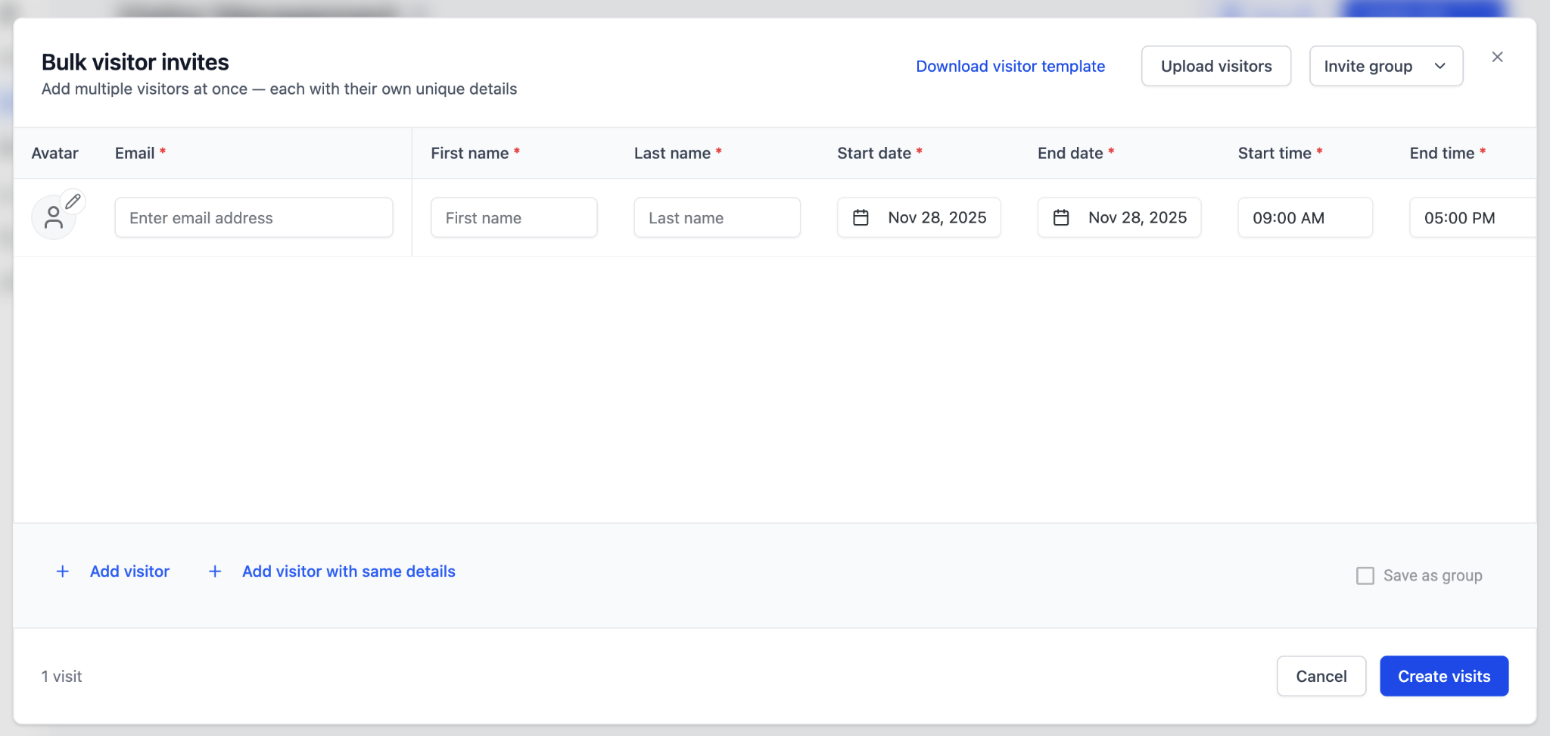
You will then see the bulk visitor invites modal
-
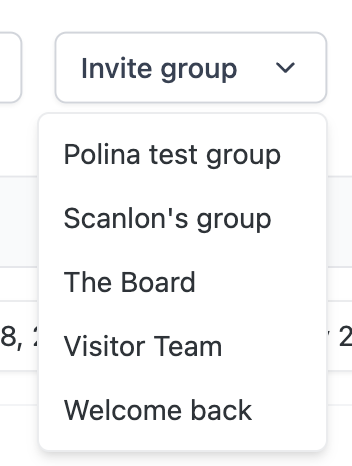
Choose whether to enter visitor details one by one or upload them in bulk. You can also invite a previously created group using the “Invite group” dropdown
-
-
Available fields
-
Profile photo
-
Email
-
First name
-
Last name
-
Start date
-
End date
-
Start time
-
End time
-
Host
-
Check-in preferences
-
Max number of entries
-
Notifications
-
Note for visitor
-
Front desk note
-
Internal additional recipients
-
External additional recipients
-
-
-
If you're uploading, download the visitor template
-
Add your visit details to the CSV file using the editor of your choice

Bulk CSV Template Allowed Values & Formatting
File constraints: Max size 5MB, CSV Only
|
Column |
Format/Allowed Values |
|---|---|
|
Visitor email |
Valid email format |
|
Visitor first name |
Any non-empty string |
|
Visitor last name |
Any non-empty string |
|
Visitor phone |
International phone format |
|
Start date |
MM/DD/YYYY, YYYY-MM-DD, or ISO date string |
|
End date |
MM/DD/YYYY, YYYY-MM-DD, or ISO date string |
|
Start time |
9:00 AM (12-hr) or 09:00 (24-hr) |
|
End time |
5:00 PM (12-hr) or 17:00 (24-hr) |
|
Host email |
Email matching a valid host in the system |
|
Check-in type (Check-in at desk or Stop at desk) |
|
|
Floor |
Floor name/number |
|
Suite |
Any string or empty |
|
Max number of entries |
|
|
Notification preferences |
|
|
Visitor note |
Any string or empty |
|
Front desk note |
Any string or empty |
|
Email or phone number of additional recipients to receive notifications |
Semicolon-delimited emails or UUIDs or phone numbers |
-
After inputting the visit details, upload the file by clicking “Upload visitors”

-
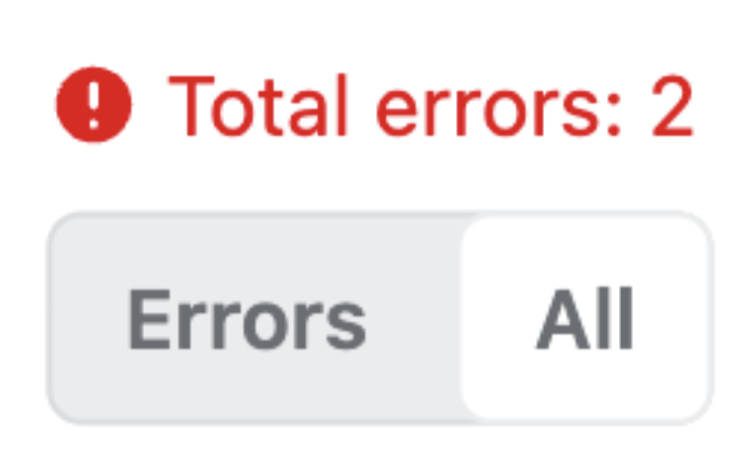
If any errors occur, the interface will display the total number of errors and provide a dedicated tab that filters the table to show only the affected rows.
-
You can hover over the error icon in each row to see a description of what’s causing the error.

You will see your total number of visitors in the bottom left
-
Save as group checkbox - when selected, your list of visitors will be saved as a group that can be easily selected for future visits, for example “Marketing Team”

-
Add visitor button
-
Adds another line to the bulk visitor invite form
-
-
Add visitor with same details button
-
Adds another visitor to the bulk form using the same details as the previous entry. This is helpful when many visitors share similar information, allowing you to quickly duplicate the entry and update only what’s different—such as name, email, or phone—rather than re-entering every field.
-
Click “Create visits”
-
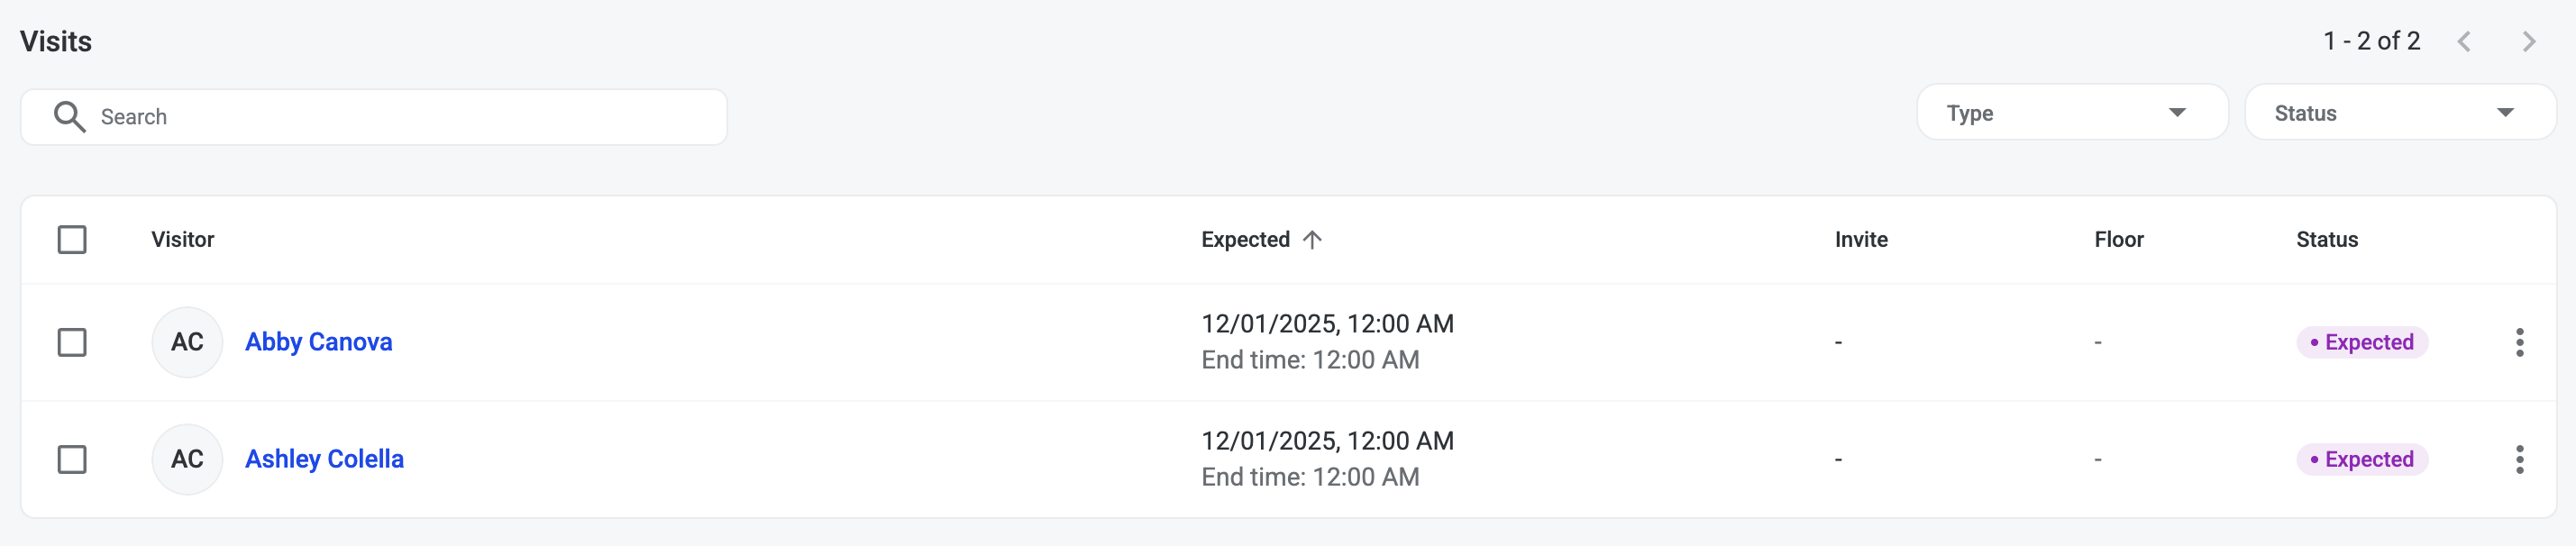
While the system processes your visits, you will see the loading bar update on the top of the screen. Once this has been completed, you will receive a confirmation letting you know your visits were successfully created, and you’ll see them reflected immediately in your Visits table.
-