Visitor Management Login
Login to tenant portal.
After login, if you are a Host, Coordinator or Administrator you will arrive at Visitor Management
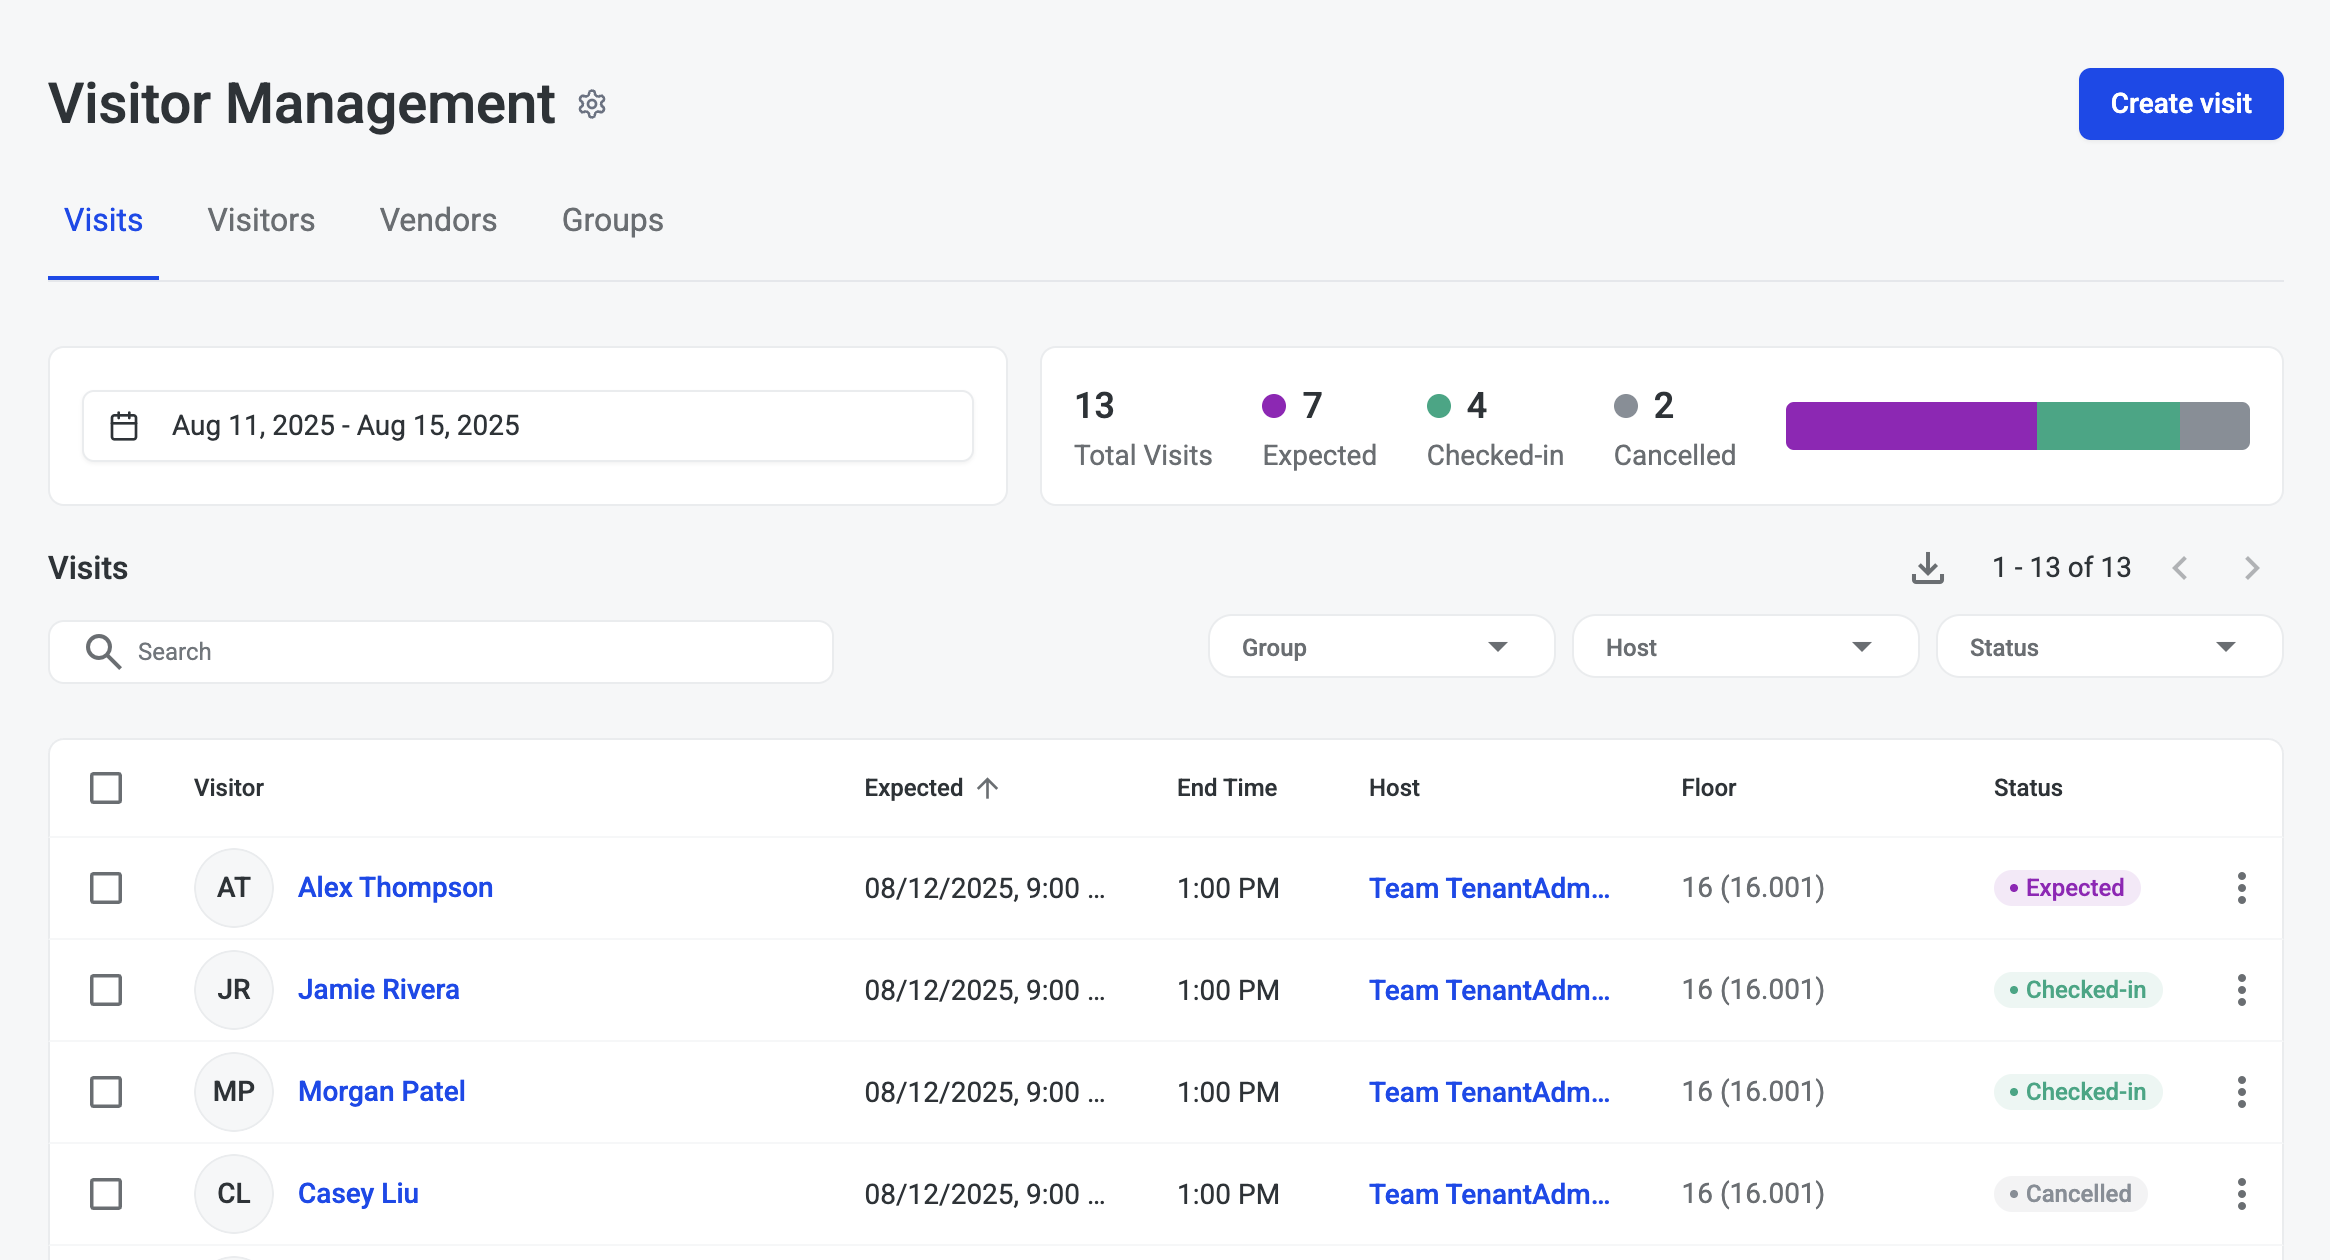
Your Day at a Glance
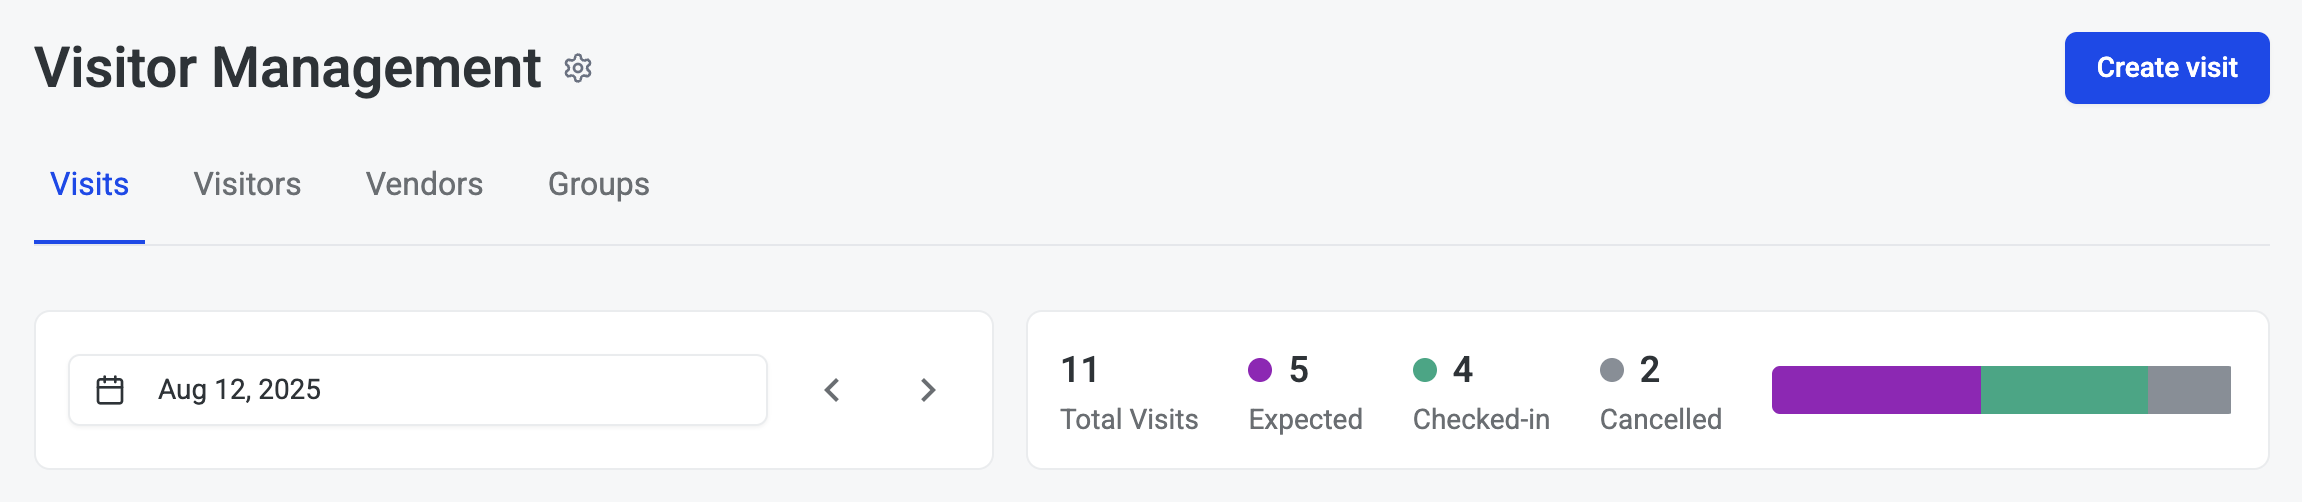
On the Visitor Management page you will see a snapshot of your Visits for the day.
This includes single Visitors and Visitors within groups.

-
Total Visits - Displays the number of Visitors you invited for the day, including individuals, and each person in a group, as well as invitations cancelled
-
Expected - Displays the number of Visitors you invited that have not yet arrived
-
Checked-in - Displays the number of Visitors that have arrived and checked in
-
Cancelled - Displays the number of Visitor invitations that have been cancelled for the day
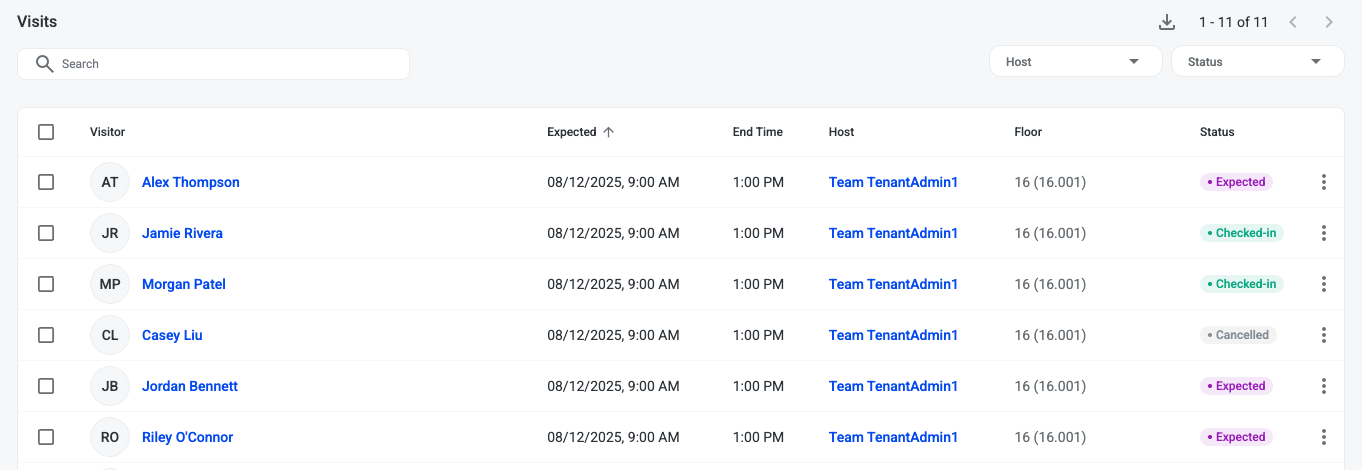
You can review the Visitors invited for the current day in the Visits list.
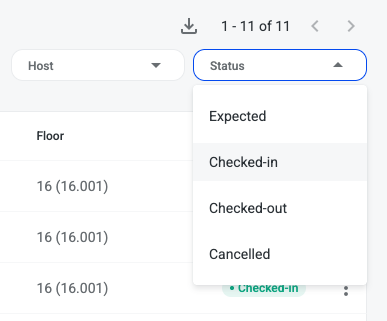
To view visitors that have checked in go to the Status filter and select Checked-in
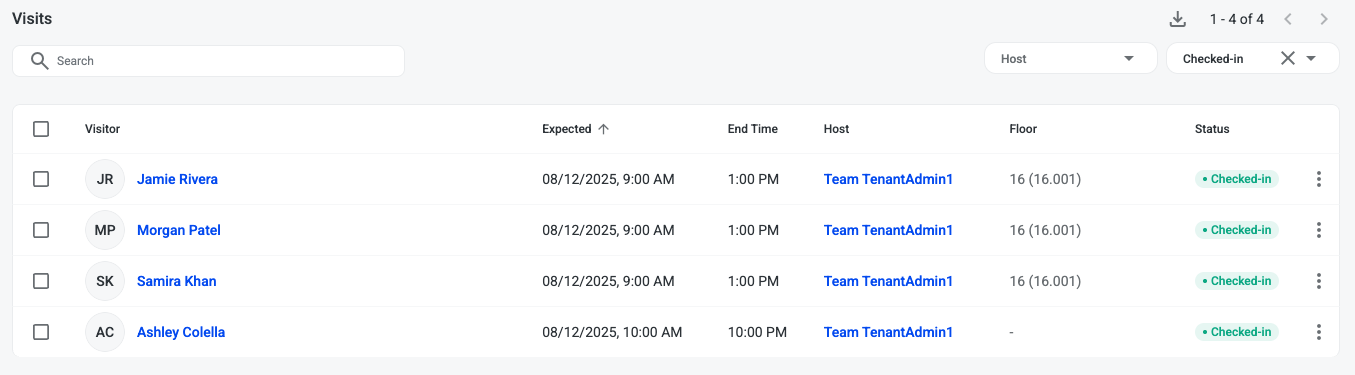
Visit list is filtered to only visitors that have checked in
Inviting a New Visitor
Click Create visit button on the top right of the Visitor Management page
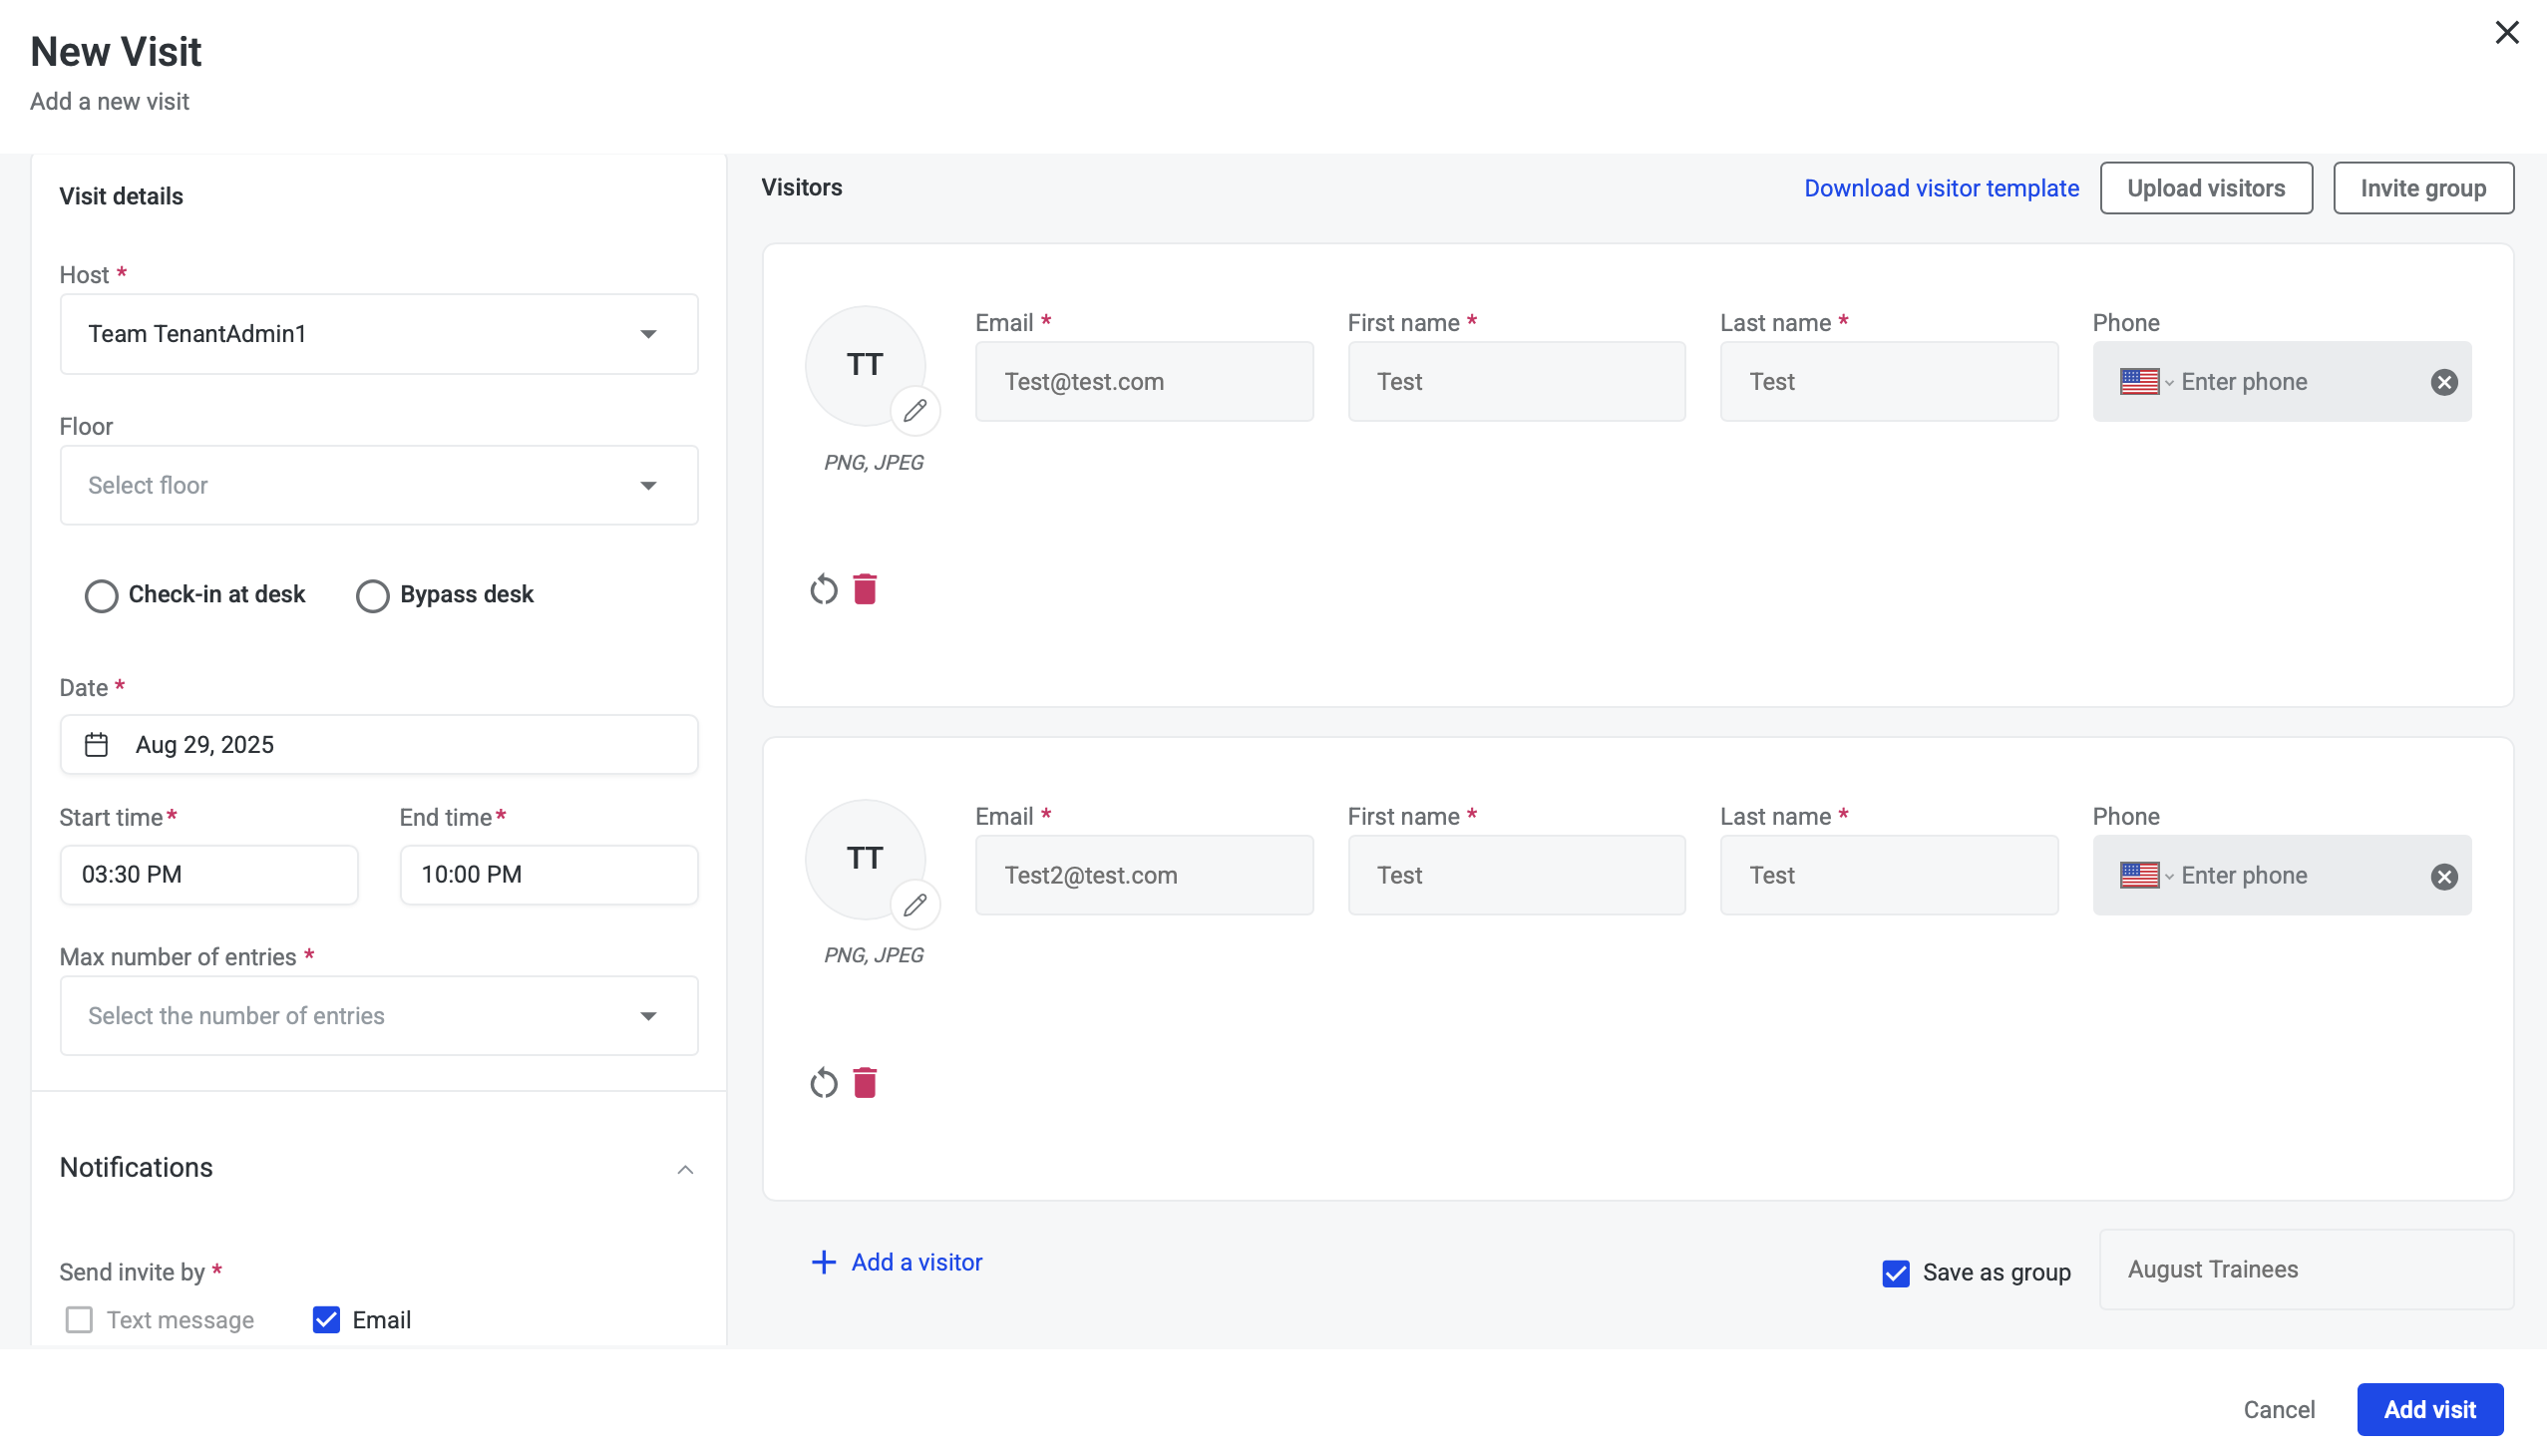
To enter a single Visitor, enter the required information on the New Visit page. Fields with the red asterisks are mandatory.
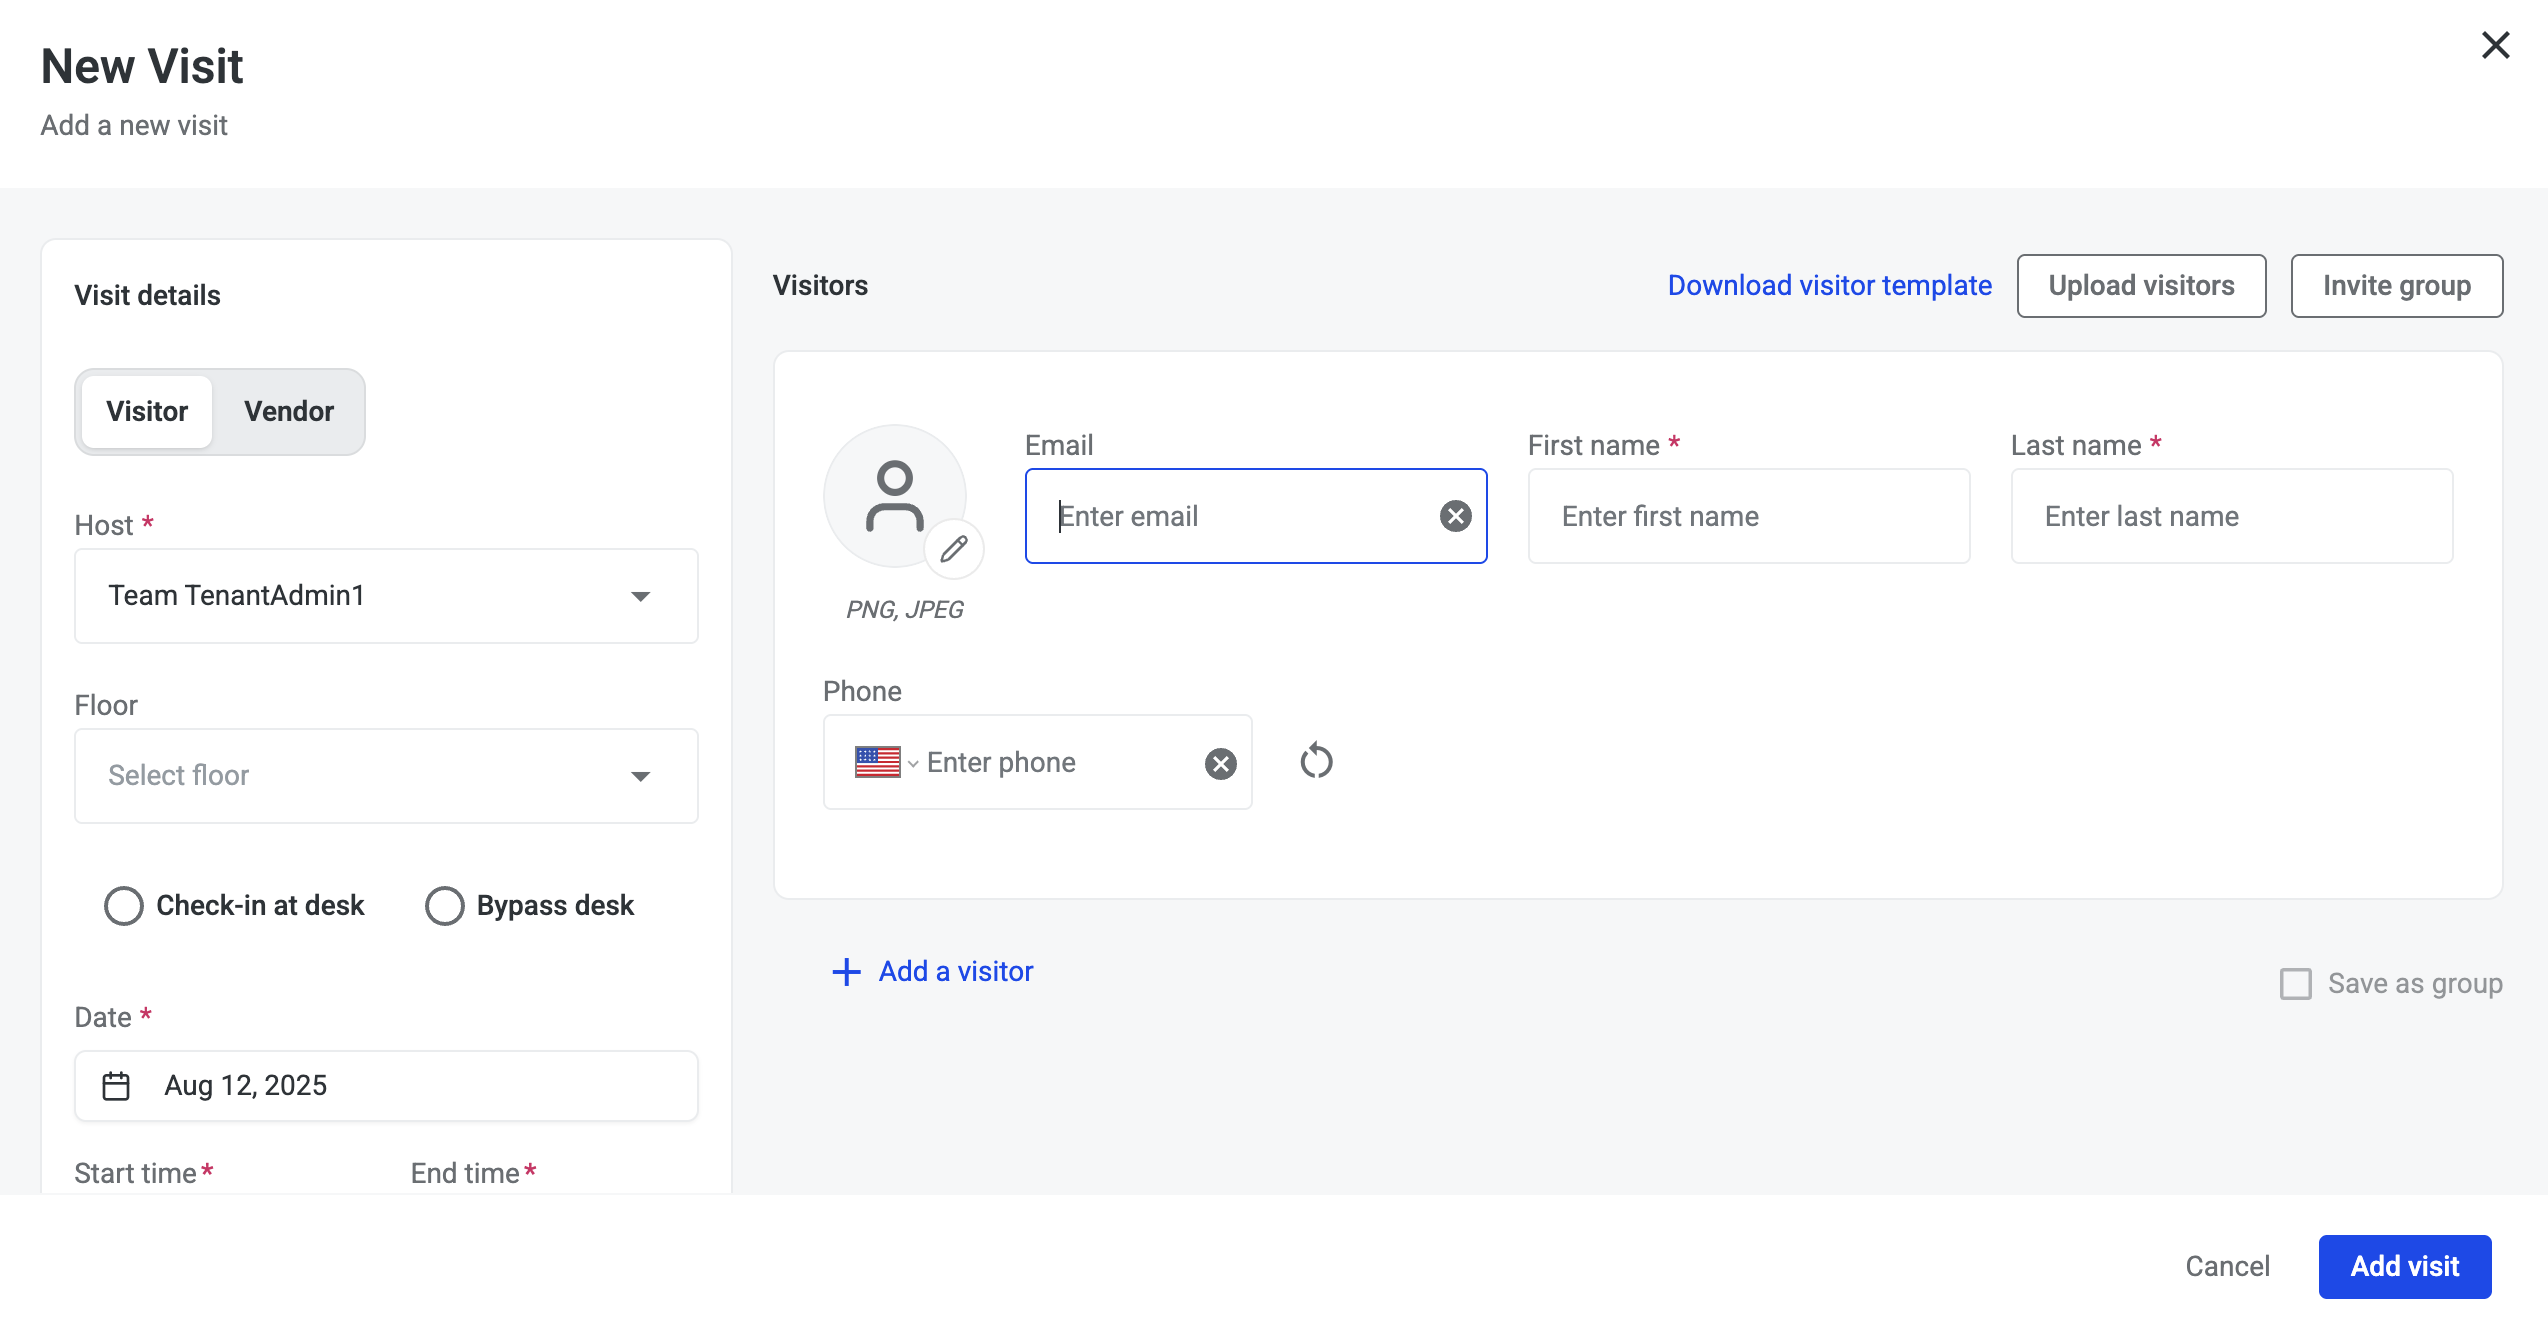
-
Enter in visitors First name and Last name. It is recommended to include the Visitors email address and mobile number to receive digital invitations
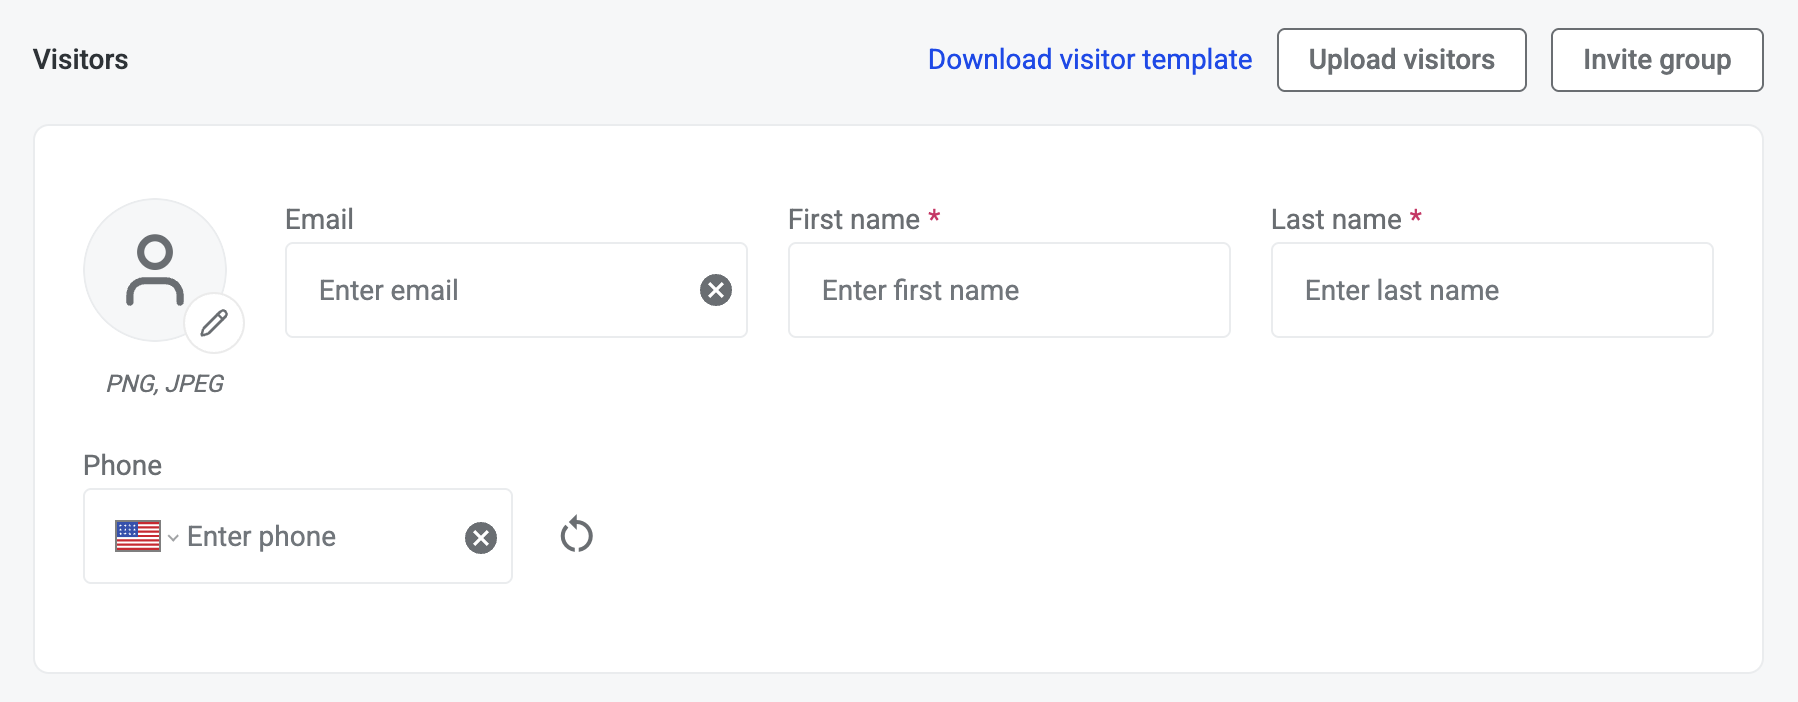
-
Host will default to your name. If you have Administrator or Coordinator permissions, you will be able to select from and enter various Hosts.
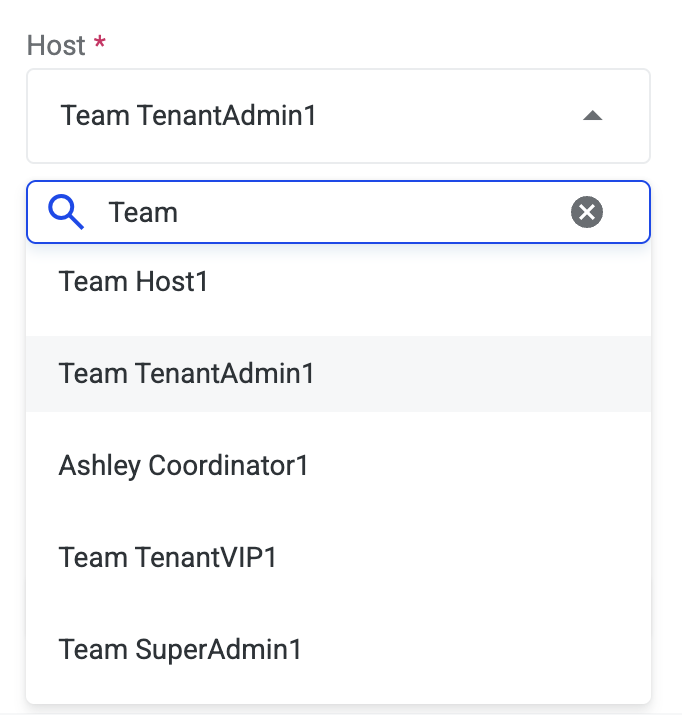
-
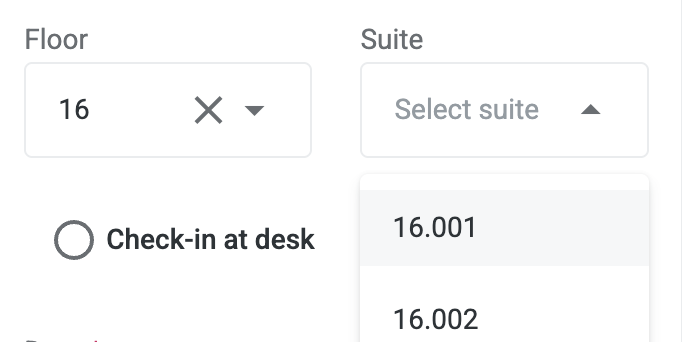
Select the Floor and Suite to reflect the meeting location
Visit Type
-
Visitor Type, a mandatory filed, has two options: Bypass Desk and Stop at Desk.
-
Bypass Desk sends Visitors an invitation with a QR code allowing them to go straight to the turnstiles and avoid checking in at the Lobby Desk, this applies to buildings with Podiums or Elevator Lobby Kiosks. The QR code is activated one hour prior to the meeting Start Time.
-
Stop at Desk sends Visitors an invitation with instructions to go to the Lobby Desk for a pass. Visitors will need to present photo identification to receive a printed pass with an active QR code.
-

Visit Date and Time
-
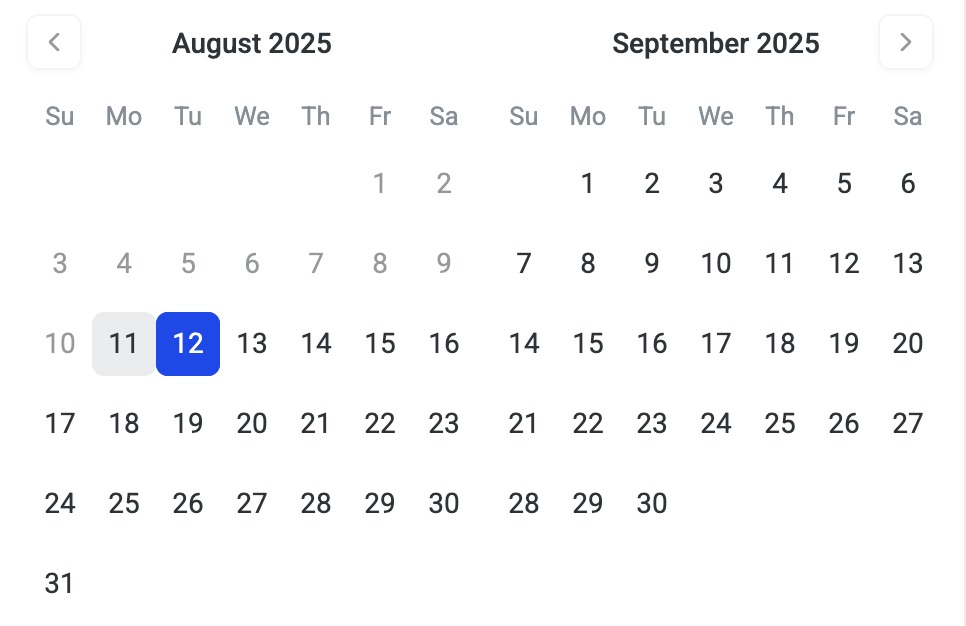
Select the Date for your meeting in the date using the calendar. You can select one or more days
-
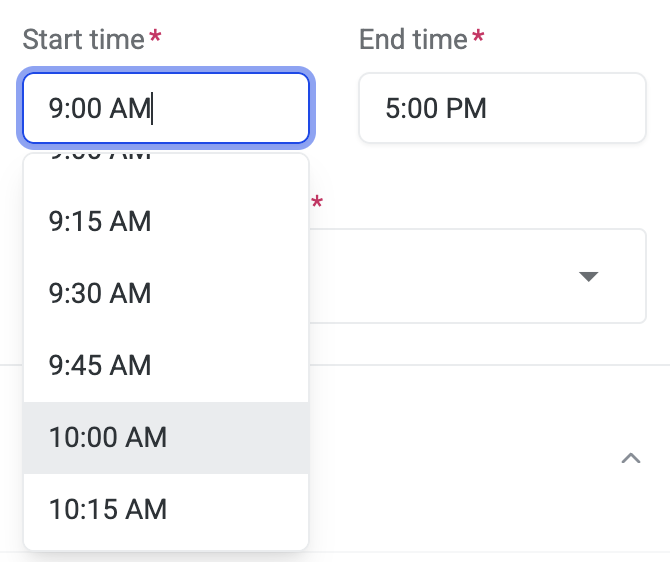
Enter the meeting Start Time and End Time using the time picker or enter in visit time
-
If your meeting spans multiple days, your visitors will receive new invitations each day. The QR codes in the Visitor invitations and on any printed passes will automatically be activated one hour before the meeting Start Time and expire at the End Time each day.
-
Max Number of Entries
-
Max number of entries - Select max number of entries to manage the number of time the visitor may enter the turnstiles
-
Select 1 entry to allow them to enter in one time
-
Select multiple entries if you anticipate your Visitor will need to exit the building and return multiple times the day of the meeting
-
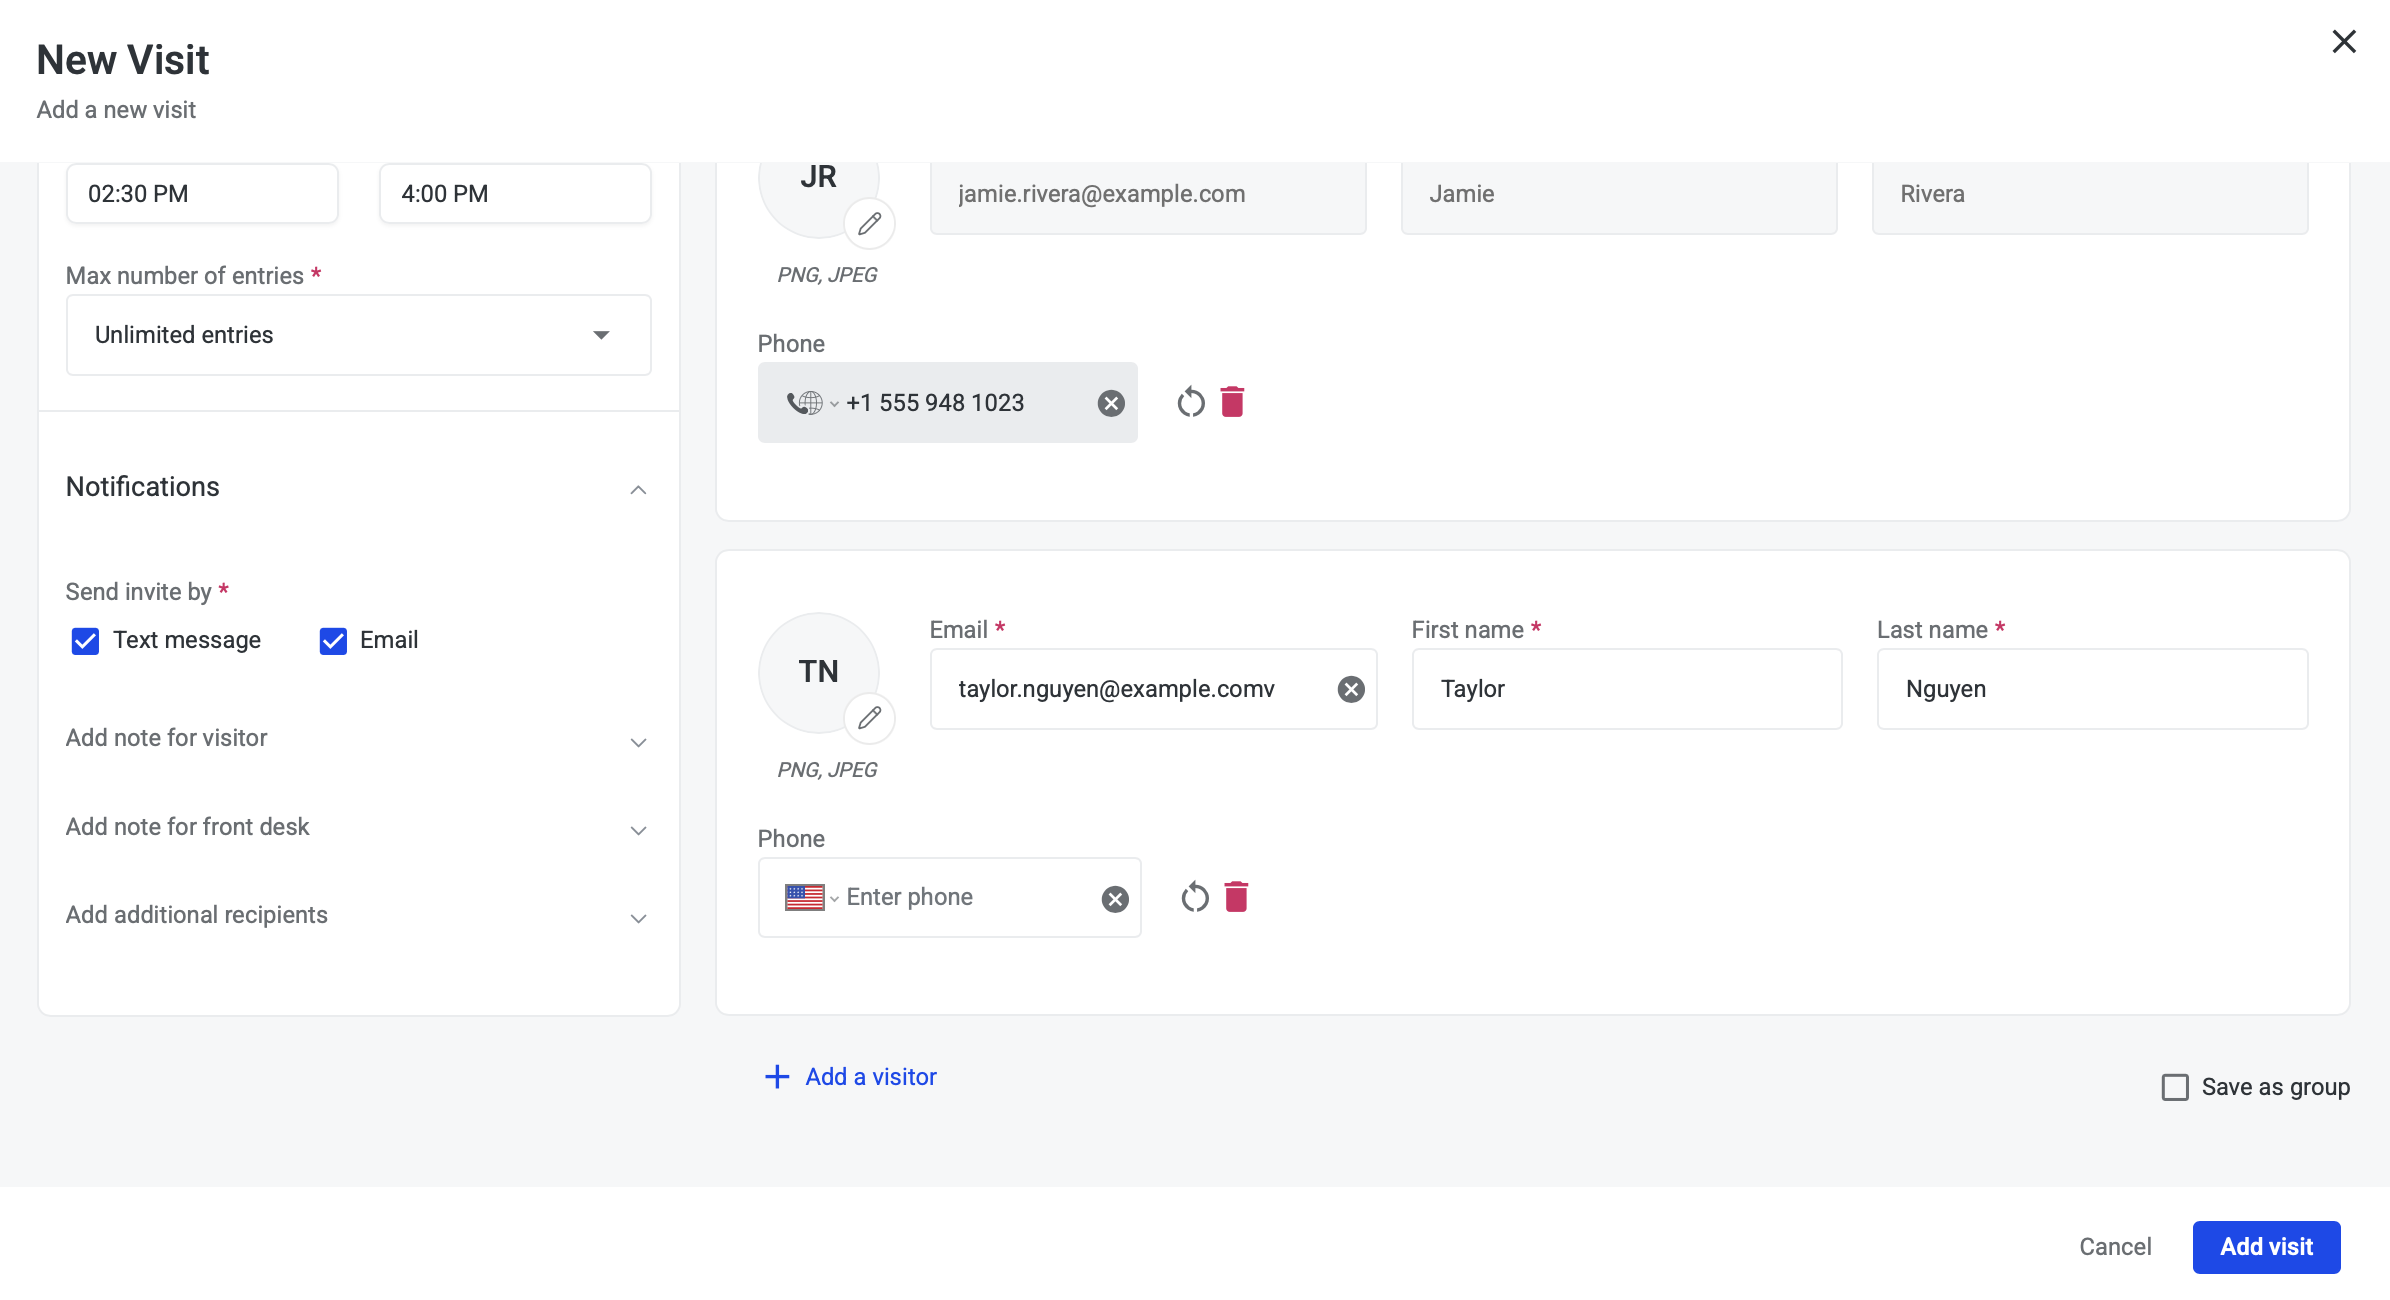
Notifications
-
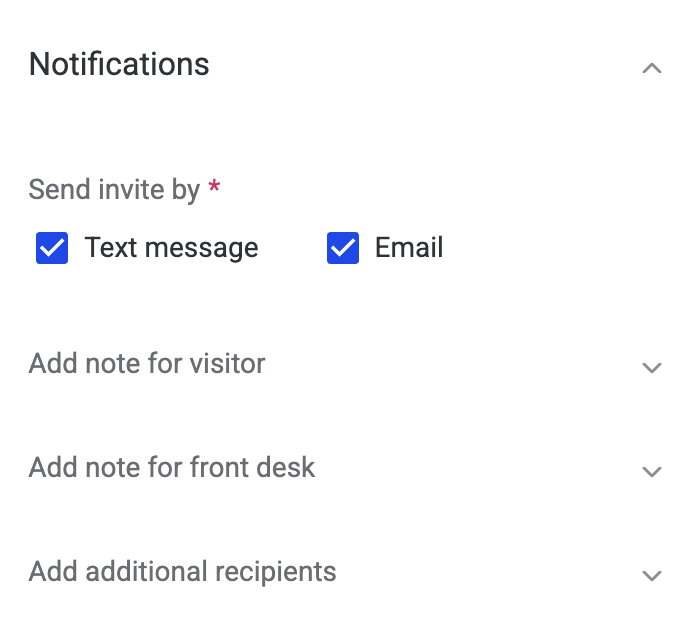
Notifications allows you to configure notification preferences and add notes to communicate to the visitor or front desk
-
Send invite by indicates how the visitor will receive their visitor invitation
-
This will default based on the visitor contact information that was provided. If phone number is provided then Text message will be checked. If email is provided then email will be checked.
-
Notes
-
Add note to visitor - Enter any special instructions for the visitor
-
Add note to front desk - Enter any special instructions for the front desk reception

Additional Recipients
-
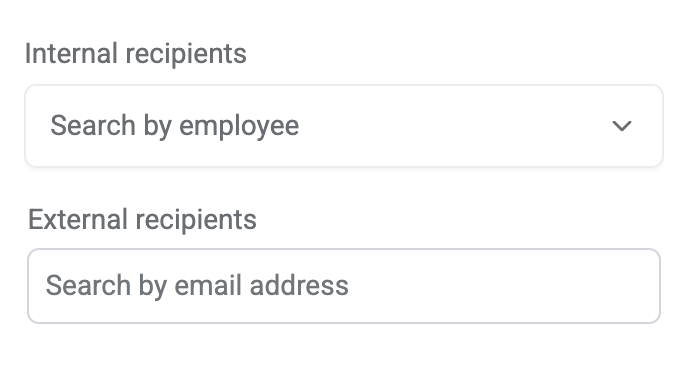
Add additional recipients - Notify other employees regarding visit registrations
-
Internal recipients - Select an employee to receive host notifications
-
External recipients - Enter email for additional recipients to receive host notifications
-
-
Click Add visit button at the bottom of the New Visit modal
-
A pop-up is displayed in the upper right corner confirming the visit was created and the visitor is successfully invited.
-
If your invitation was issued for the current day, then the visitor’s information will be included in your visitor list.
Current Registered Visitors
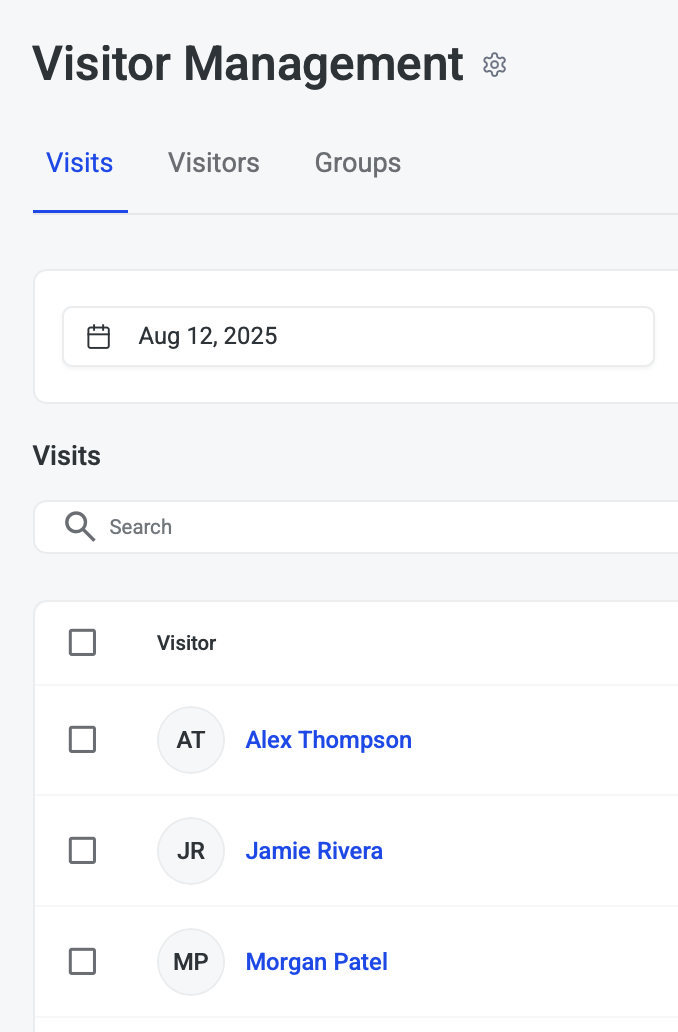
To view registered visitors, select the Date Range field in the upper left of the page
Navigate to the date you want to review or click Date Range checkbox and select a range of dates
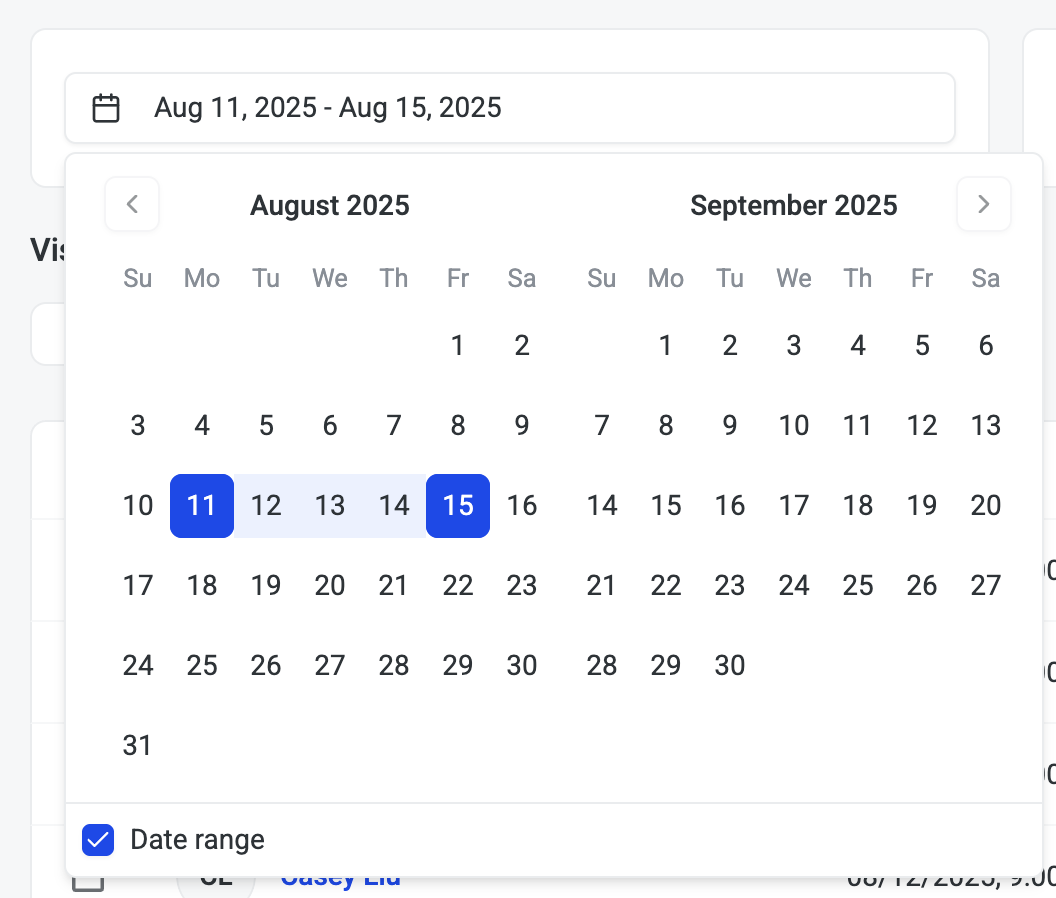
You will also find visitor counts in the visit status bar updated based on date range selected
The list of Visitors includes important information about each visit including:
-
Visitor Photo (if provided)
-
Expected Date & time
-
End Time
-
Host
-
Floor/Suite
-
Status
-
On the Visitor Management page you will see a snapshot of your Visits for the timeframe you selected

-
Total Visits - Displays the number of Visitors you invited for the day, including individuals, and each person in a group, as well as invitations cancelled
-
Expected - Displays the number of Visitors you invited that have not yet arrived
-
Checked-in - Displays the number of Visitors that have arrived and checked in
-
Cancelled - Displays the number of Visitor invitations that have been cancelled for the day
-
Editing a Visit
You can edit a scheduled visit if details have changed, such as the visitor’s contact information, host, or meeting time.
-
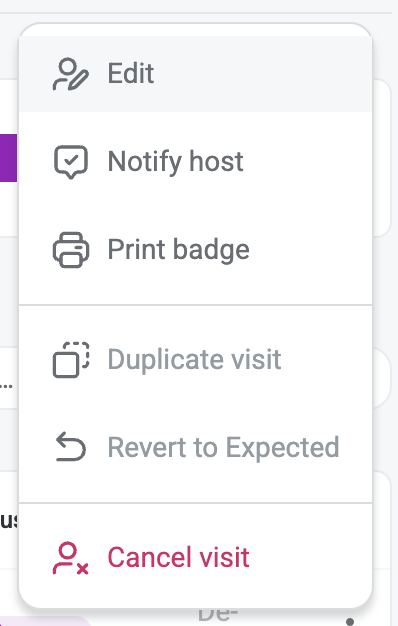
Navigate to Visits list and click the ellipses … on the visitor you want to edit.

-
Click Edit
-
Update the necessary fields (e.g., name, email, phone, date/time, visit type).
-
Click Update button
What you’ll see:
-
A confirmation banner that the visit has been updated
-
Updated details appear in the visit
-
Visitor will receive an updated email/SMS with their new visit details.
Editing a Visitor
-
To edit a visitor, click on the visitors name in blue on the Visits list
-
Alternatively, you can search for the visitor on the Visits tab and click on the visitors name in blue
-
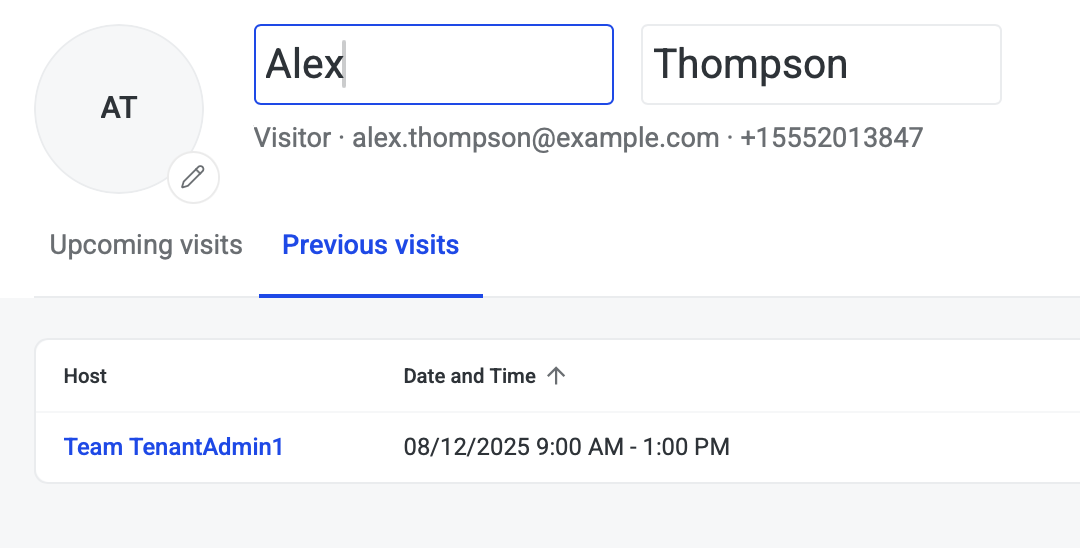
Edit the visitor’s first or last name by clicking the pencil icon
-
Update First or Last name
-
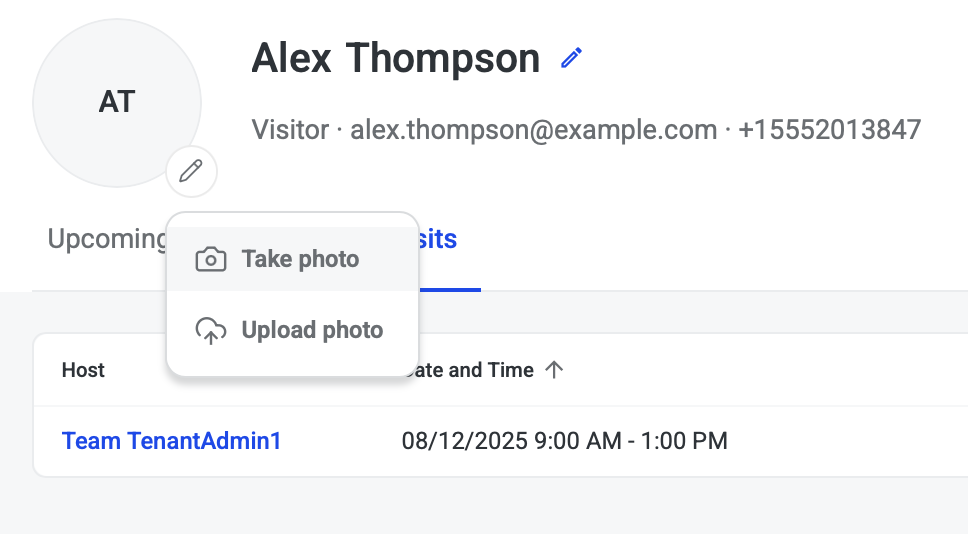
To upload or take a photo, near photo circle, click pencil icon on
-
Select Take photo to use local webcam to take visitor’s photo
-
Select Upload photo to use a photo from local storage
Visitor Access History
-
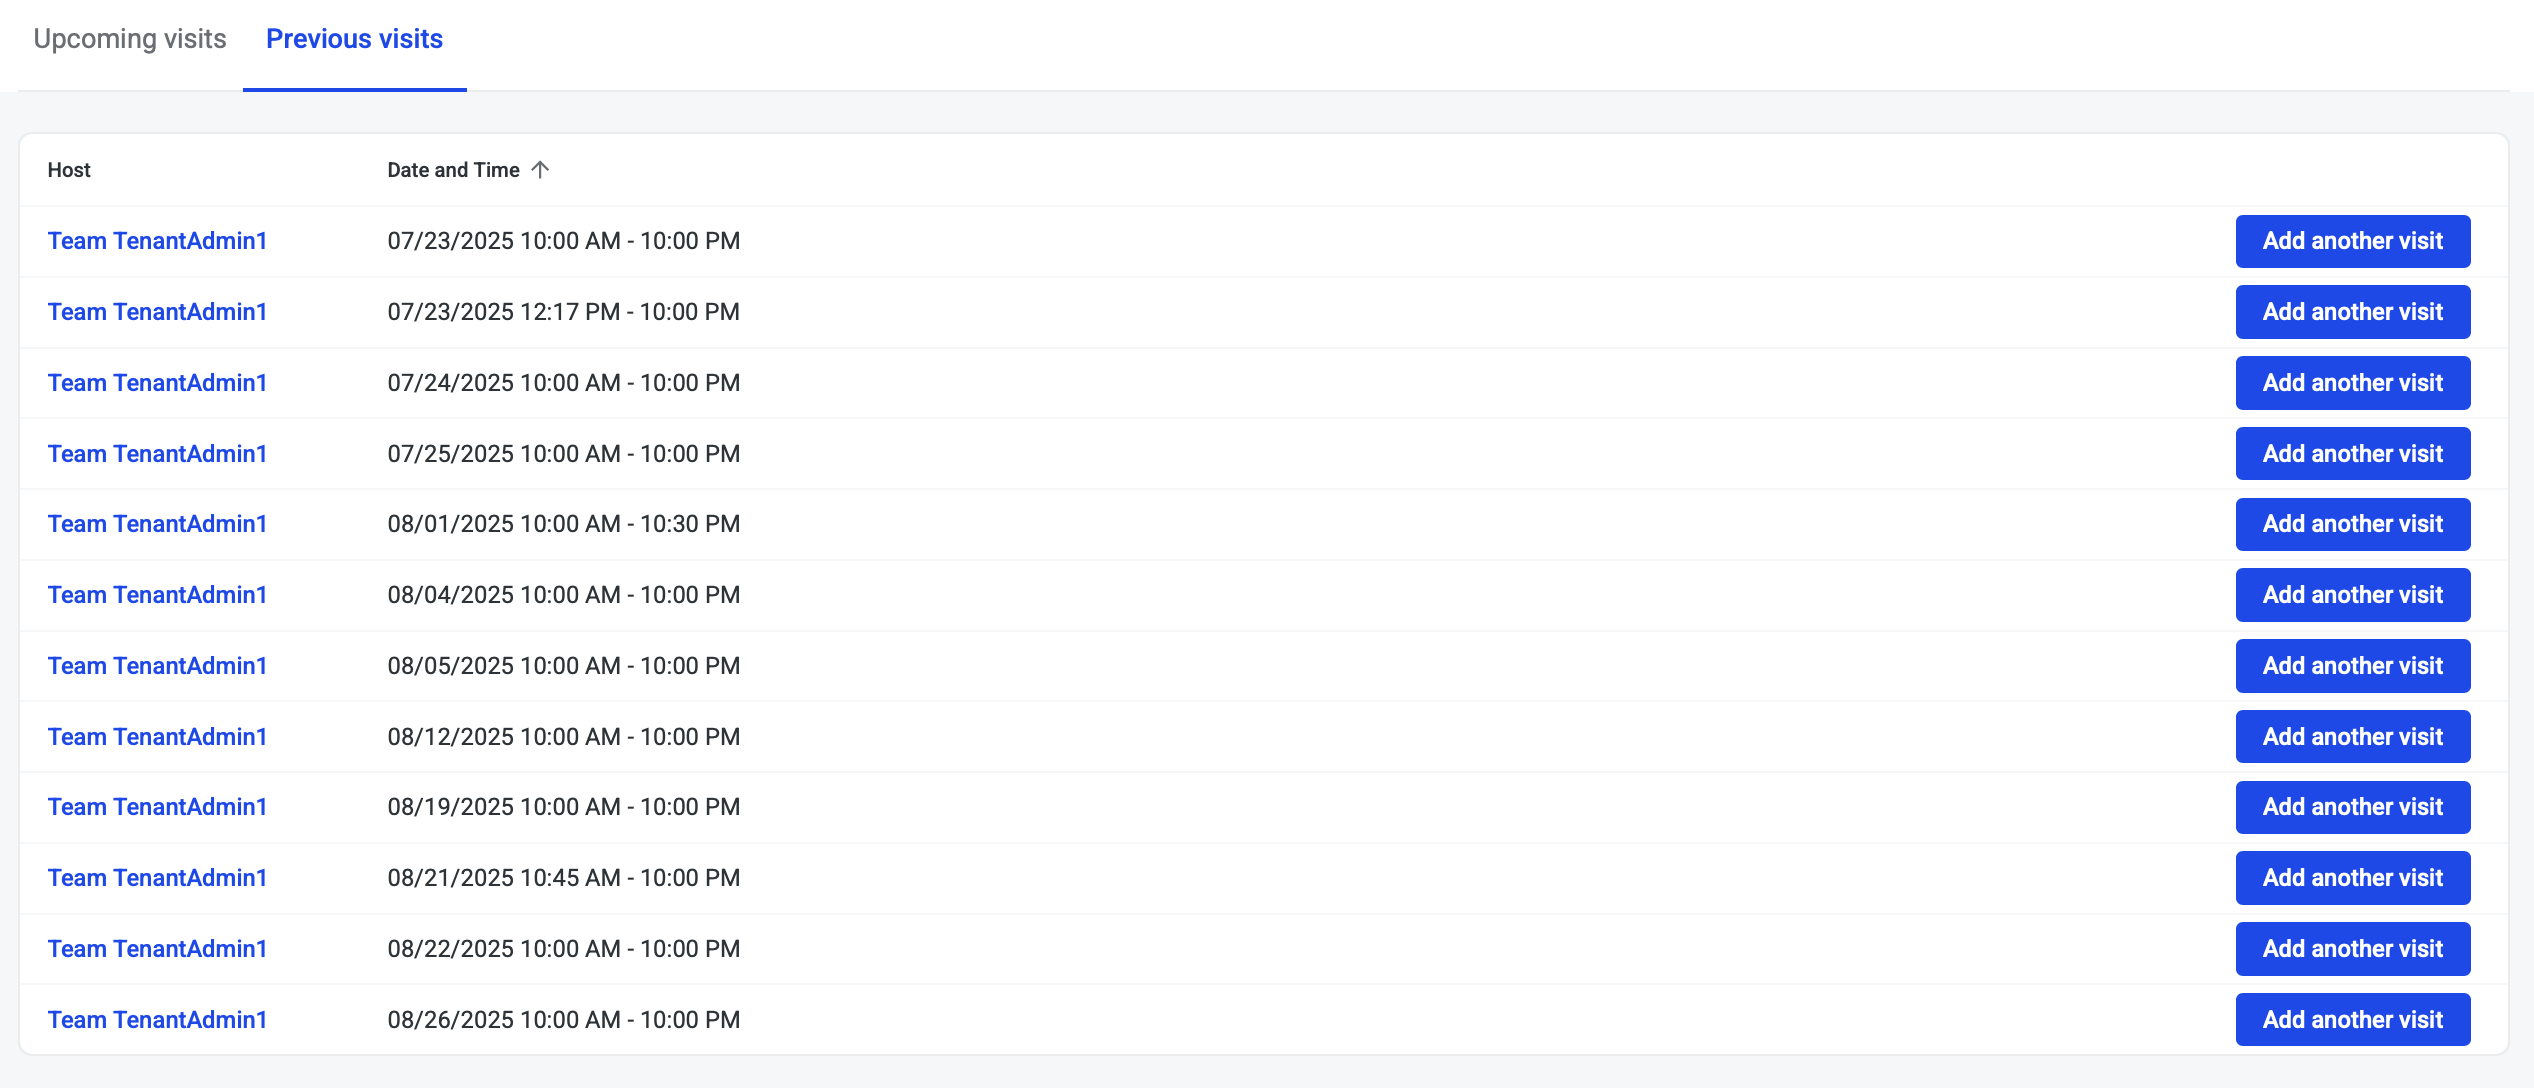
Review Upcoming or Previous visits
-
The list includes a snapshot of information about the visit including Host and Date & Time
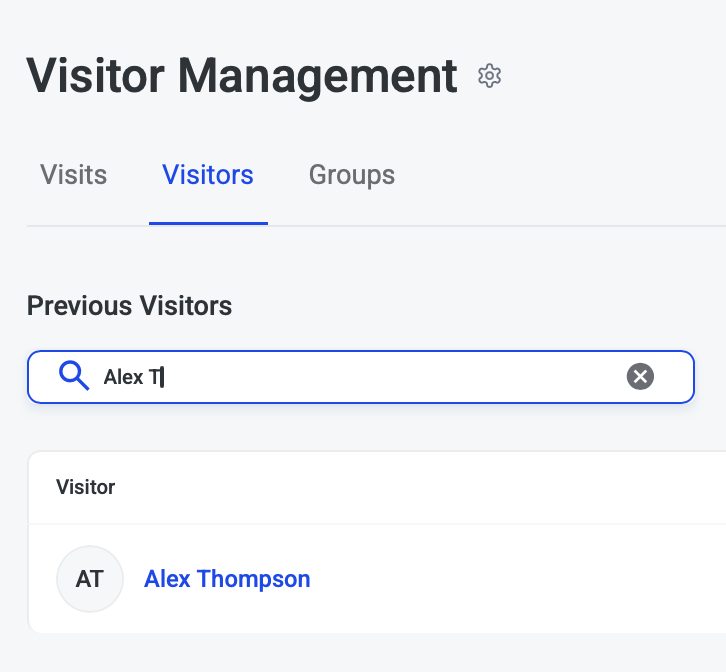
Returning Visitor
-
Navigate to the Visitors tab to view Previous Visitors. List includes Visitor:
-
First Name
-
Last Name
-
Email
-
Phone
-
-
Search for a previous visitor

-
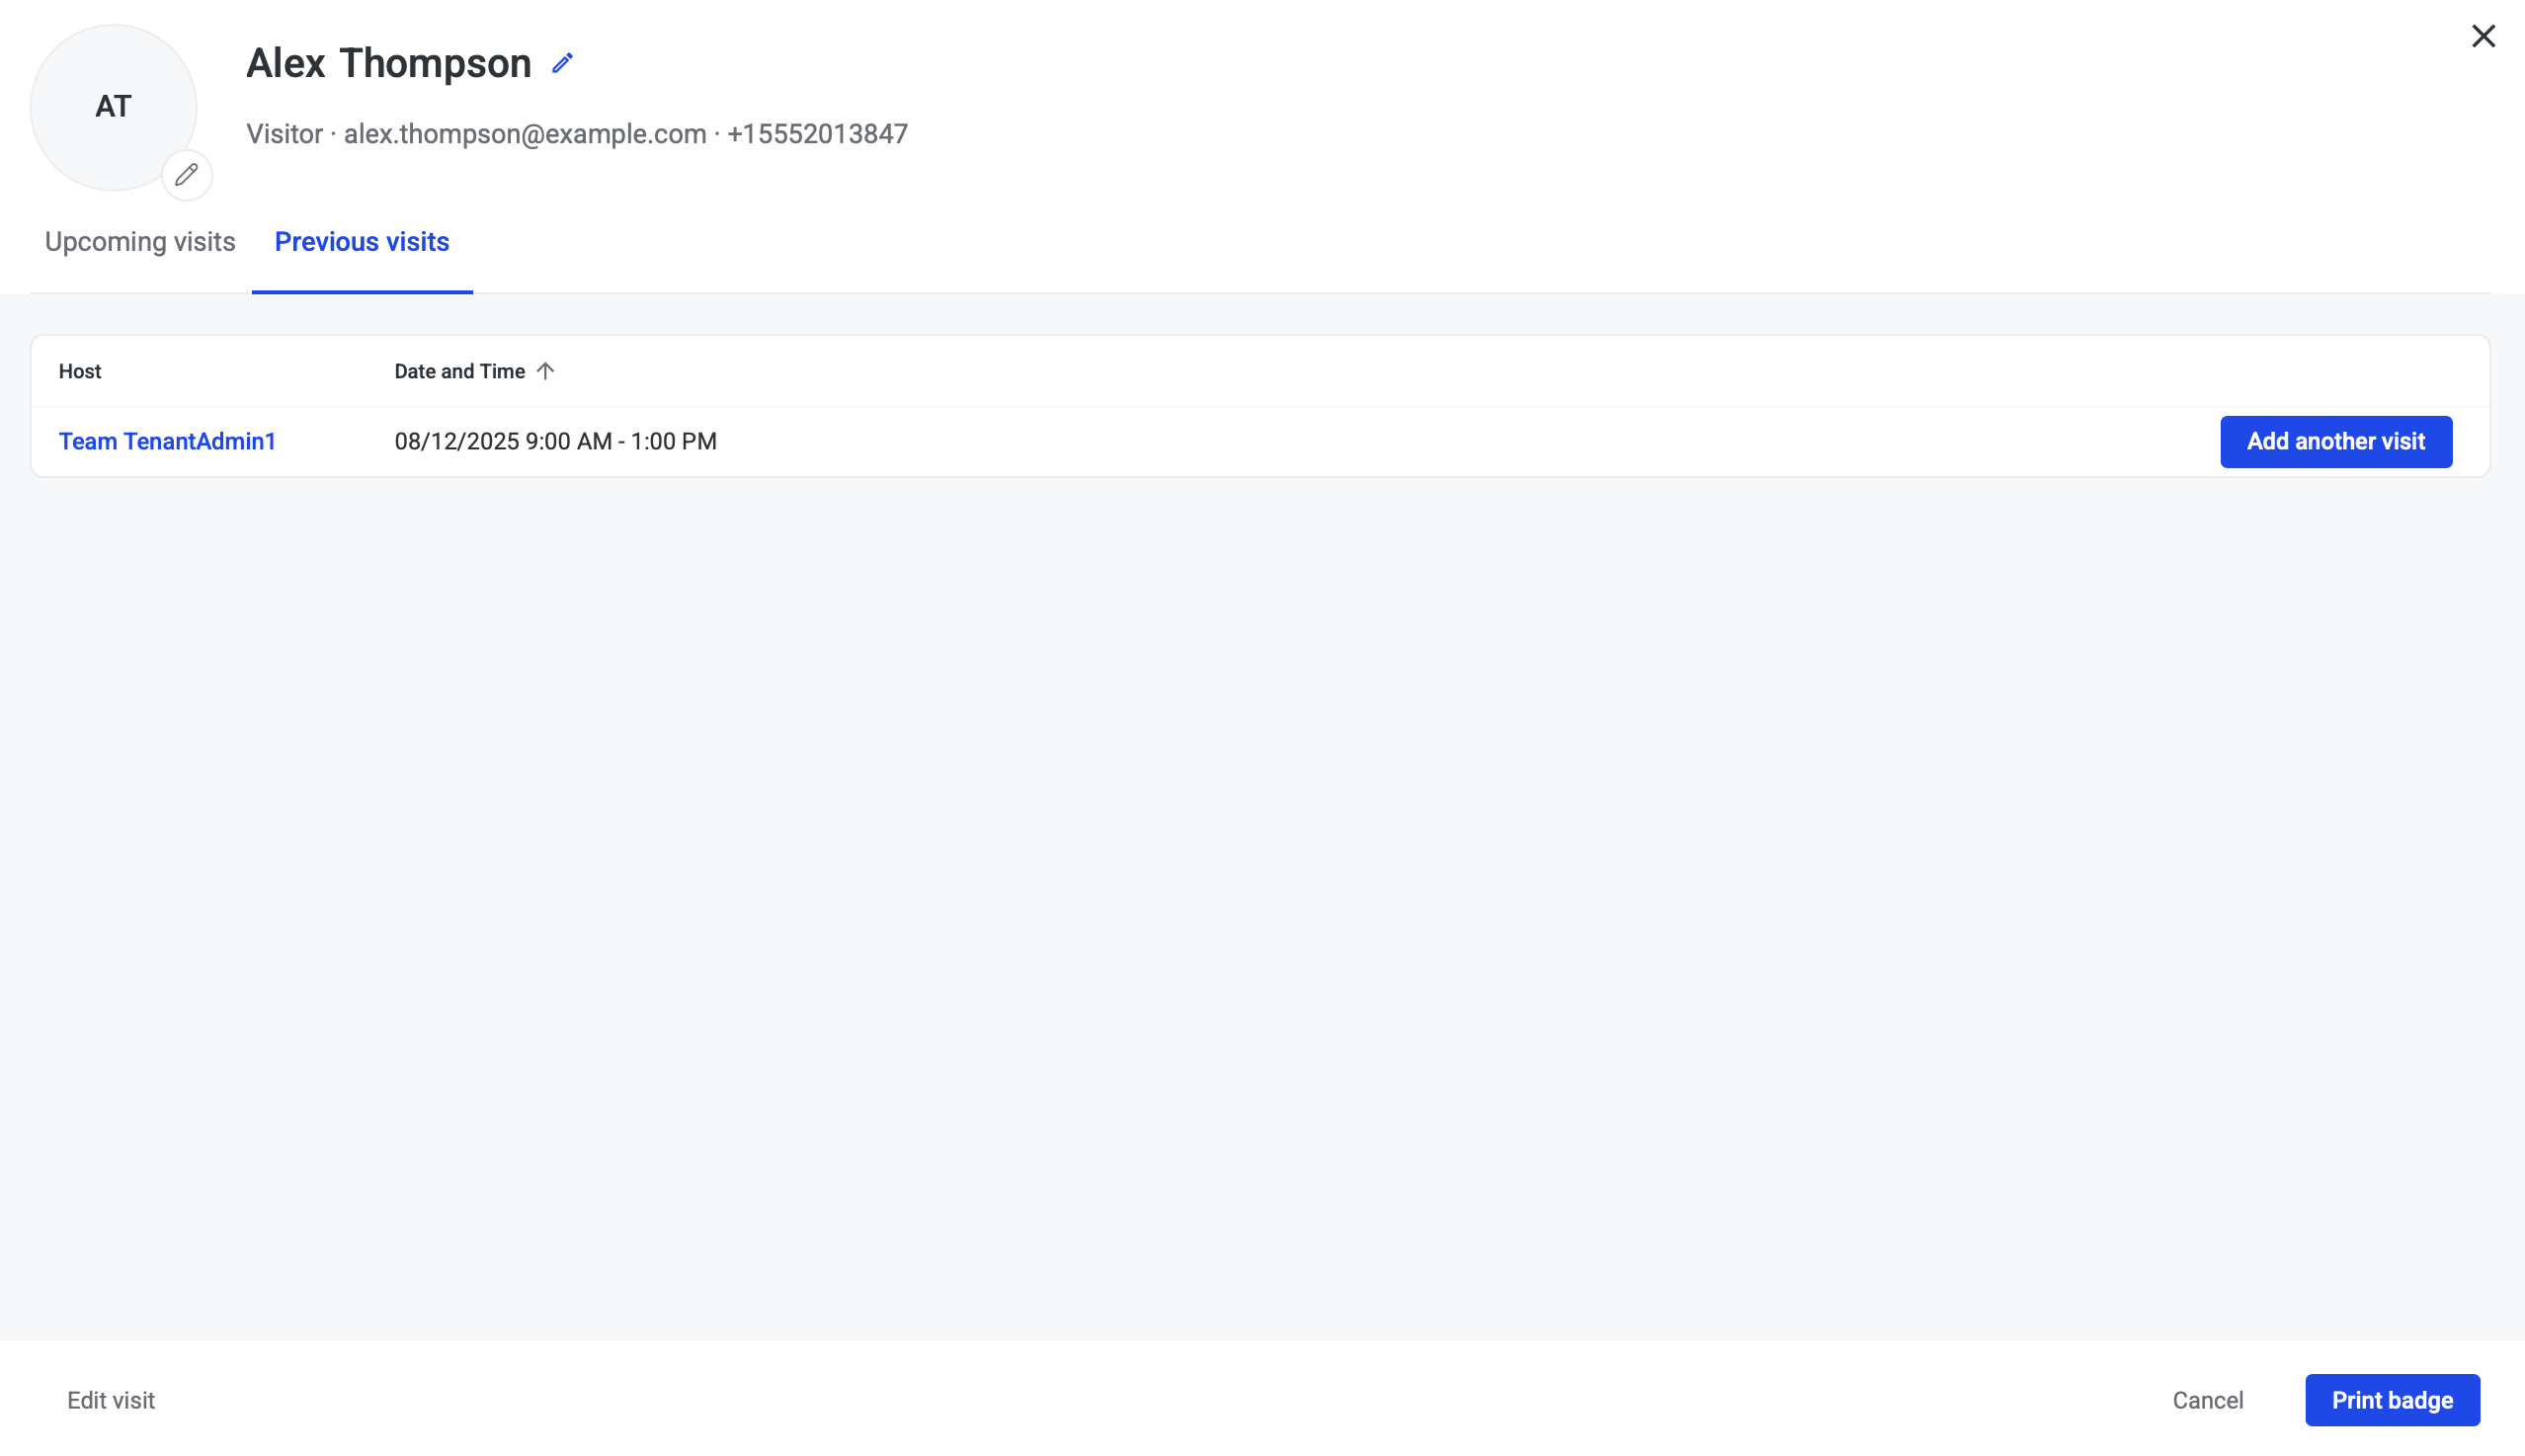
Click visitor’s name in blue to view their profile
-
Profile includes
-
First Name
-
Last Name
-
Email
-
Phone
-
Photo
-
Upcoming visits
-
Previous visits
-
Ability to invite again
-
Group Registration
Groups allow you to identify the group of visitors in the future and invite them again.
Create group during visit creation
-
You can create a group when creating a visit. First, complete your visit details and add each visitor’s contact information
-
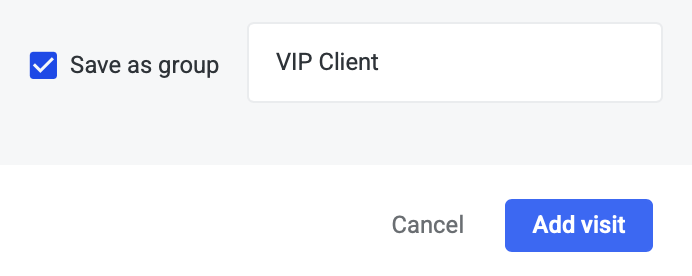
When creating a visit with multiple visitors, the “Save as group” option is available in bottom right of the visit form

-
Select Save as group to enable the Group name field

-
Enter the group name to identify this group in the future
-
Complete visit details and click Add visit button to submit group visit
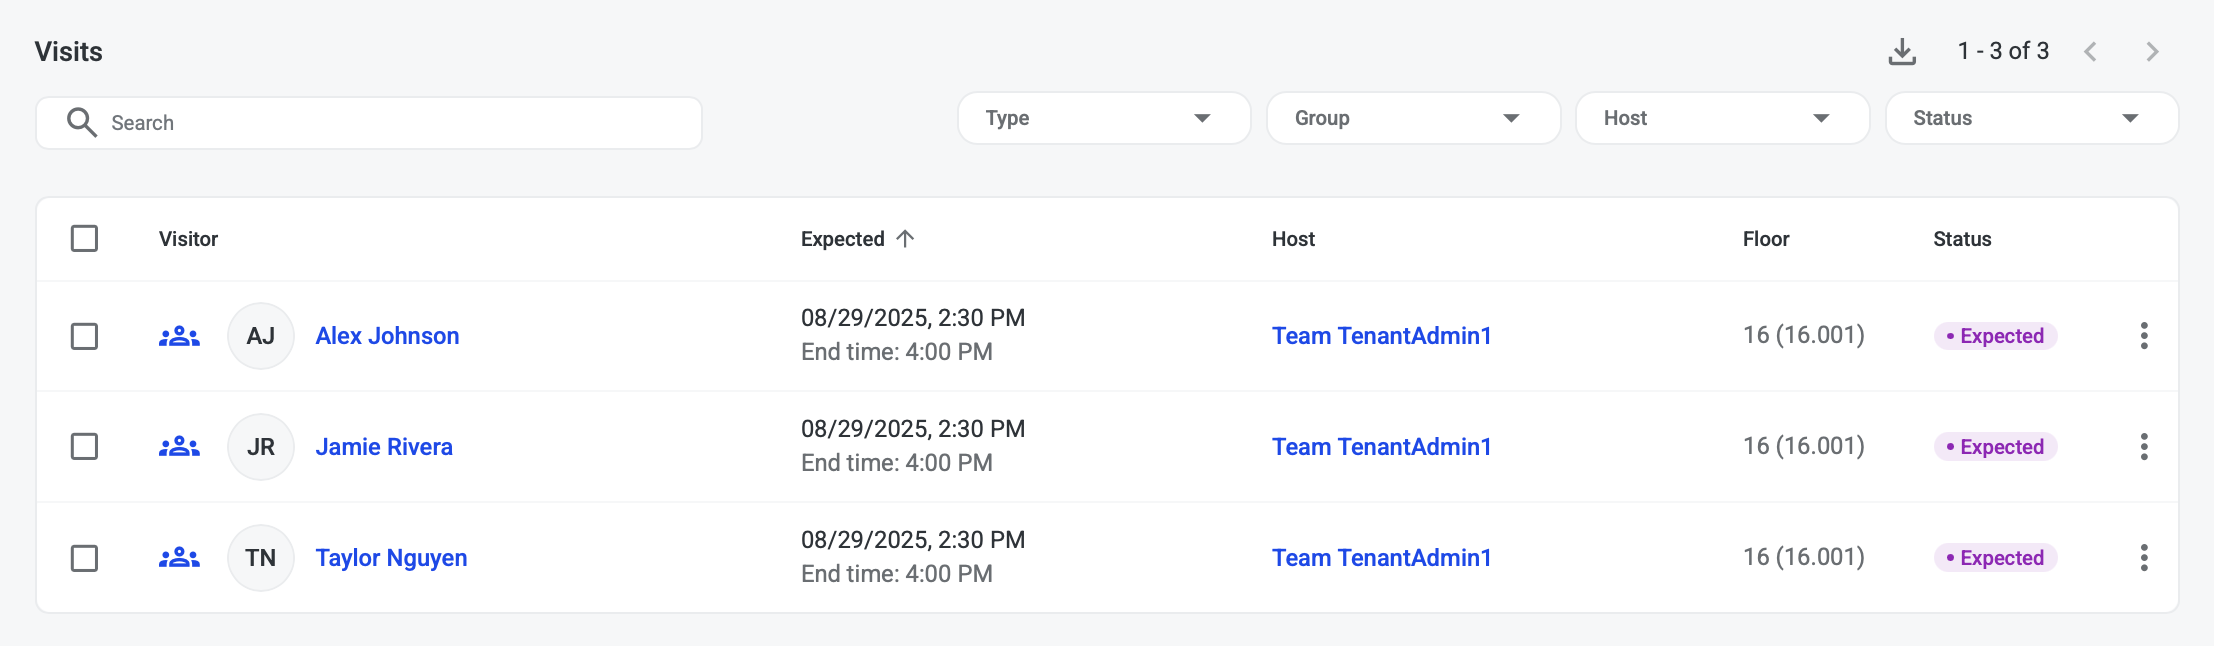
Viewing group visits
-
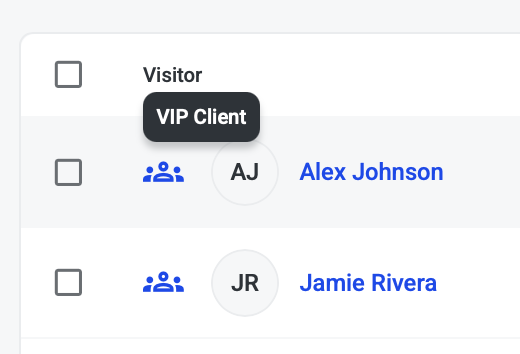
If visitors are a part of a group visit the group icon will be visible on the Visits list

-
Hover over Group visit icon to see Group name (ex. VIP Client)
Edit group visits
-
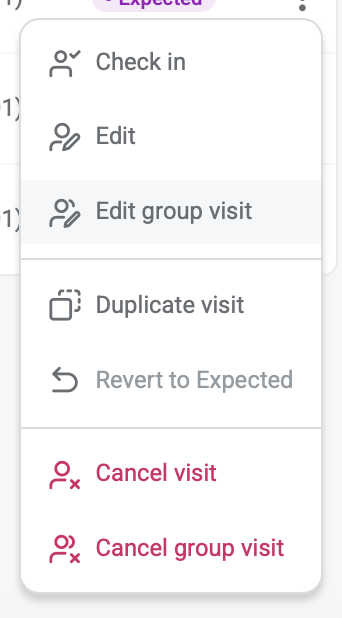
To edit a group visit navigate to Visits list and click the ellipses … on a visitor in the visit group you want to edit
-
Click Edit group visit option
-
Modify this visit as needed
-
Click Update button once visit edits are complete
Cancel group visits
-
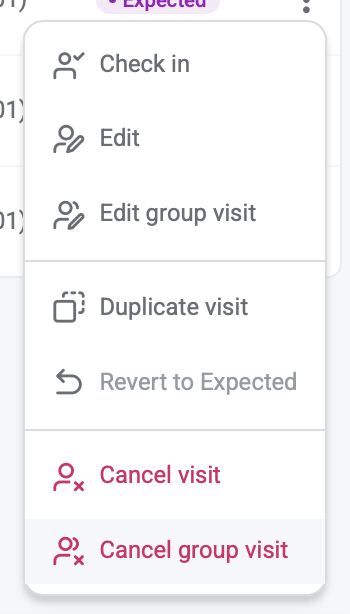
To cancel a group visit navigate to Visits list and click the ellipses … on a visitor in the visit group you want to edit
-
Click Cancel group visit option
-
Modify this visit as needed
-
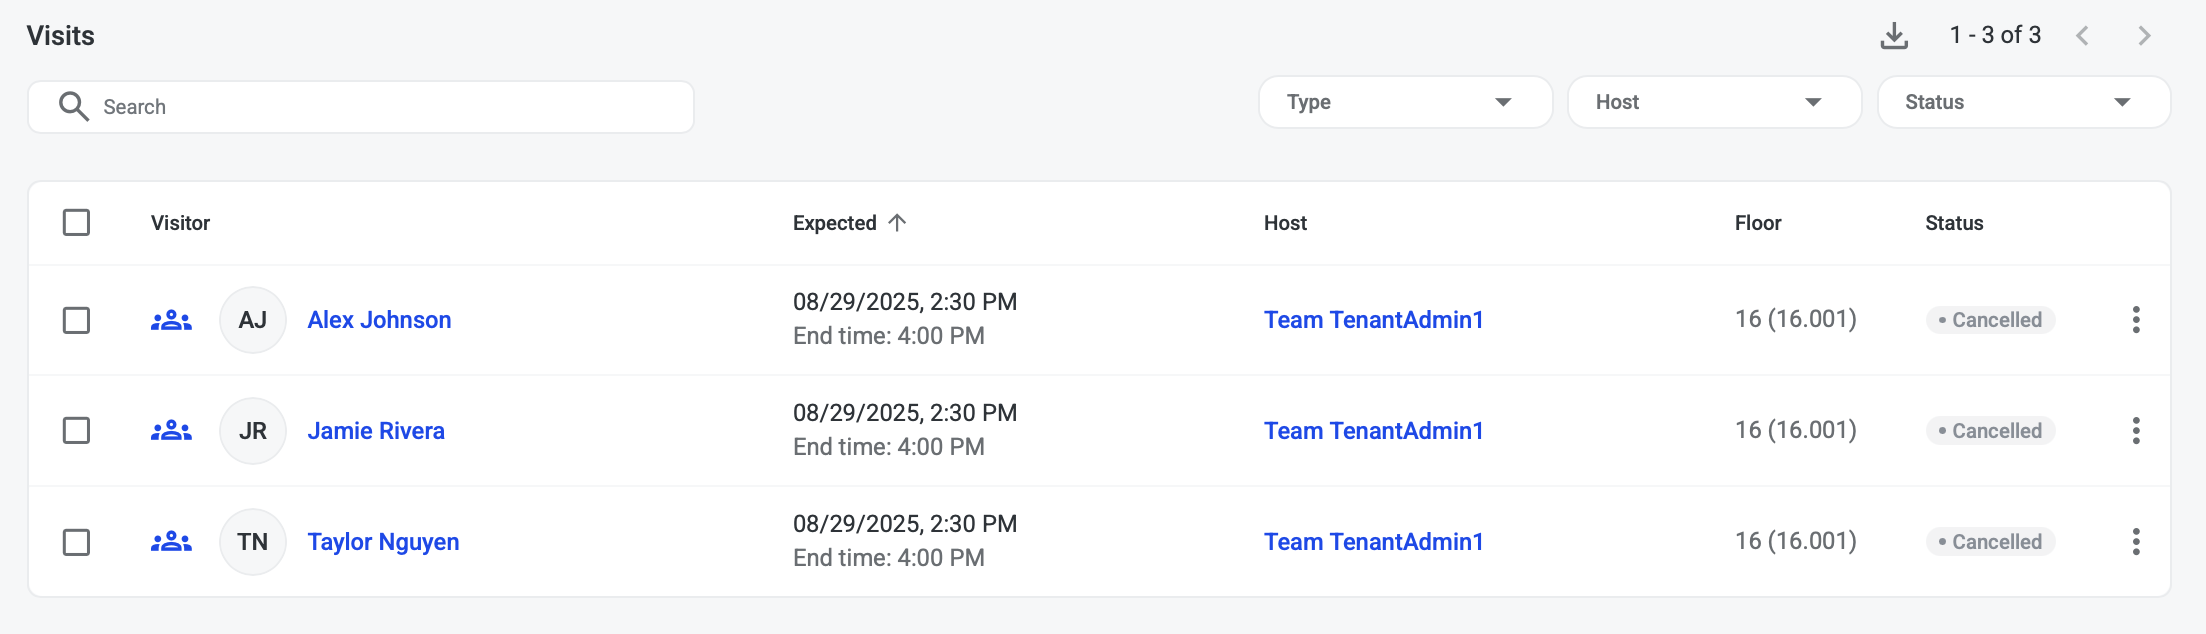
Click Update button once visit edits are complete. All visitors in the group visit will be cancelled.
-
Host and visitors receive cancellation emails
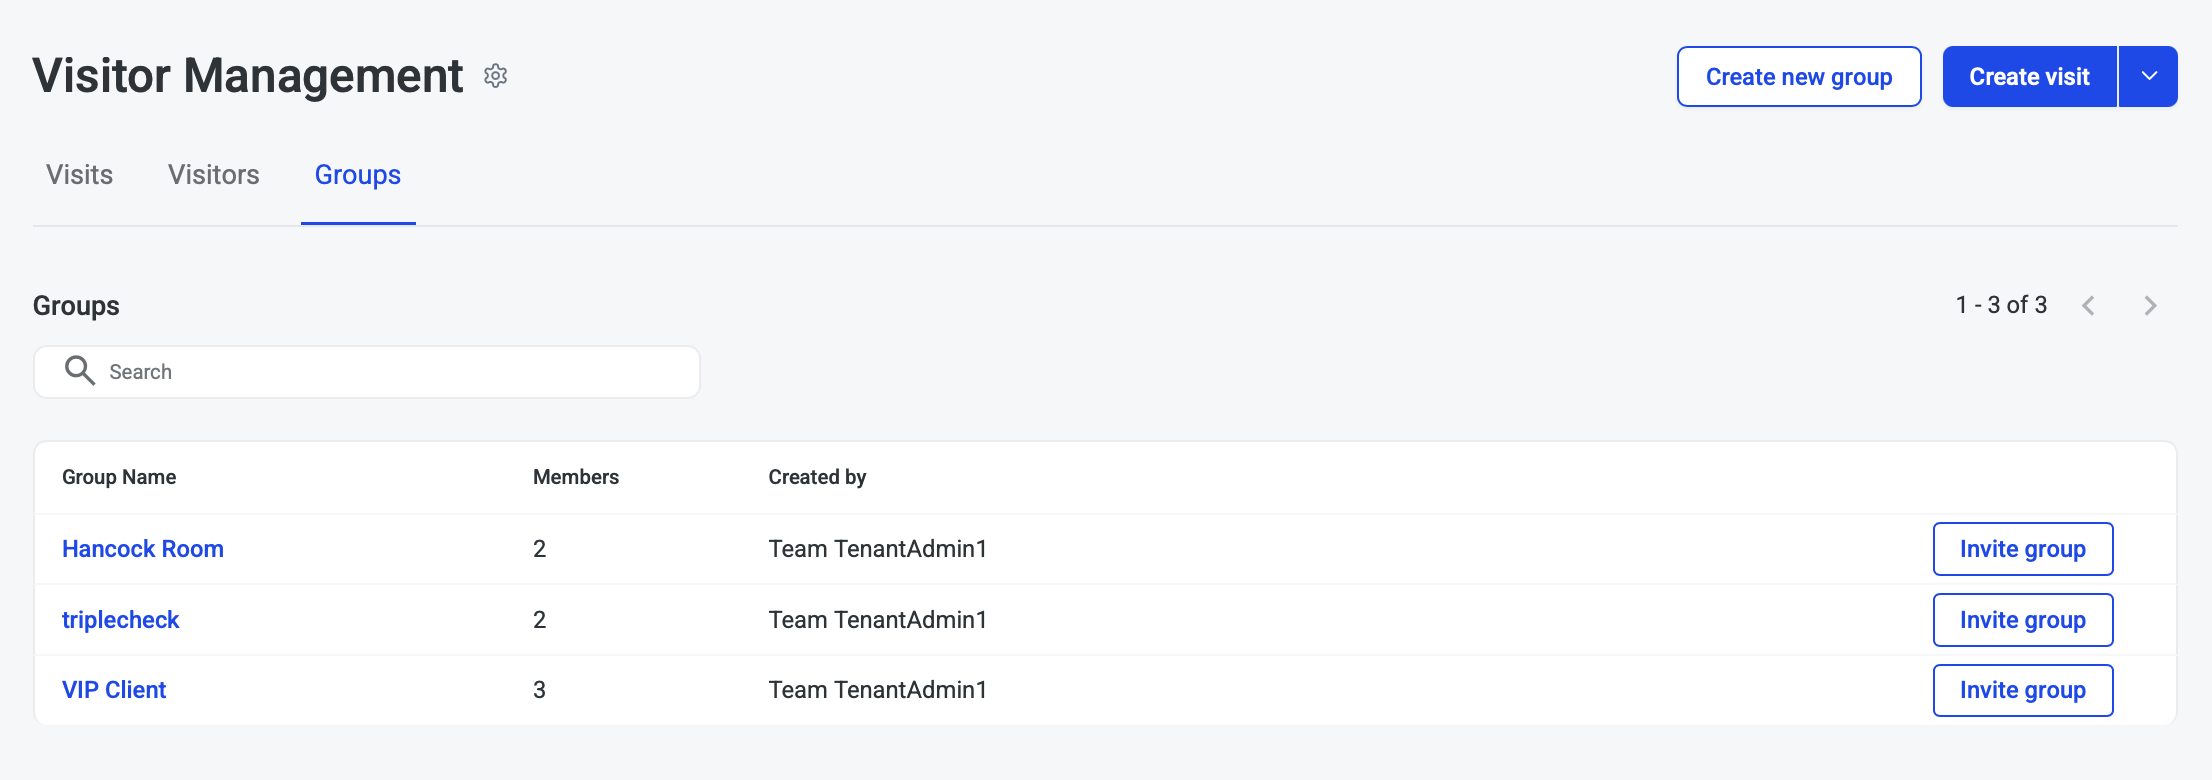
Managing groups
-
To view and manage your groups, navigate to the Groups tab
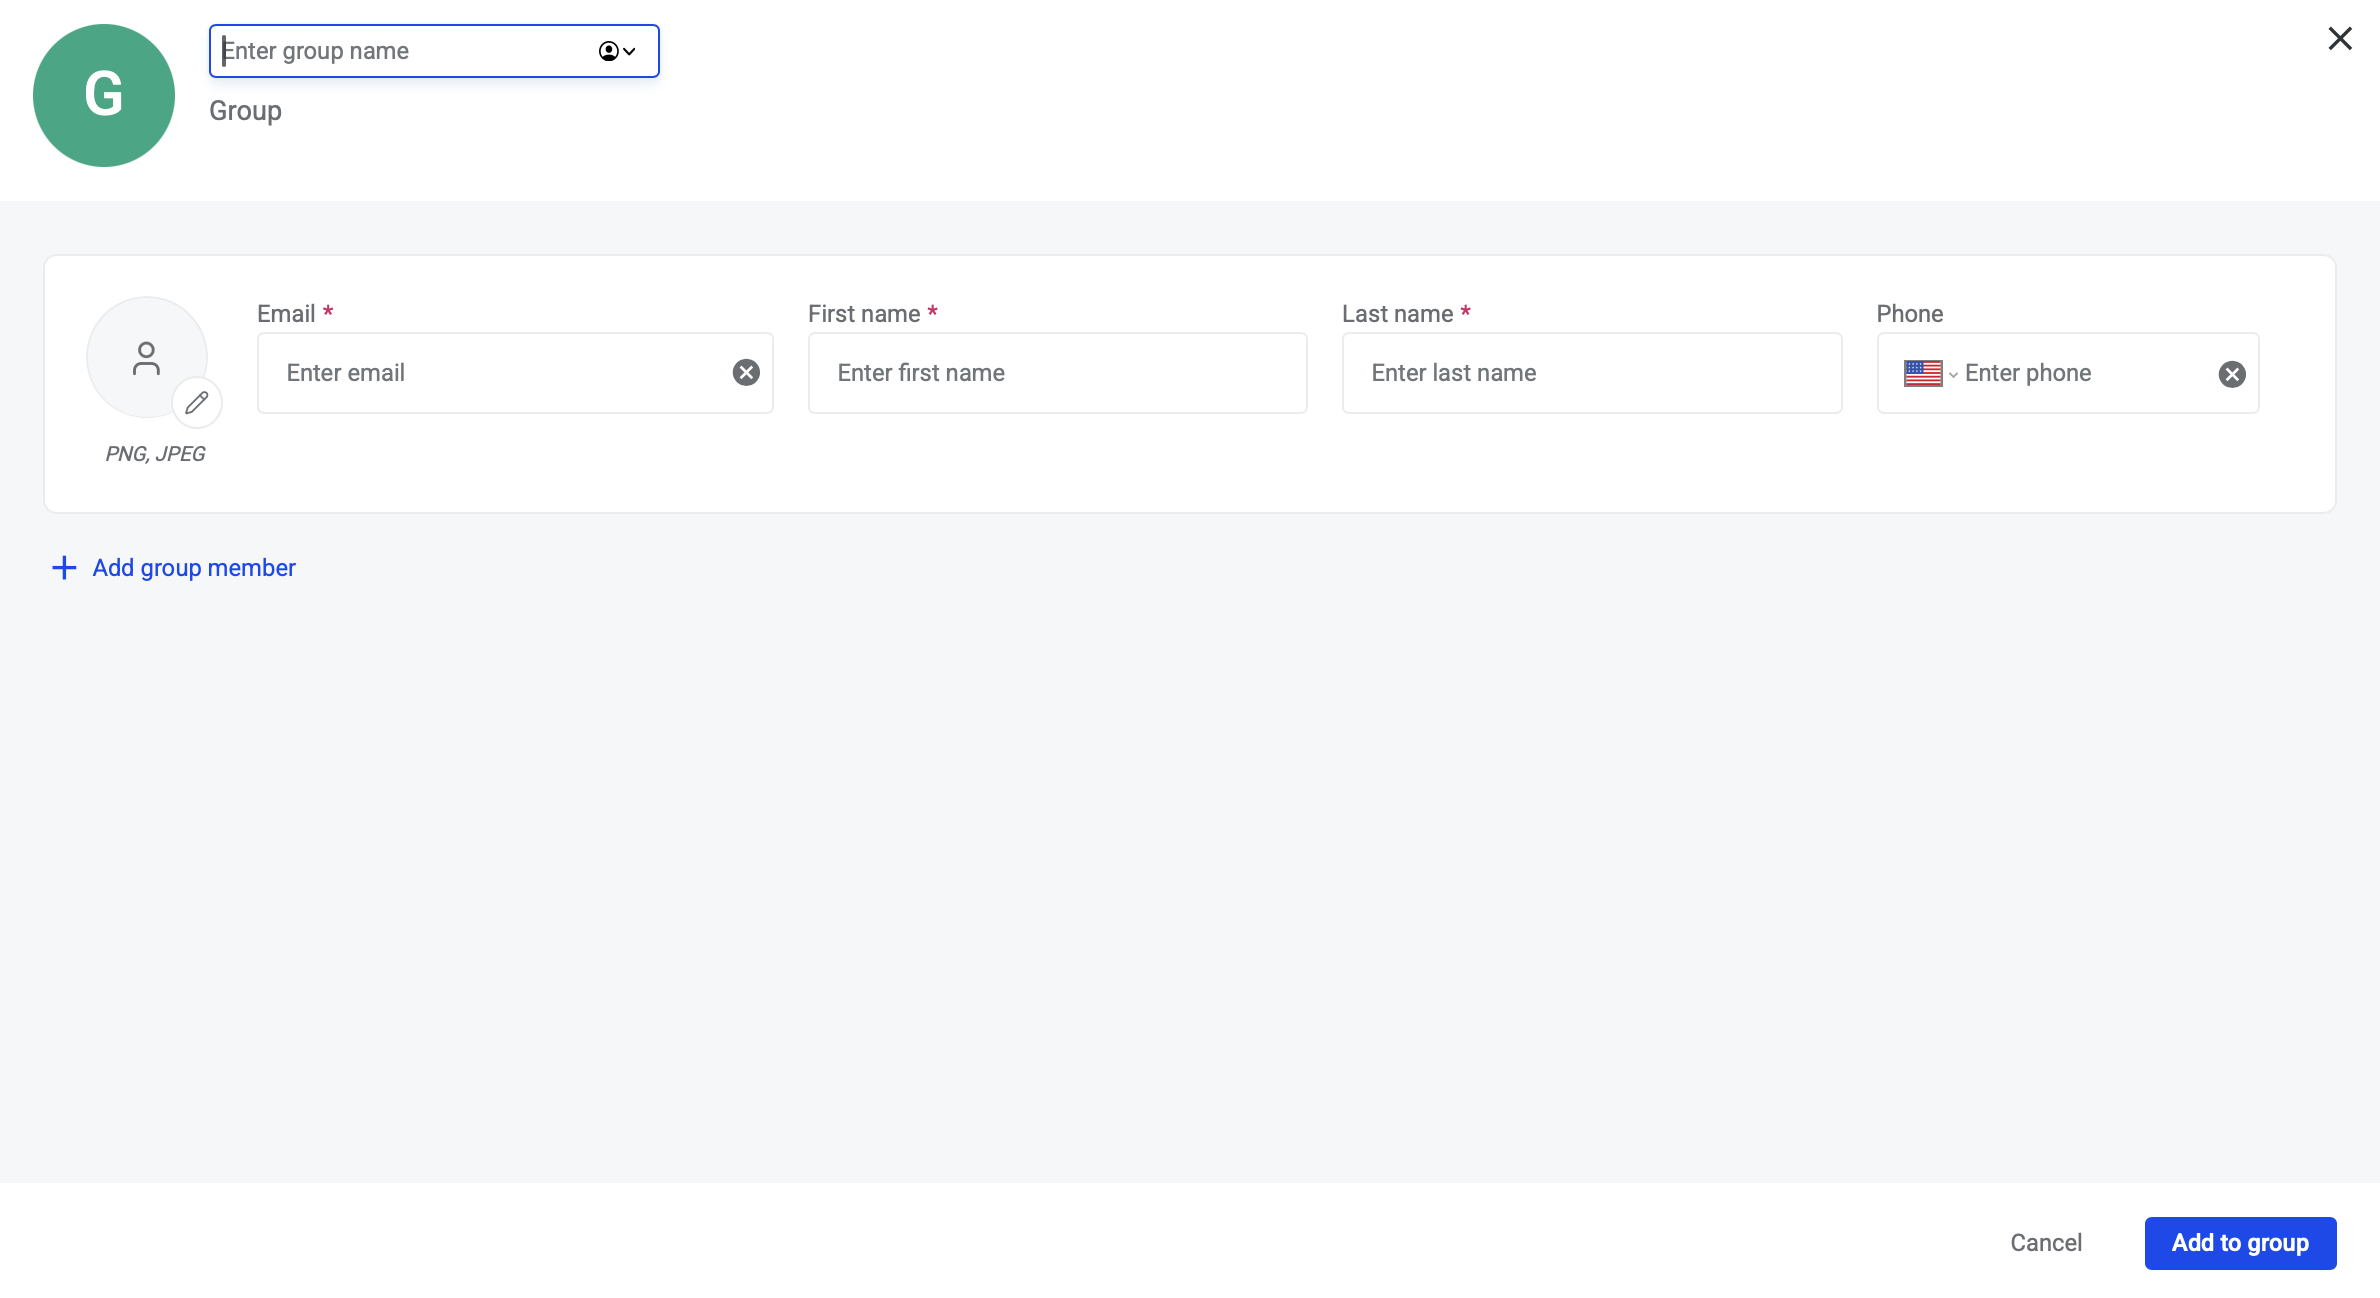
Create new group
-
To create a new group click the Create new group button

-
Create group form will allow you to create a group
-
On the create group form, enter Group name

-
Enter in visitors contact information that should be included in the group

-
Add group members as need by clicking the Add group member button
-
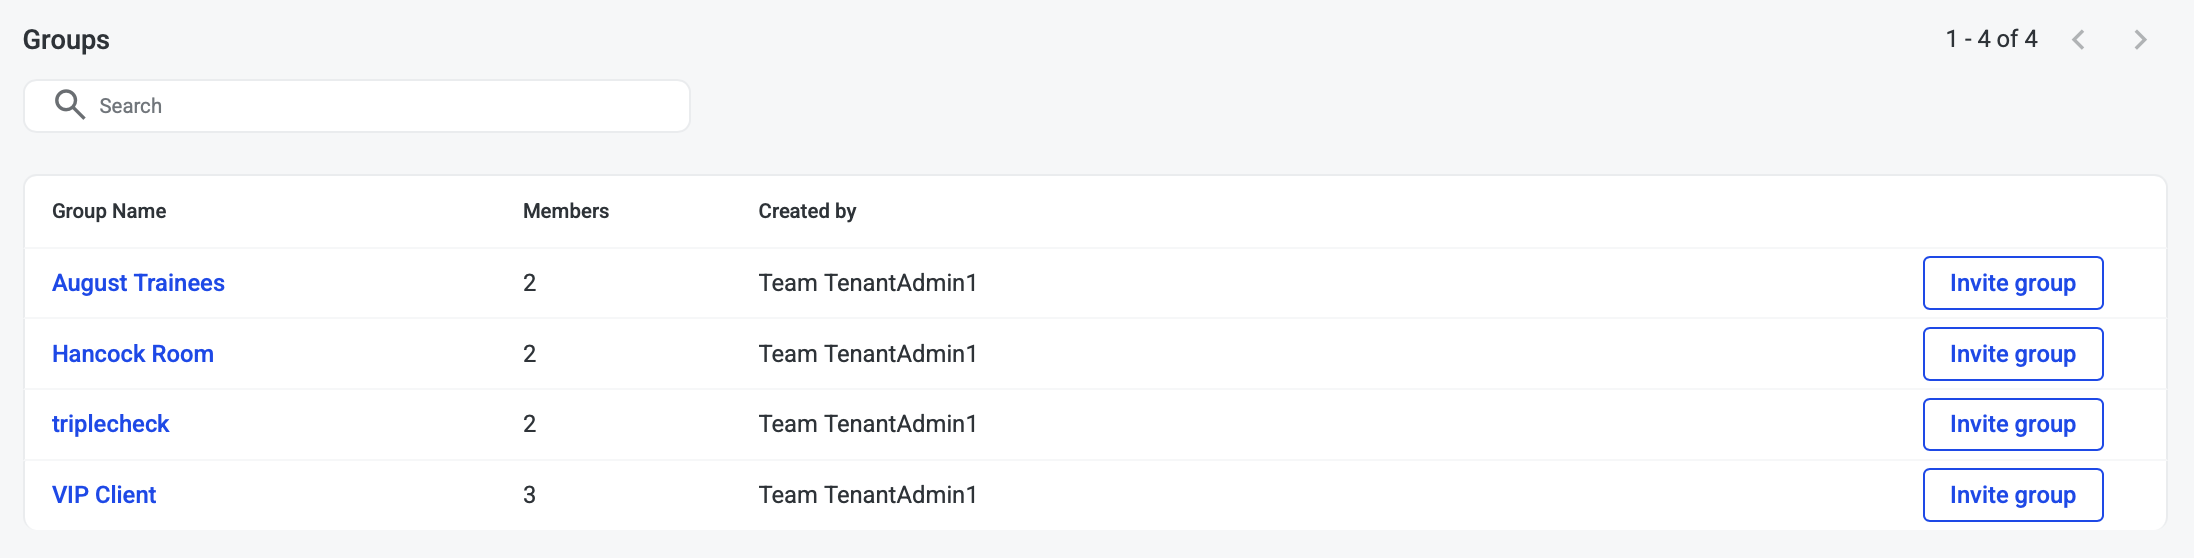
Once all group members' information is added, click Add group button
-
Group will be added to the Groups list
Invite group
You can invite a group by:
-
Visits tab > Create visit > Invite group
-
Groups tab > Invite group
Invite group on Create visit form
-
On Visits tab, click Create visit button
-
On New visit form, click Invite group button
-
Select Group from dropdown

-
Visitors are added to the visit
-
Complete visit details
-
Click Add visit button to save and invite the group
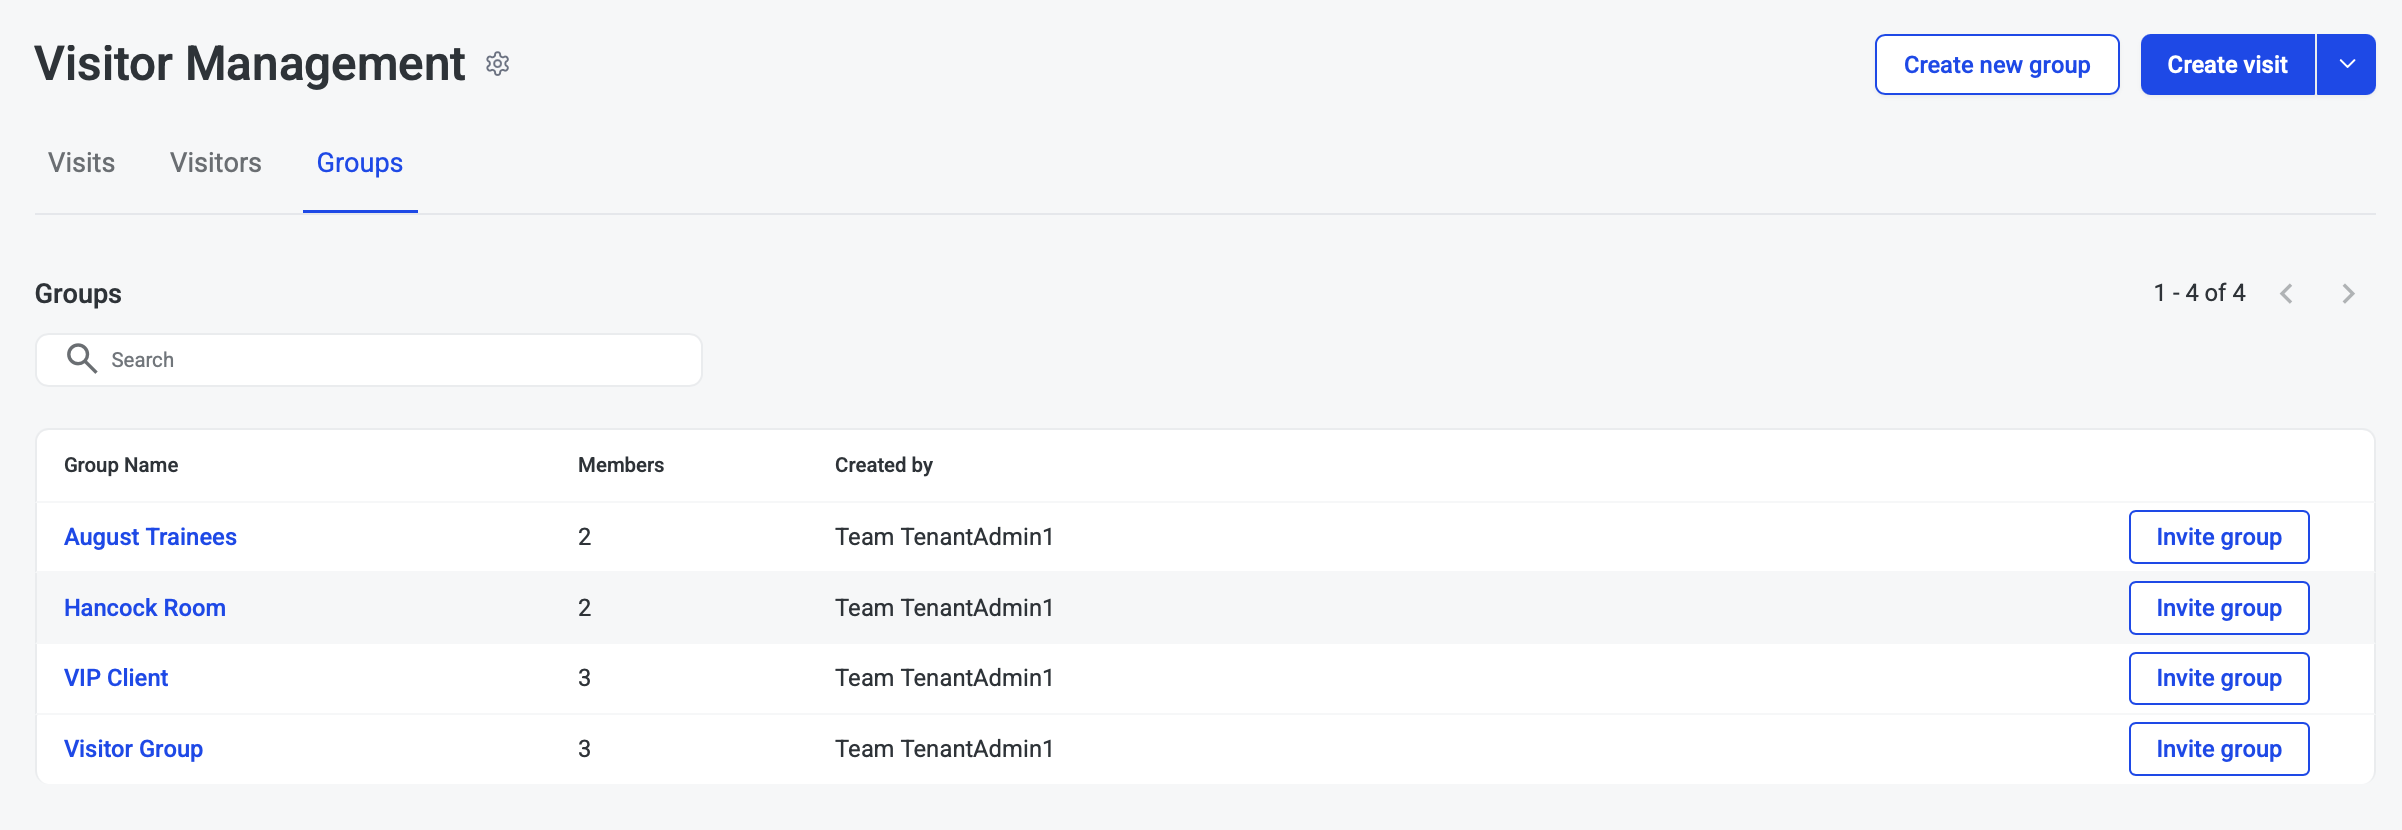
Find group to invite
-
On Groups tab, find the group you want to invite
-
Click Invite group button to invite group
-
New visitor form will open with Visitors in the group added
-
Complete visit details
-
Click Add visit button to save and invite the group
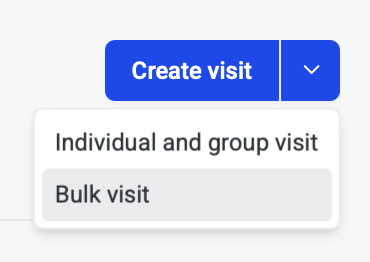
Bulk Registration
Bulk revisit allows you to add multiple visitors at once, each with their own unique details, either by importing a CSV or entering in each visitor and details.
-
To begin a bulk registration, click the arrow next to the create visit button, then select Bulk visit
-
On the Bulk visitor invites page you have the option to:
-
Upload visitors using a spreadsheet
-
Enter in multiple visitors into bulk invite list each with different visit details
-

Upload visitors
-
On Bulk visitor invite page, start by getting the visitor template by clicking Download the visit template
-
The template will download as a .csv and can be opened in your device’s default program
-
Do not modify the template’s column titles
-
The template contains the following columns:
-
visitor_email
-
visitor_first_name
-
visitor_last_name
-
visitor_phone
-
arrival_date
-
arrival_time
-
departure_time
-
host_email
-
visit_type
-
floor
-
suite
-
visitor_entries_count
-
notification_preference
-
visitor_note
-
guard_note
-
additional_recipients
-
-
-
Enter in your visitor contact information and visit details into the .csv
-
Save file as .csv
-
Once you have template ready, click the Upload visitors button

-
Select your saved .csv