Overview
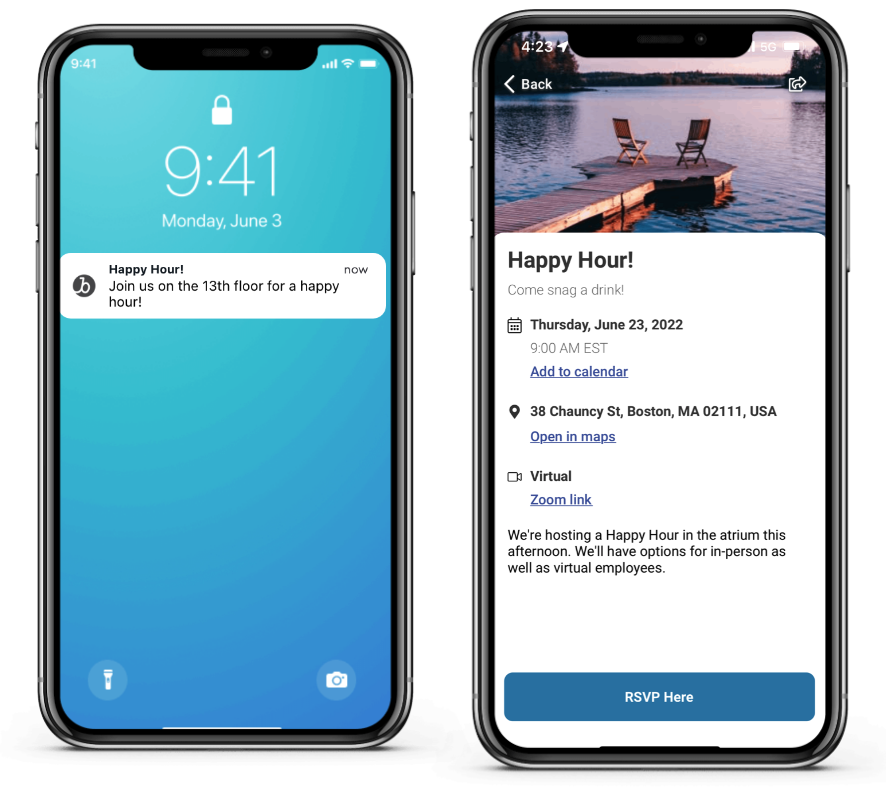
The Ability to send clickable, pop-up messages to app users. Push notifications are a direct communication channel from you to your users to increase engagement. To utilize this functionality schedule a push notification.
How does it work?
Mobile Experience:
-
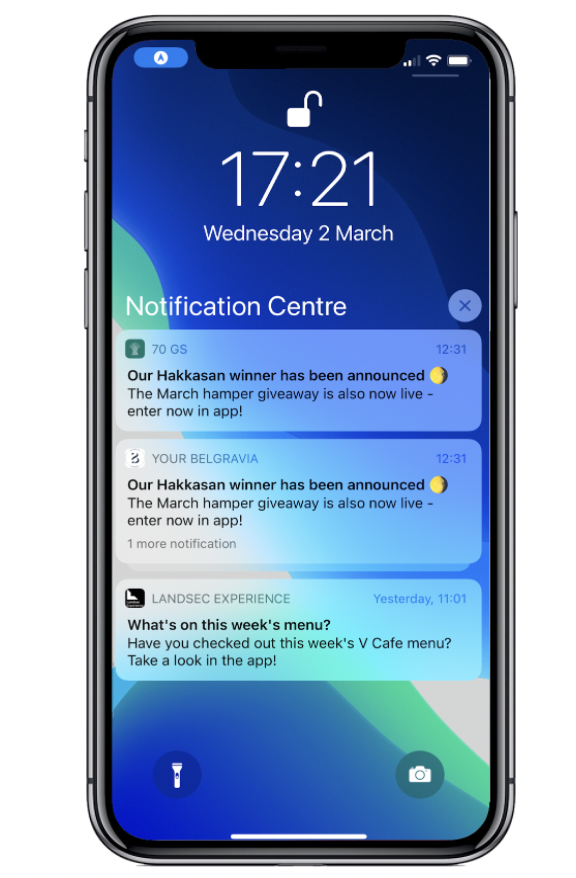
User actively chooses whether to allow push notifications as part of the sign-up process
-
If user has their permissions set to allow, they will receive scheduled push notifications to their phone
-
Users can turn notifications for the app off at any time
XM Admin Experience:
-
Admins can schedule push notifications to be sent ASAP or for a future date
-
Admins can target push notifications to specific audiences
Configuring Push Notifications
Content/Deeplinked Notification
Step 1: To start scheduling Deeplinked Notifications, navigate to ‘ Content Management’

Step 2:
-
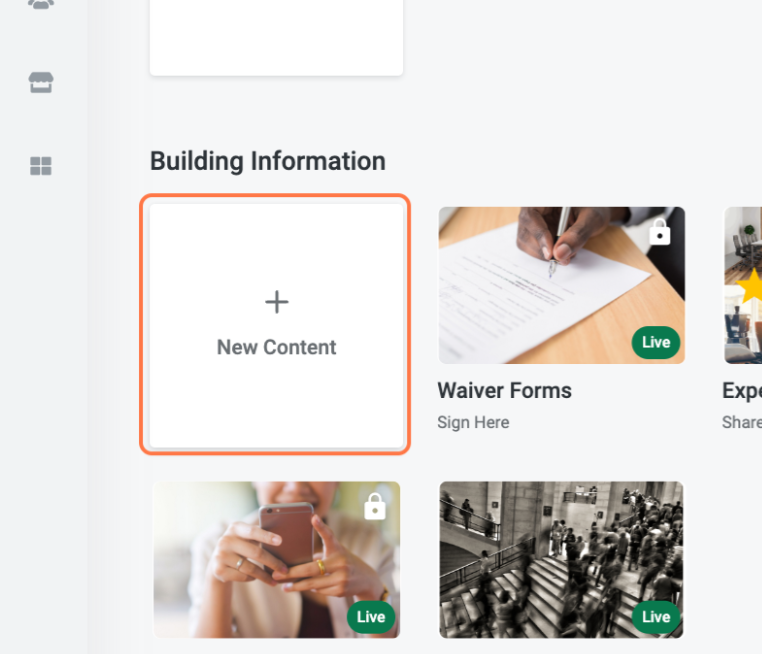
Select an existing piece of content you would like the notification linked to OR
-
Create a new tile from scratch (LINK)
Step 3: Navigate to the “Target” tab at the to of the content creator screen
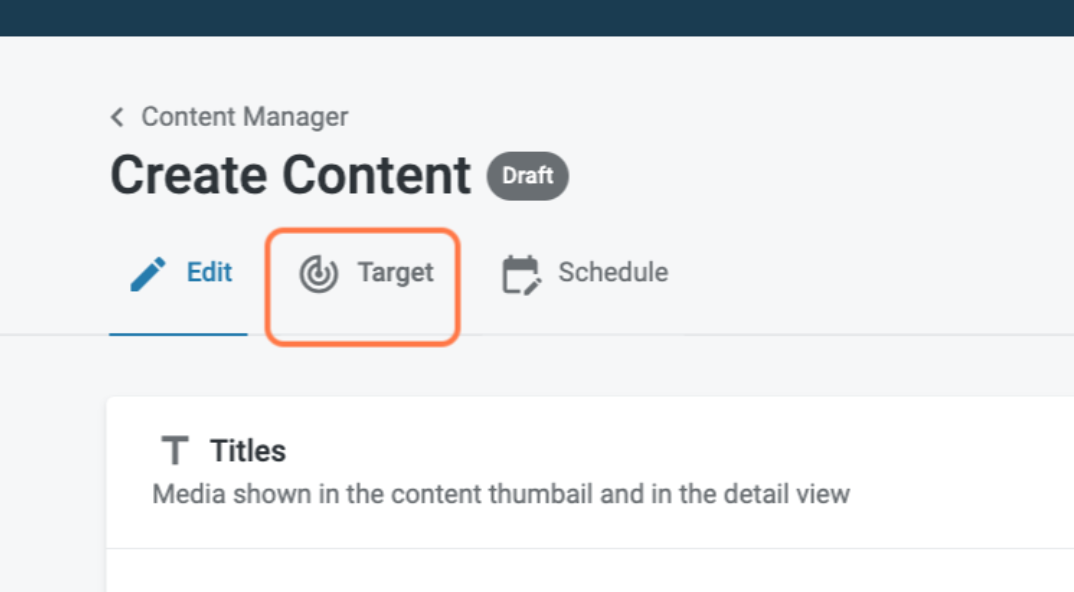
Step 4: Select “Promote this content with a notification” and the flyout will appear

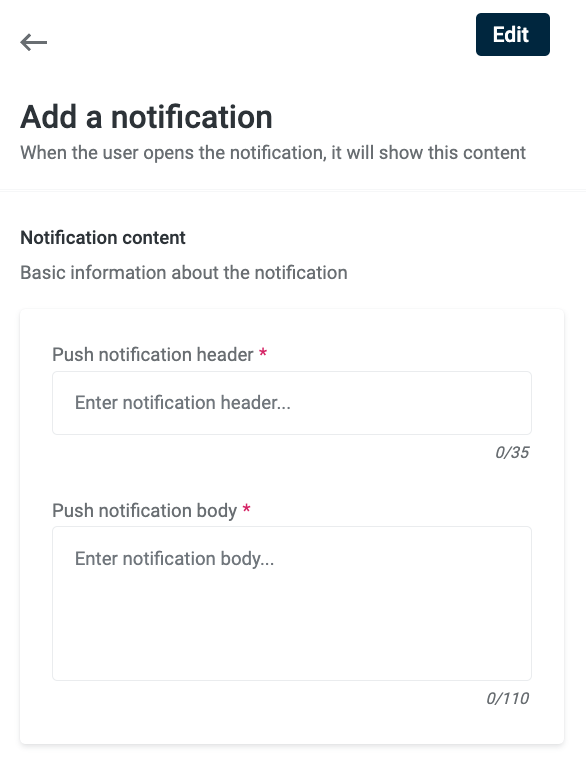
Step 5: Write the notification content by entering the Push notification header and the Push notification body
-
The character limits are recommended but not enforced
a. Push notification header = 35 Characters
b. Push notification body = 110 Characters
-
You can add Emojis to a Push notification header or Push notification body
-
To access the emoji keyboard on a Mac computer, during text entry, type Control + Command + Space
-
To access the emoji keyboard on a Windows computer, during text entry, type Windows logo key + . (period)
-
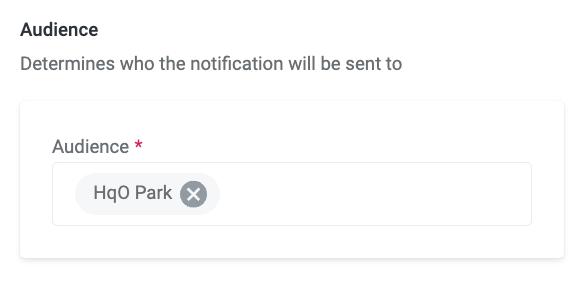
Step 6: Select an audience
-
The audience on the content tile will be the default
If you would like to send the notification to a different audience, it must be created prior and attached to the content tile.
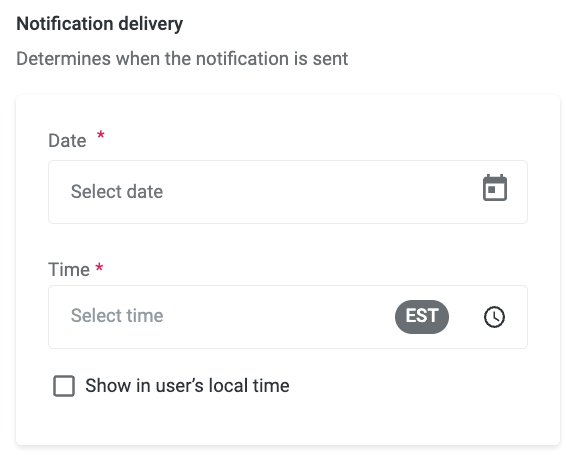
Step 7: Select a date & time - you can either send ASAP (in 5 minutes time) or schedule this in advance
Step 8: Press Schedule/Send the notification
Step 9: Save the piece of content once complete
Homescreen Notification
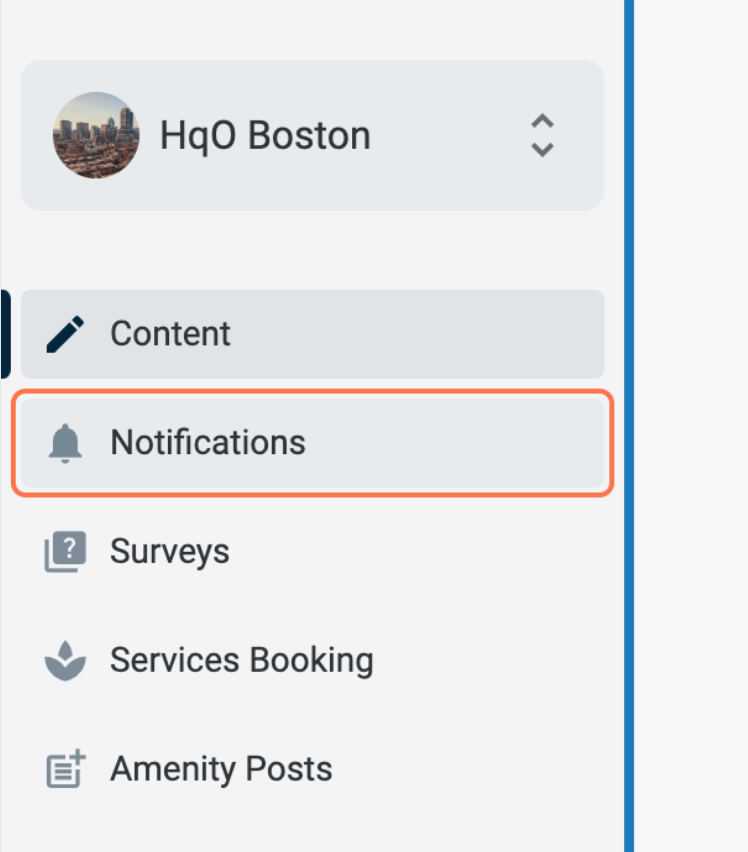
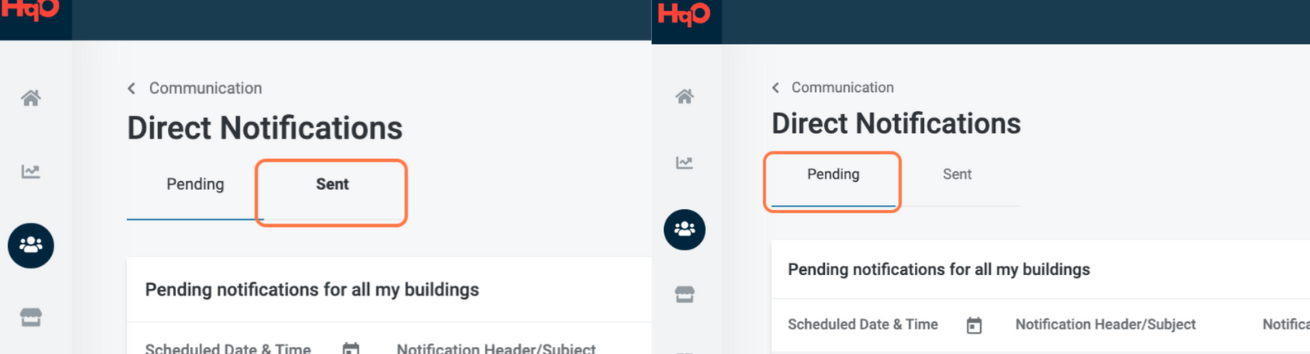
Step 1: To start managing Notifications navigate to ‘Communications’ and select Notifications
-
There are two tabs under ‘Direct Notifications’
-
Pending: notifications that are scheduled in advance that have not yet been sent
-
Sent: notifications that have already been sent
-
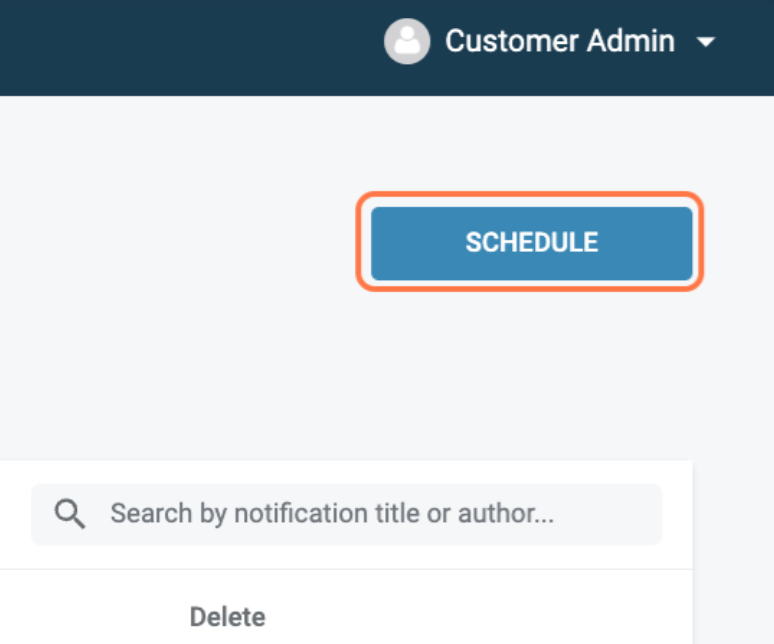
Step 2: To create a new notification click on the ‘Schedule’ button in the top right-hand corner
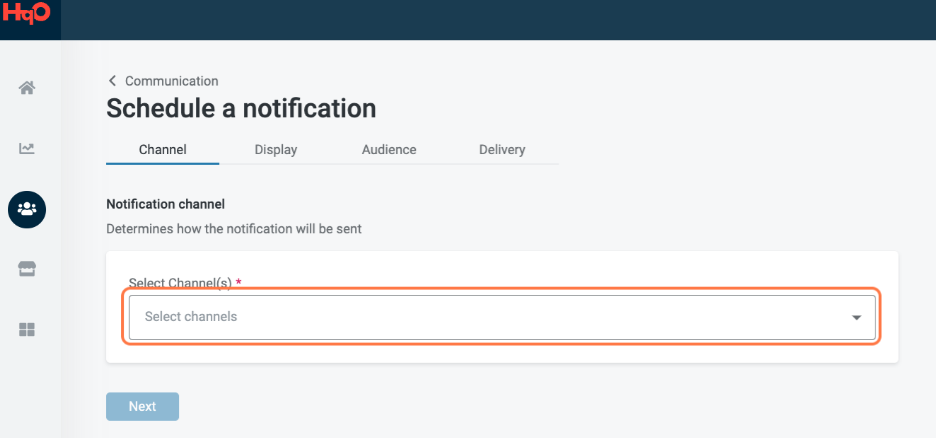
Step 3: Select a channel and click next
-
Channel is HOW the notification will be sent
-
Select Channel(s) by clicking the dropdown
-
Currently only push notifications are supported
-
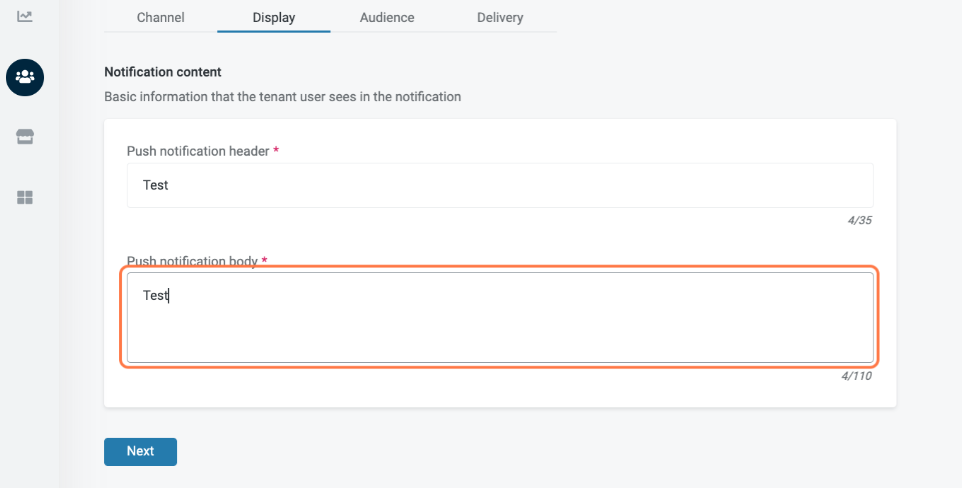
Step 4: Write the notification content by entering the Push notification header and the Push notification body
-
The character limits are recommended but not enforced
-
Push notification header = 35 Characters
-
Push notification body = 110 Characters
-
-
You can add Emojis to a Push notification header or Push notification body
-
To access the emoji keyboard on a Mac computer, during text entry, type Control + Command + Space
-
To access the emoji keyboard on a Windows computer, during text entry, type Windows logo key + . (period)
-
Step 5: Click Next to move to the next step
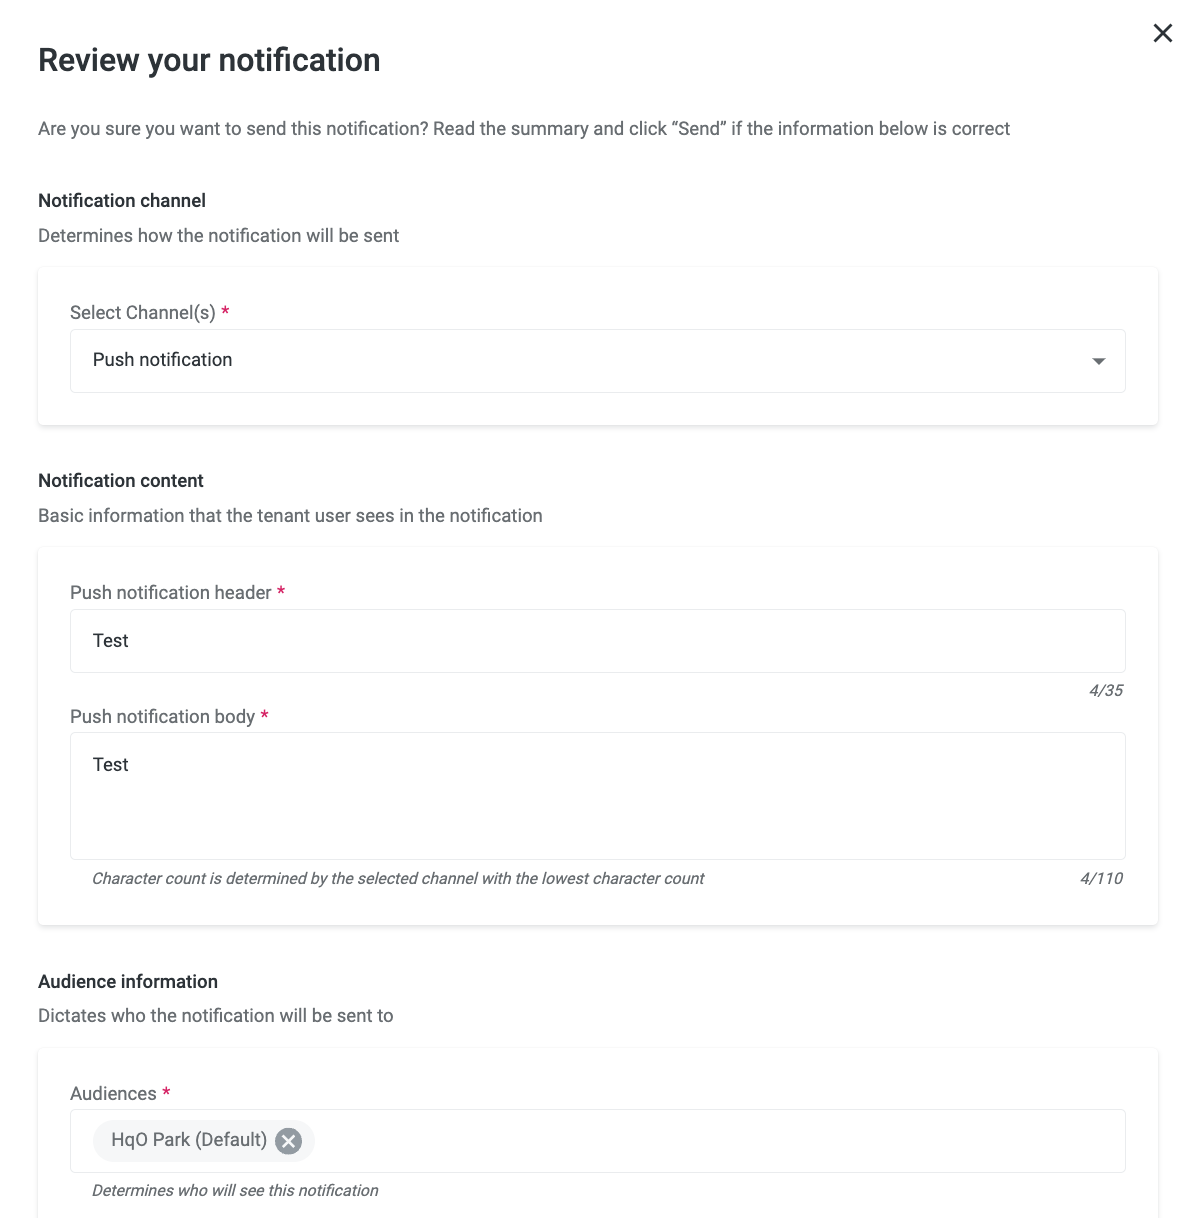
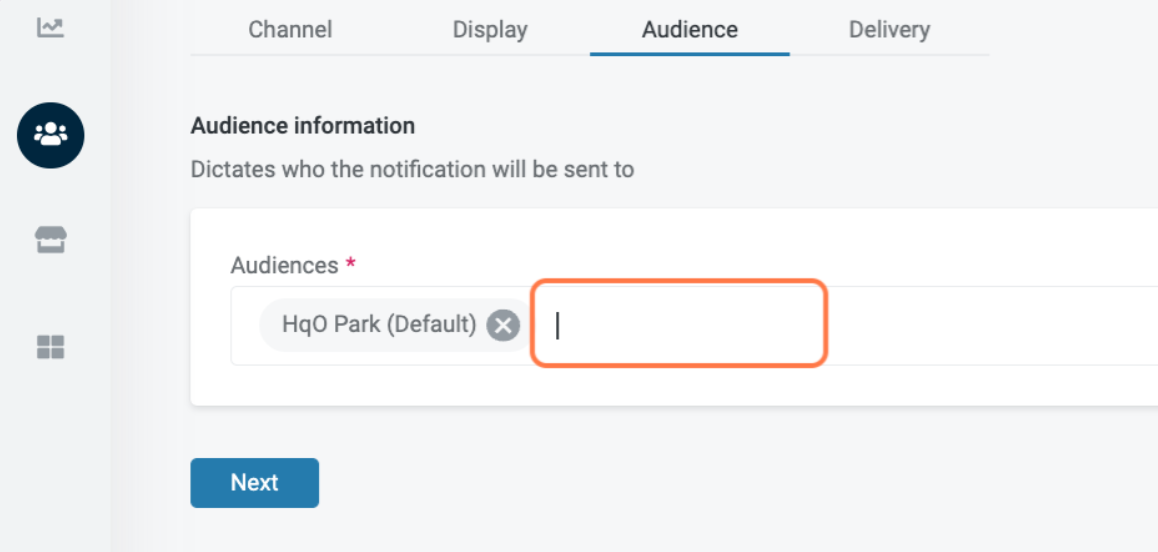
Step 6: Select an audience
-
The building audience will be the default, to remove an audience click the 'x'
-
To add another audience, start typing the name in the audiences field and select this
Step 7: Select a date & time - you can either send ASAP (in 5 minutes time) or schedule this in advance
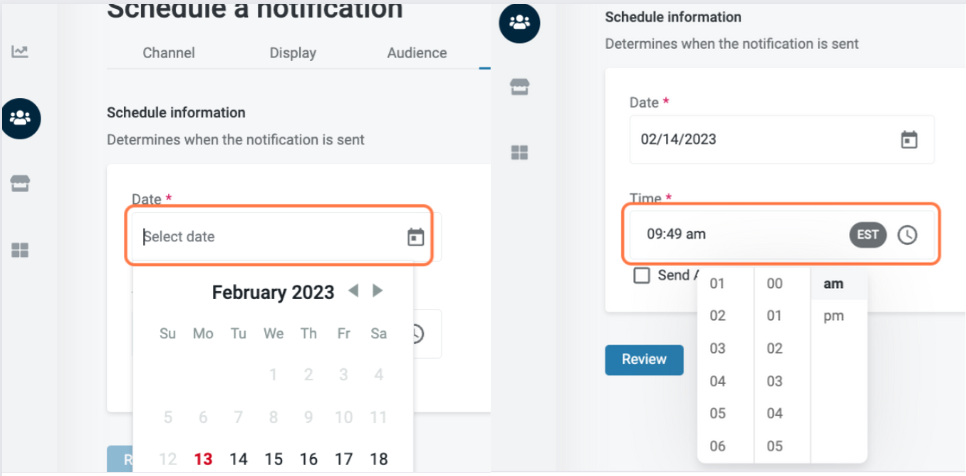
Step 8: Review and Press Schedule/Send the notification