Configuring HqO Resource Booking
Create HqO Resource Booking App Instance
Step 1: Log into HqO Admin and navigate to Resource Booking under the modules tab
.png?cb=4b12149289e57352d14ddb1bba31bbc9)
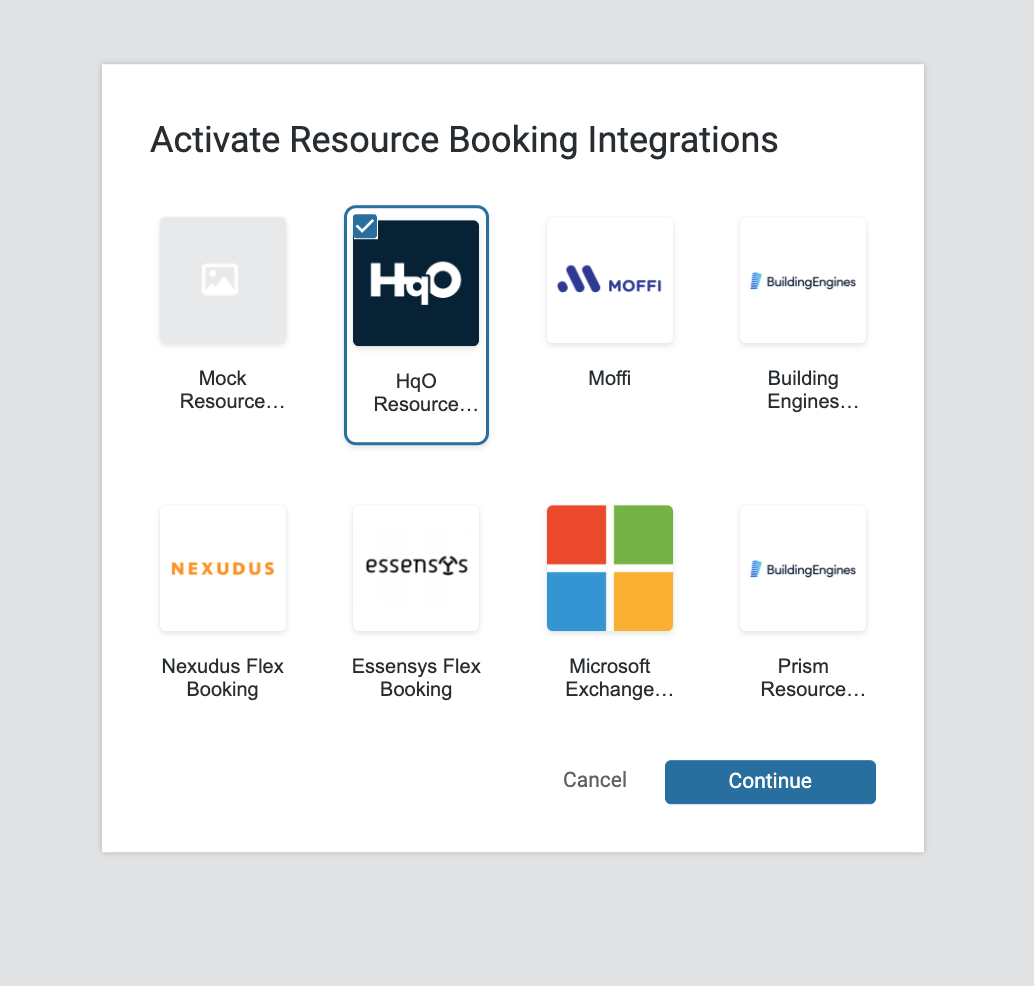
Step 2: Click Add Application and select HqO Resource Booking from the Active Resource Booking Integrations popup message.
Step 3: Select HqO Resource Booking and Activate
Step 4: Customize your HqO Resource Booking experience & Activate
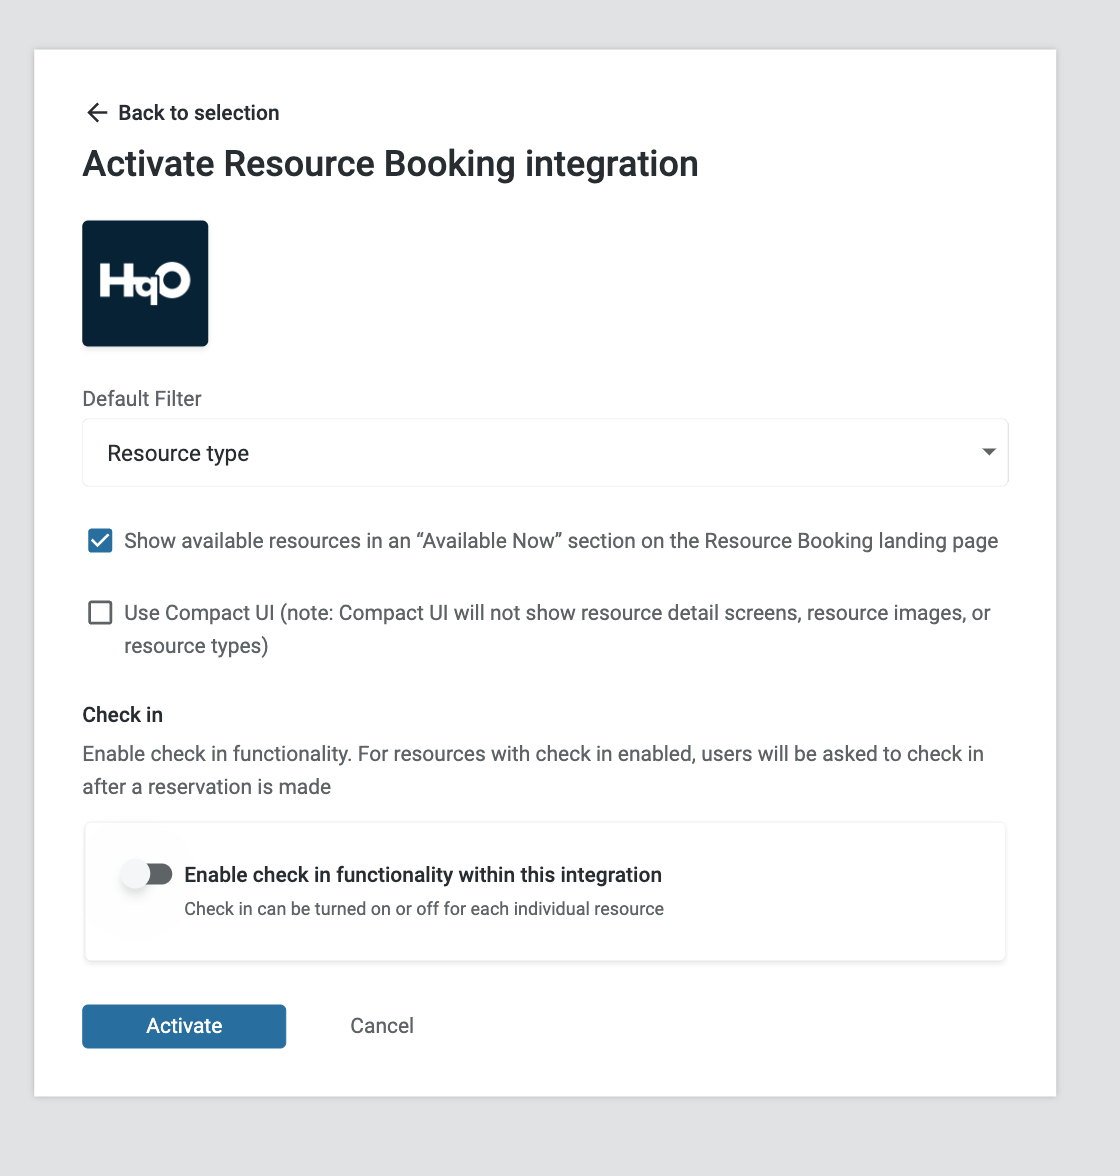
Optional Settings
Default Filter: Here, you can choose if you would like for your end-users to default to view resources based on the Resource Type (Large Conference Room, Parking, etc) or Capacity.
Sort Floors on: Here, you can choose if you would like to sort floors by level or name. Available options are: Floor level, Floor name
Available Now: If you would like your end users to default to viewing any resource that is available when your user is viewing the app, check off “Show available resources in an “Available Now” section on the Resource Booking landing page”, otherwise the end user will search specific dates & times to see what resources are available.
Multi-day Booking: If you would like your end user to be able to booking a resource for more than one day at a time check off “Enable multi-day booking”. Only available with free resources.
Compact UI: For a more minimal experience, Compact UI only shows key information.
Show “All day” Toggle: If you would like your end users to have a short cut to search for, select and book resources that are. available for the entire day, check off “Show the “All day” toggle”.
Check In: If you would like to have your users need to “check in” once they arrive at the reservation, you can enable Check in.
Step 5: Click “My Apps / Resource Management”
Configure Resource Booking Payments
Charging Tenants for Resource Utilization
There are two flexible options for charging tenants when they book resources in your space:
-
Credit Card Payments: Instant payment at the time of booking, deposited into a connected Stripe account.
-
Account-Based Payments: Deferred payment managed by your property team, such as via rent statements or other collection methods.
Admins can enable either option individually or both at the same time.
Explore both options and view configuration instructions here.
Configure Resource Booking Visuals
When end users book resources, they will see the name of the location. This is defaulted to the building name, but can be customized through the app visuals tab if desired.
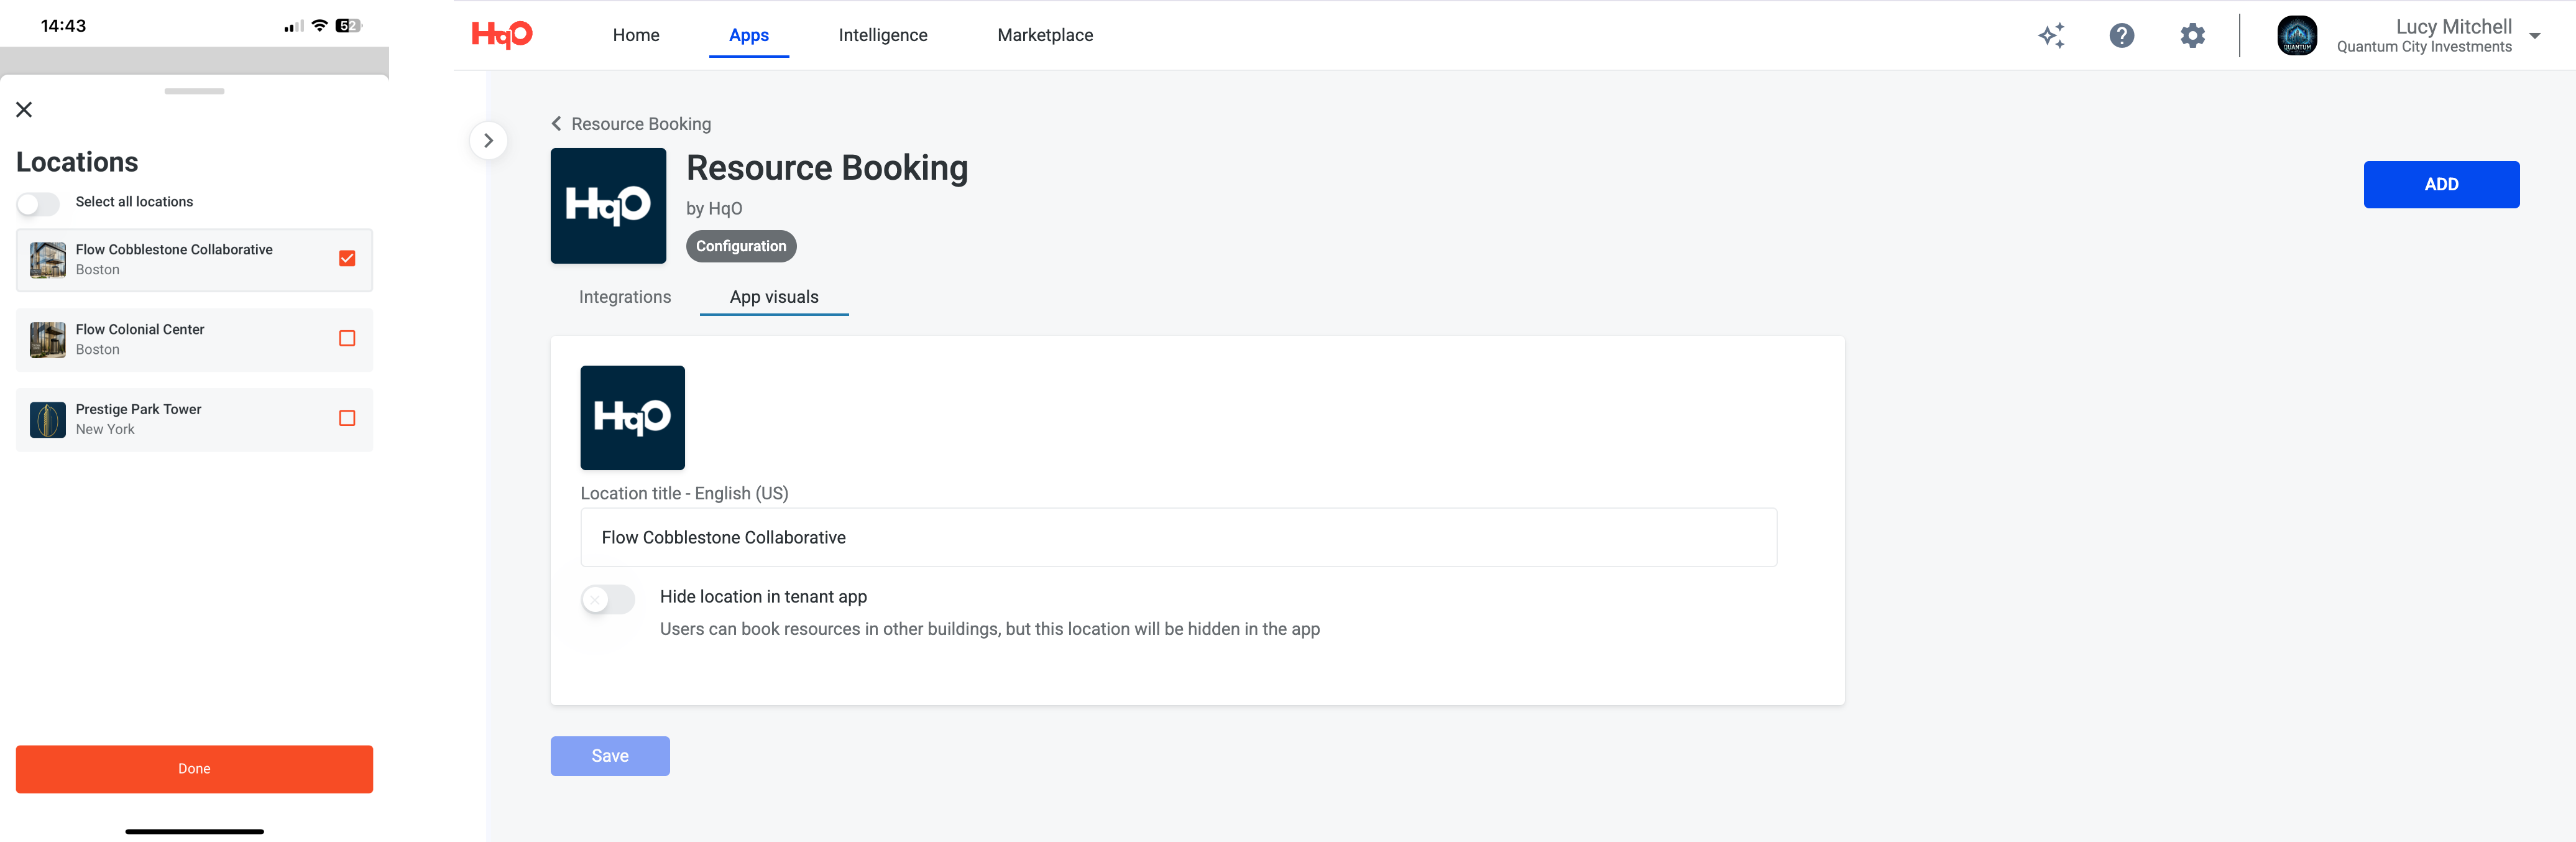
To configure custom names simply enter the custom name on the “location title” section. This will automatically update the location drop down in the end user resource booking experience.
For portfolios that have cross building booking turned on, it is also possible to hide a location from the location dropdown. This is useful in the case that a location should be able to see and book at other locations but does not have resources itself so it shouldn’t be listed in the location dropdown.
Paid Bookings
There are multiple flexible configurations for paid resources. Each booking window can have its' own payment configuration.
-
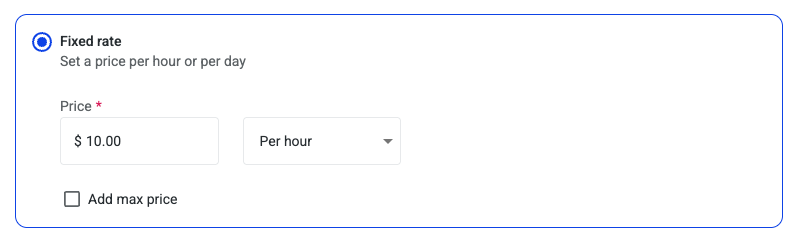
Fixed rate: set a fixed rate per hour or per day. For per hour fixed rates, add a max price if applicable.
-
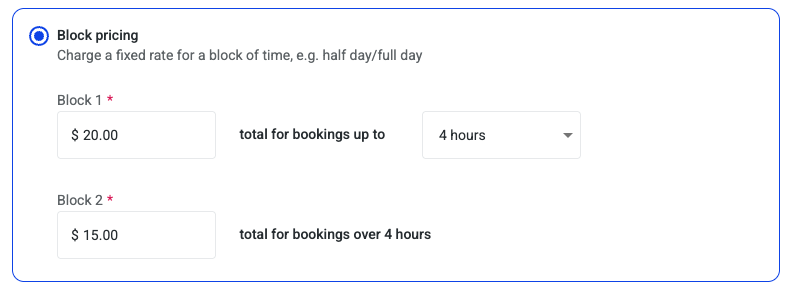
Block pricing: set up to two blocks for specific hours of the day. This configuration works well for half day and full day pricing.
-
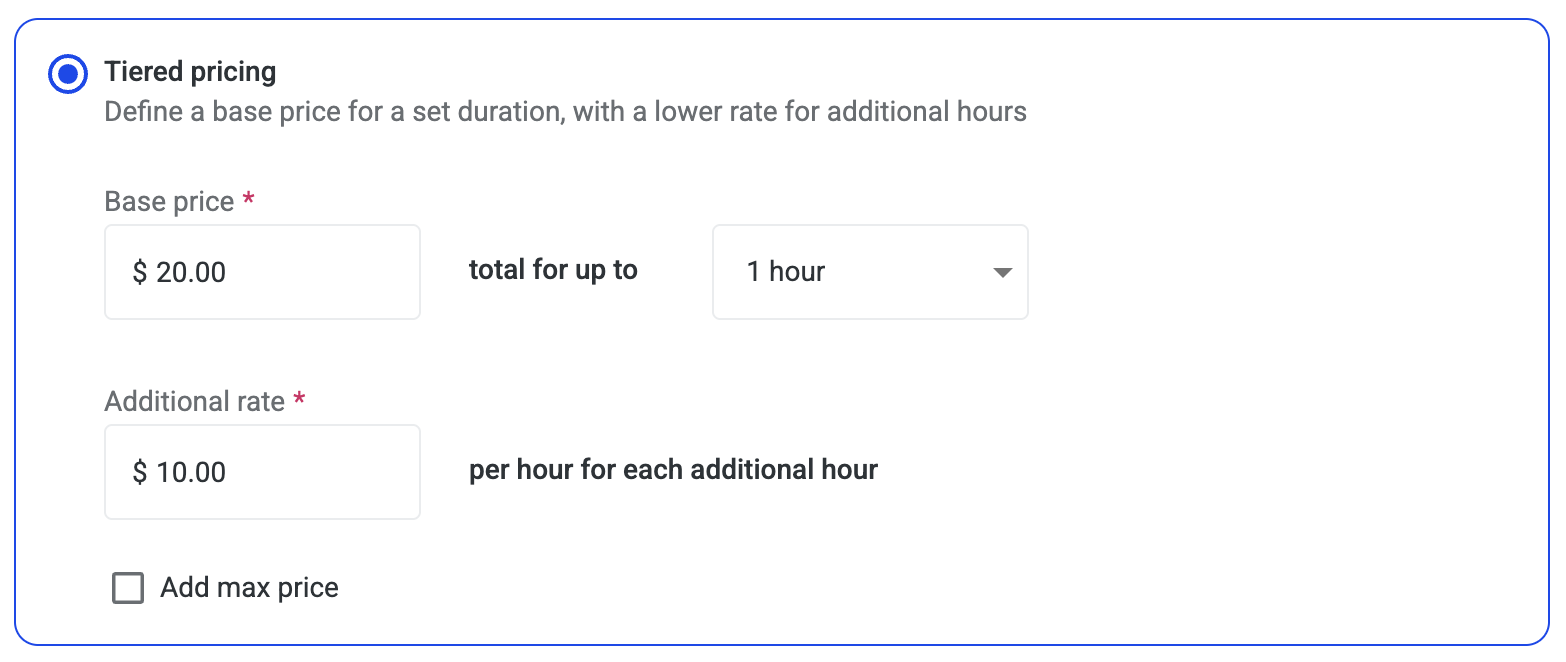
Tiering Pricing: set a base price for a set duration and then add a different rate for additional hours - this is a good option to give discounts for longer times booked. Set a max price to ensure tenants don’t pay more than a certain amount.
Add Resources
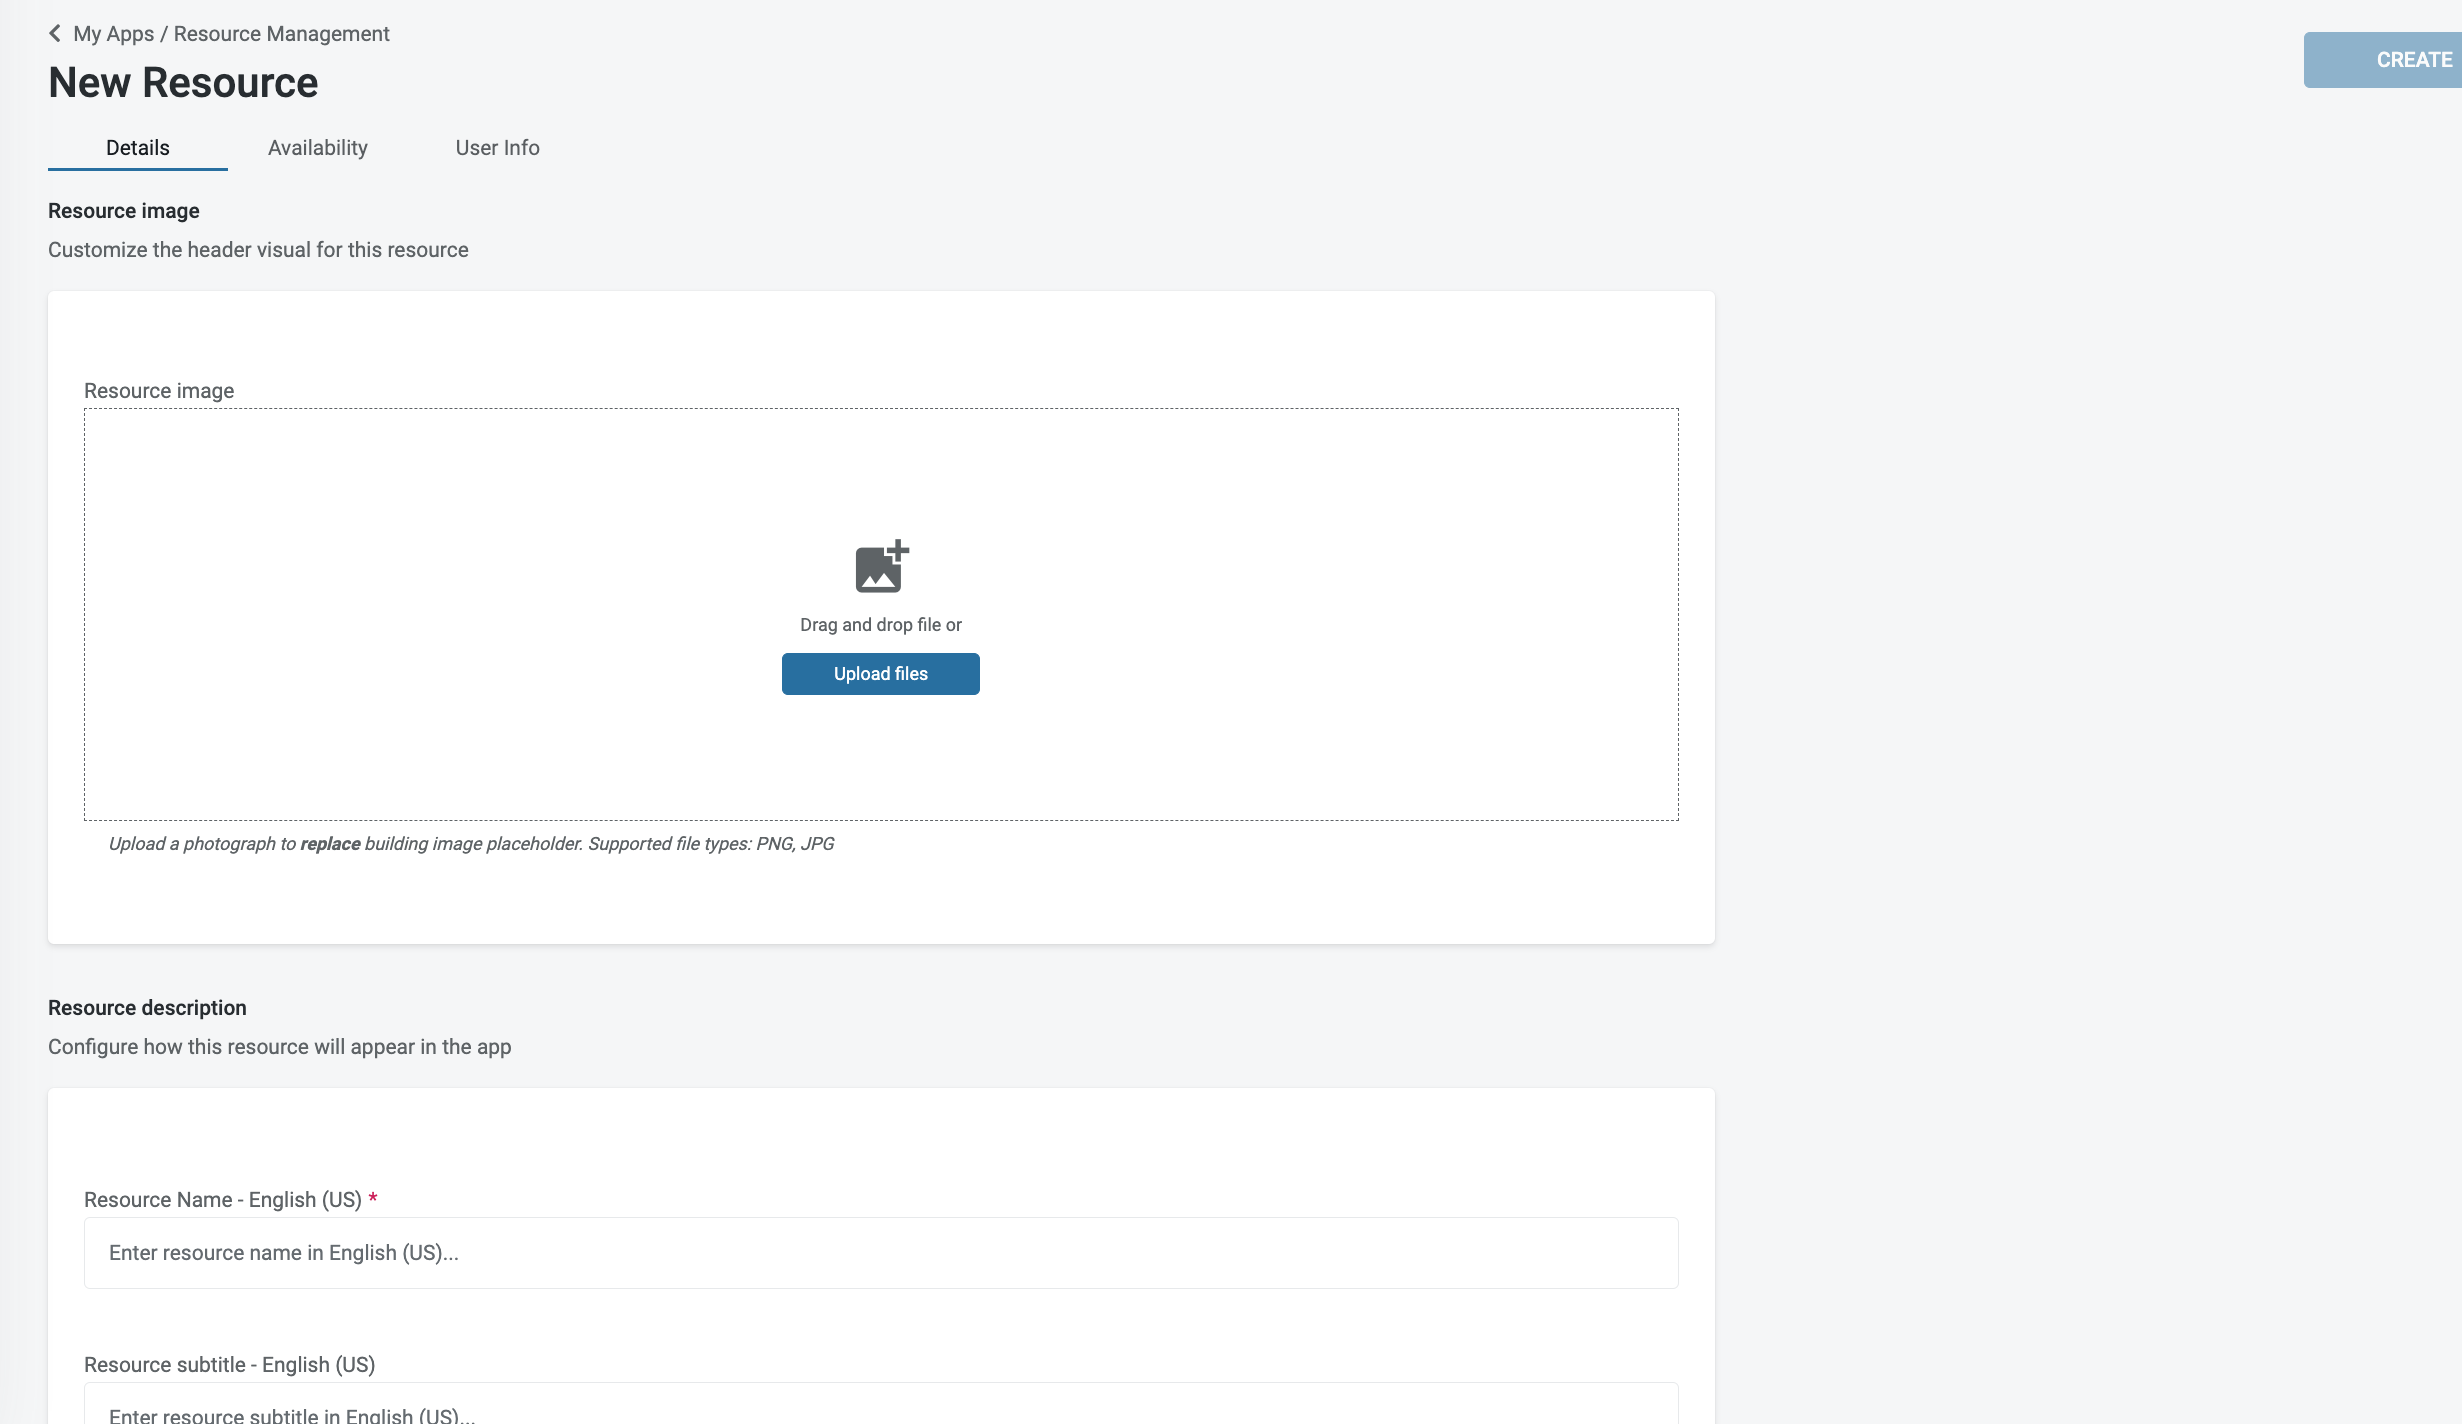
Step 1: Click Add Resource

Step 2: Fill out the necessary fields (Note: Required fields have a '*' next to the title)
Details: Here you will provide all the key information about the resource (name, capacity, amenities, photo, etc).
Optional Settings (not all settings are available for all users)
Send email notifications to the contact email when bookings are created/cancelled: Toggle on if you want the resource contact receive emails for new and canceled bookings when auto-confirm is enabled.
Auto-confirm all bookings: toggle on the option on if you want the end user to be able to book resources instantly when they become available.
Check-in enabled: Toggle on the option for end users to confirm resource usage 15 minutes before booking start time. Failure to confirm will result in cancellation.
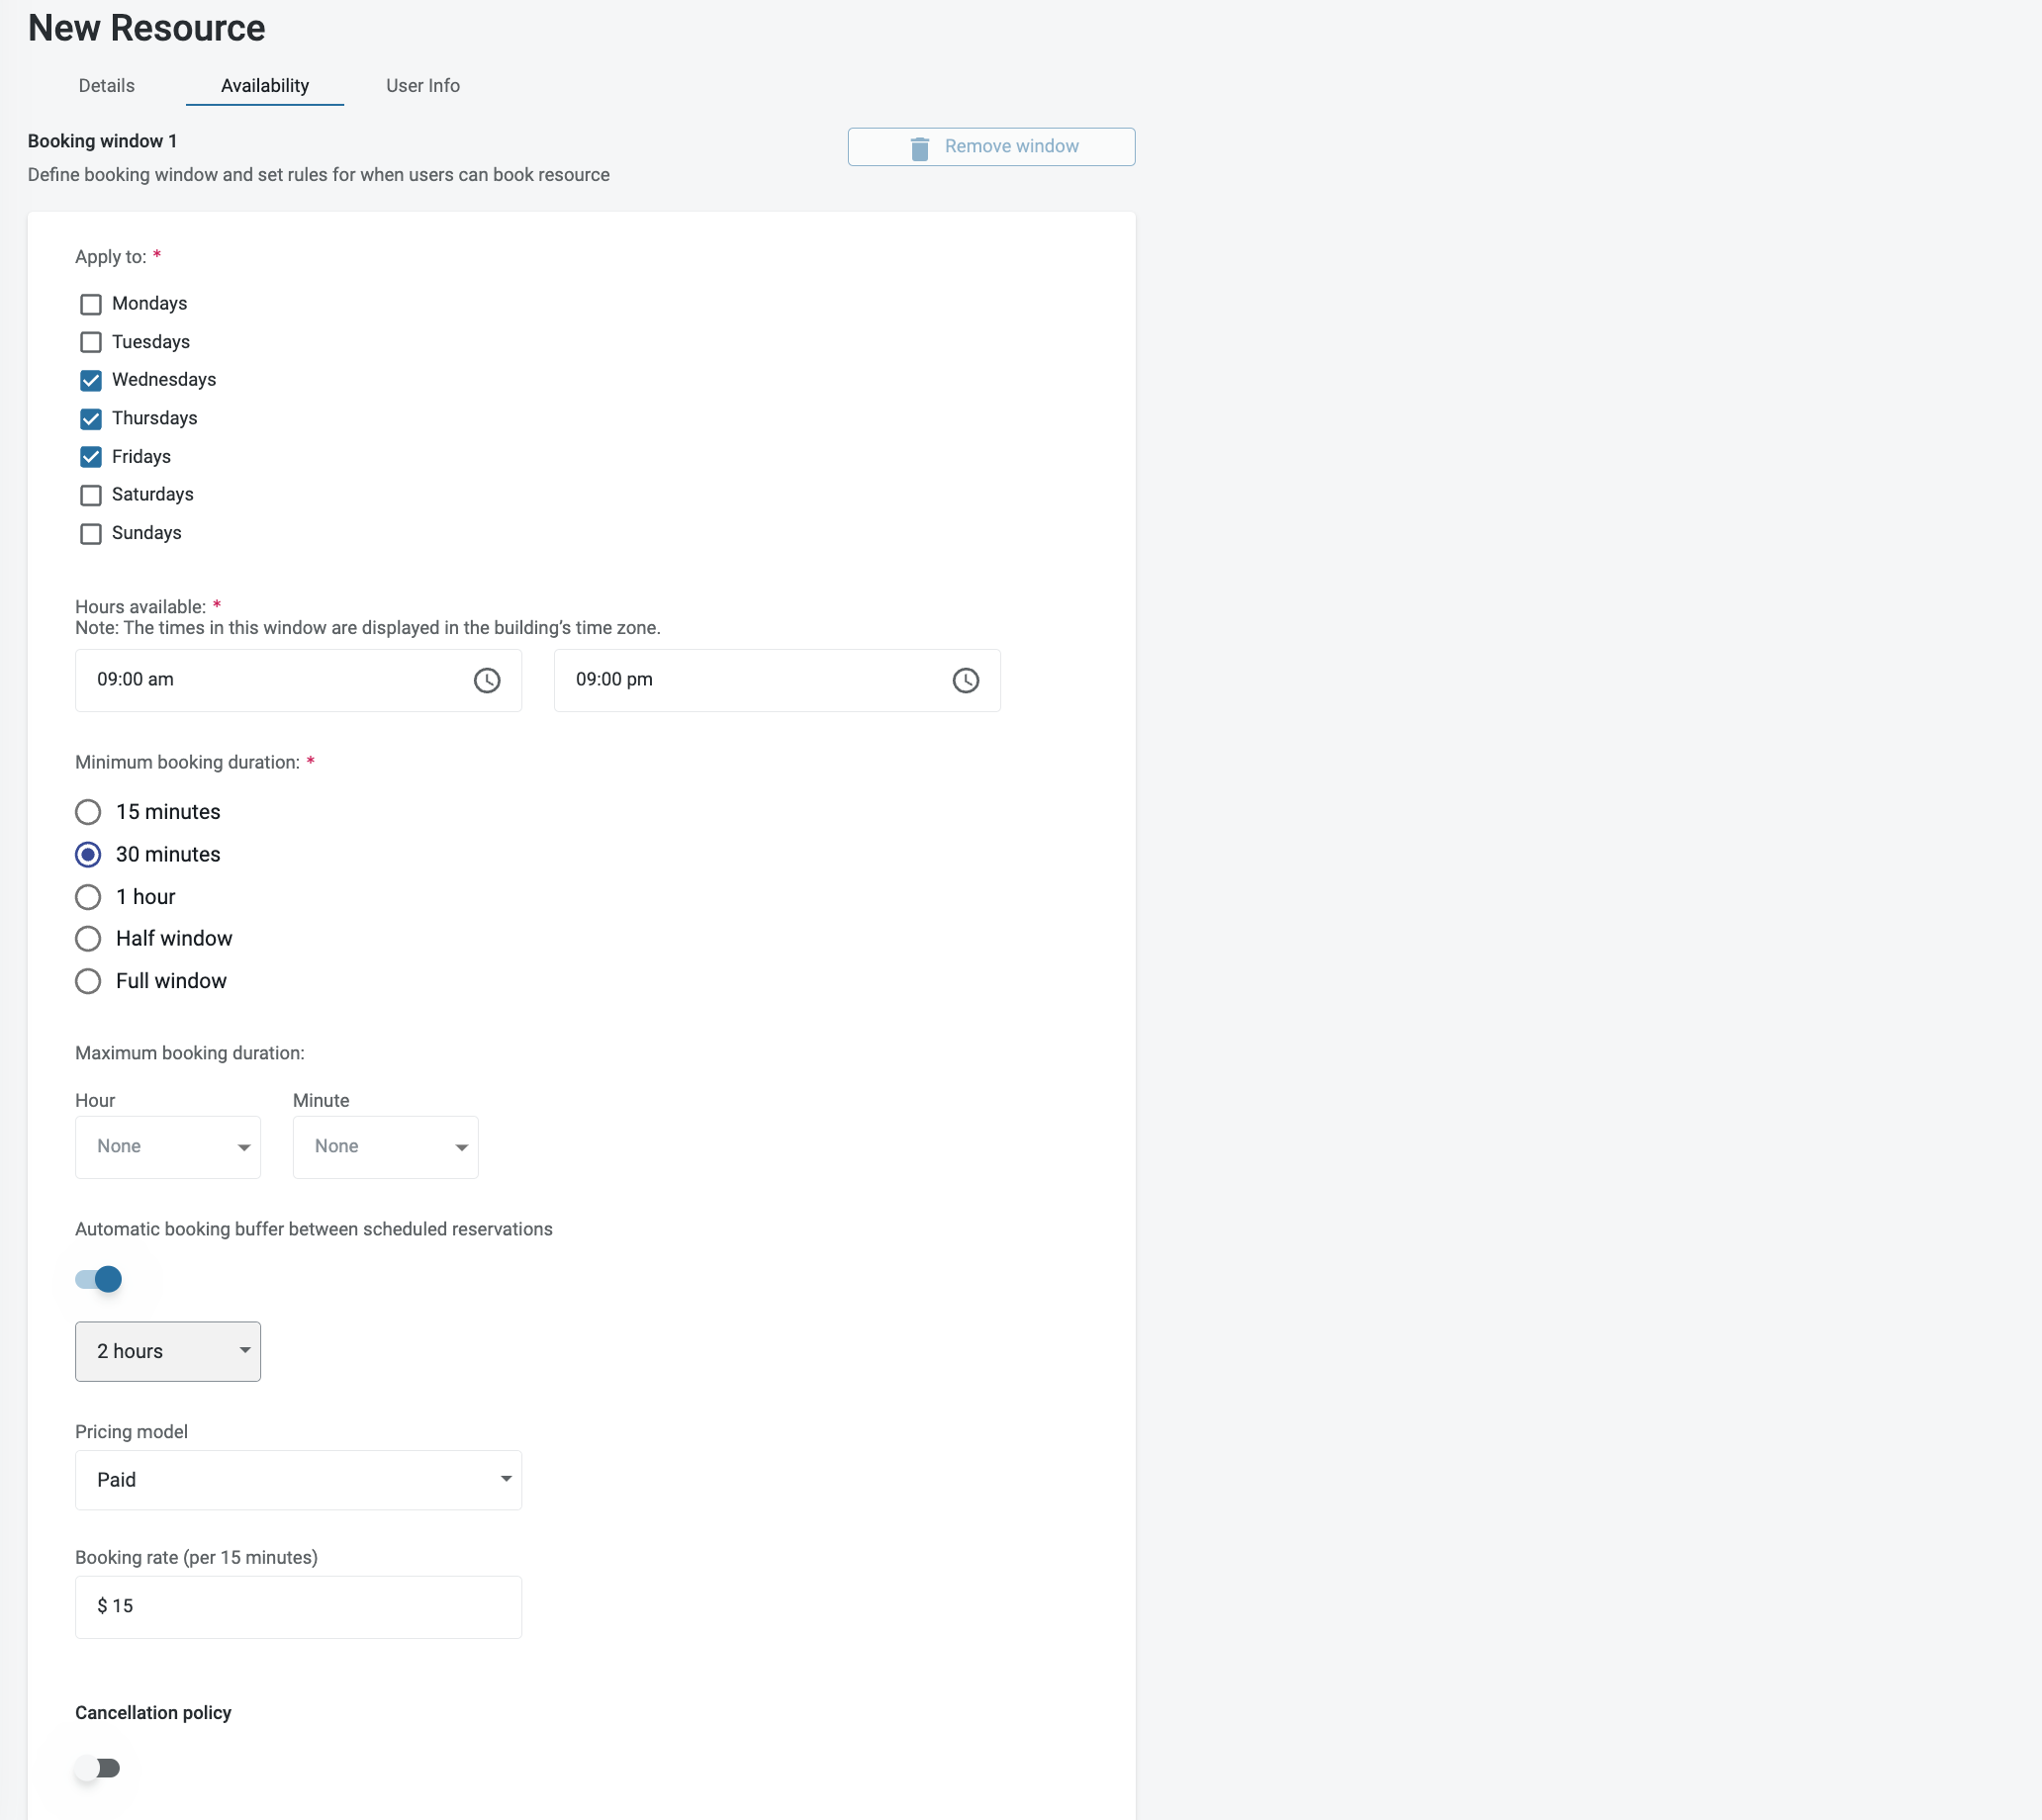
Availability Tab: Here you will be able to provide the availability of the resource, “blackout dates” and pricing (if you are using Paid Resource Booking)
Blackout dates will allow you to remove times from being bookable to the end-user.
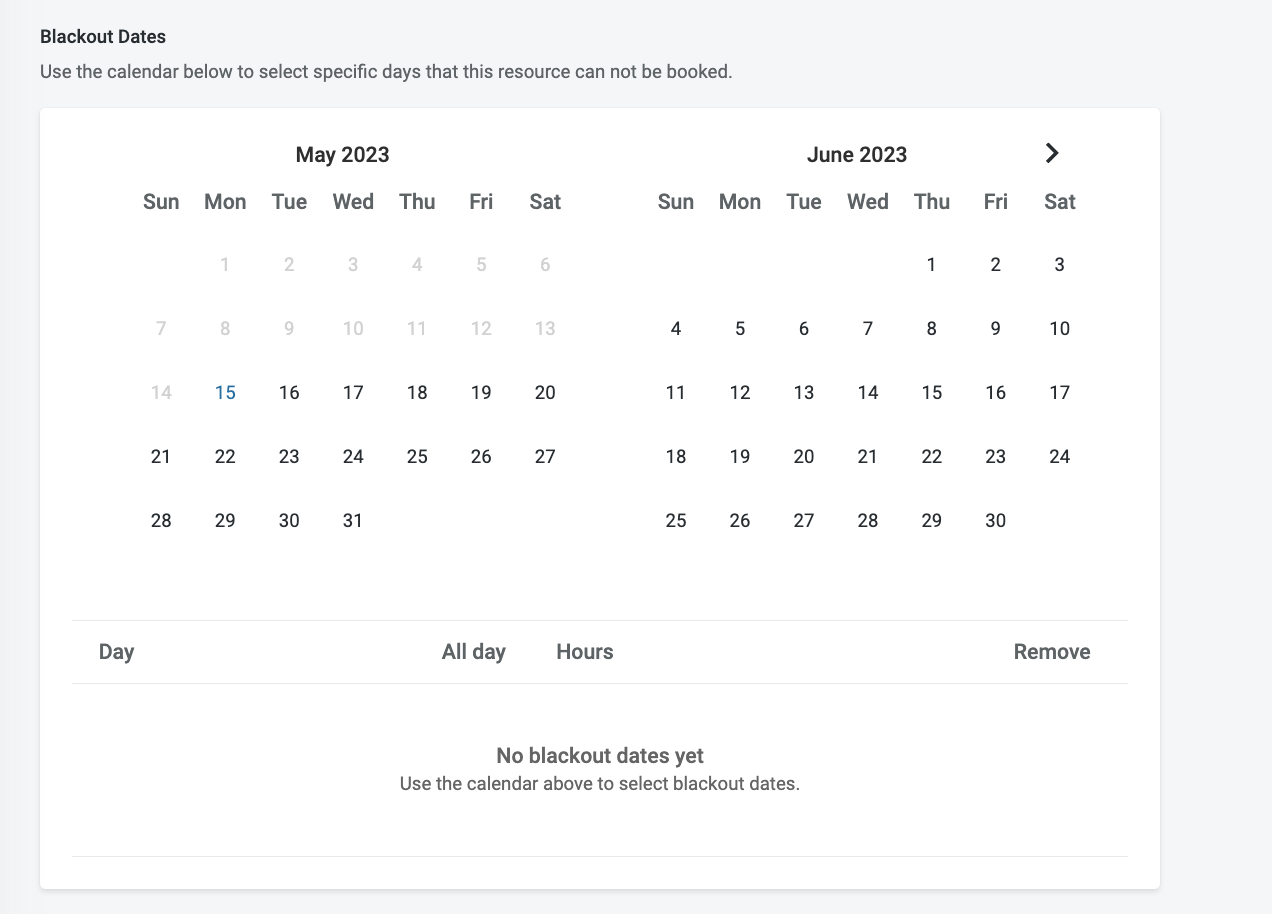
Black out dates can be setup as either ‘All day’ or a time range. Blackout settings override any booking windows configured for the resource.
NOTE: HqO only supports selecting 1 day at time
Optional Settings (not all settings are available for all users)
Minimium booking duration: Select the minimum booking duration for the resource.
Maximum booking duration: Select the maximum booking duration for the resource.
Allow “All-day” booking: Toggle on to have the resource returned for all day searches when the resource is available for the full booking window. The option is only shown if “All day” booking is enabled for the configuration.
Automatic booking buffer: Select the buffer time between bookings.
Allow multi-day booking: Toggle on to allow end users to book the resource for multiple days in one checkout.
Cancellation policy: Toggle on to set a cancelation policy. Learn more
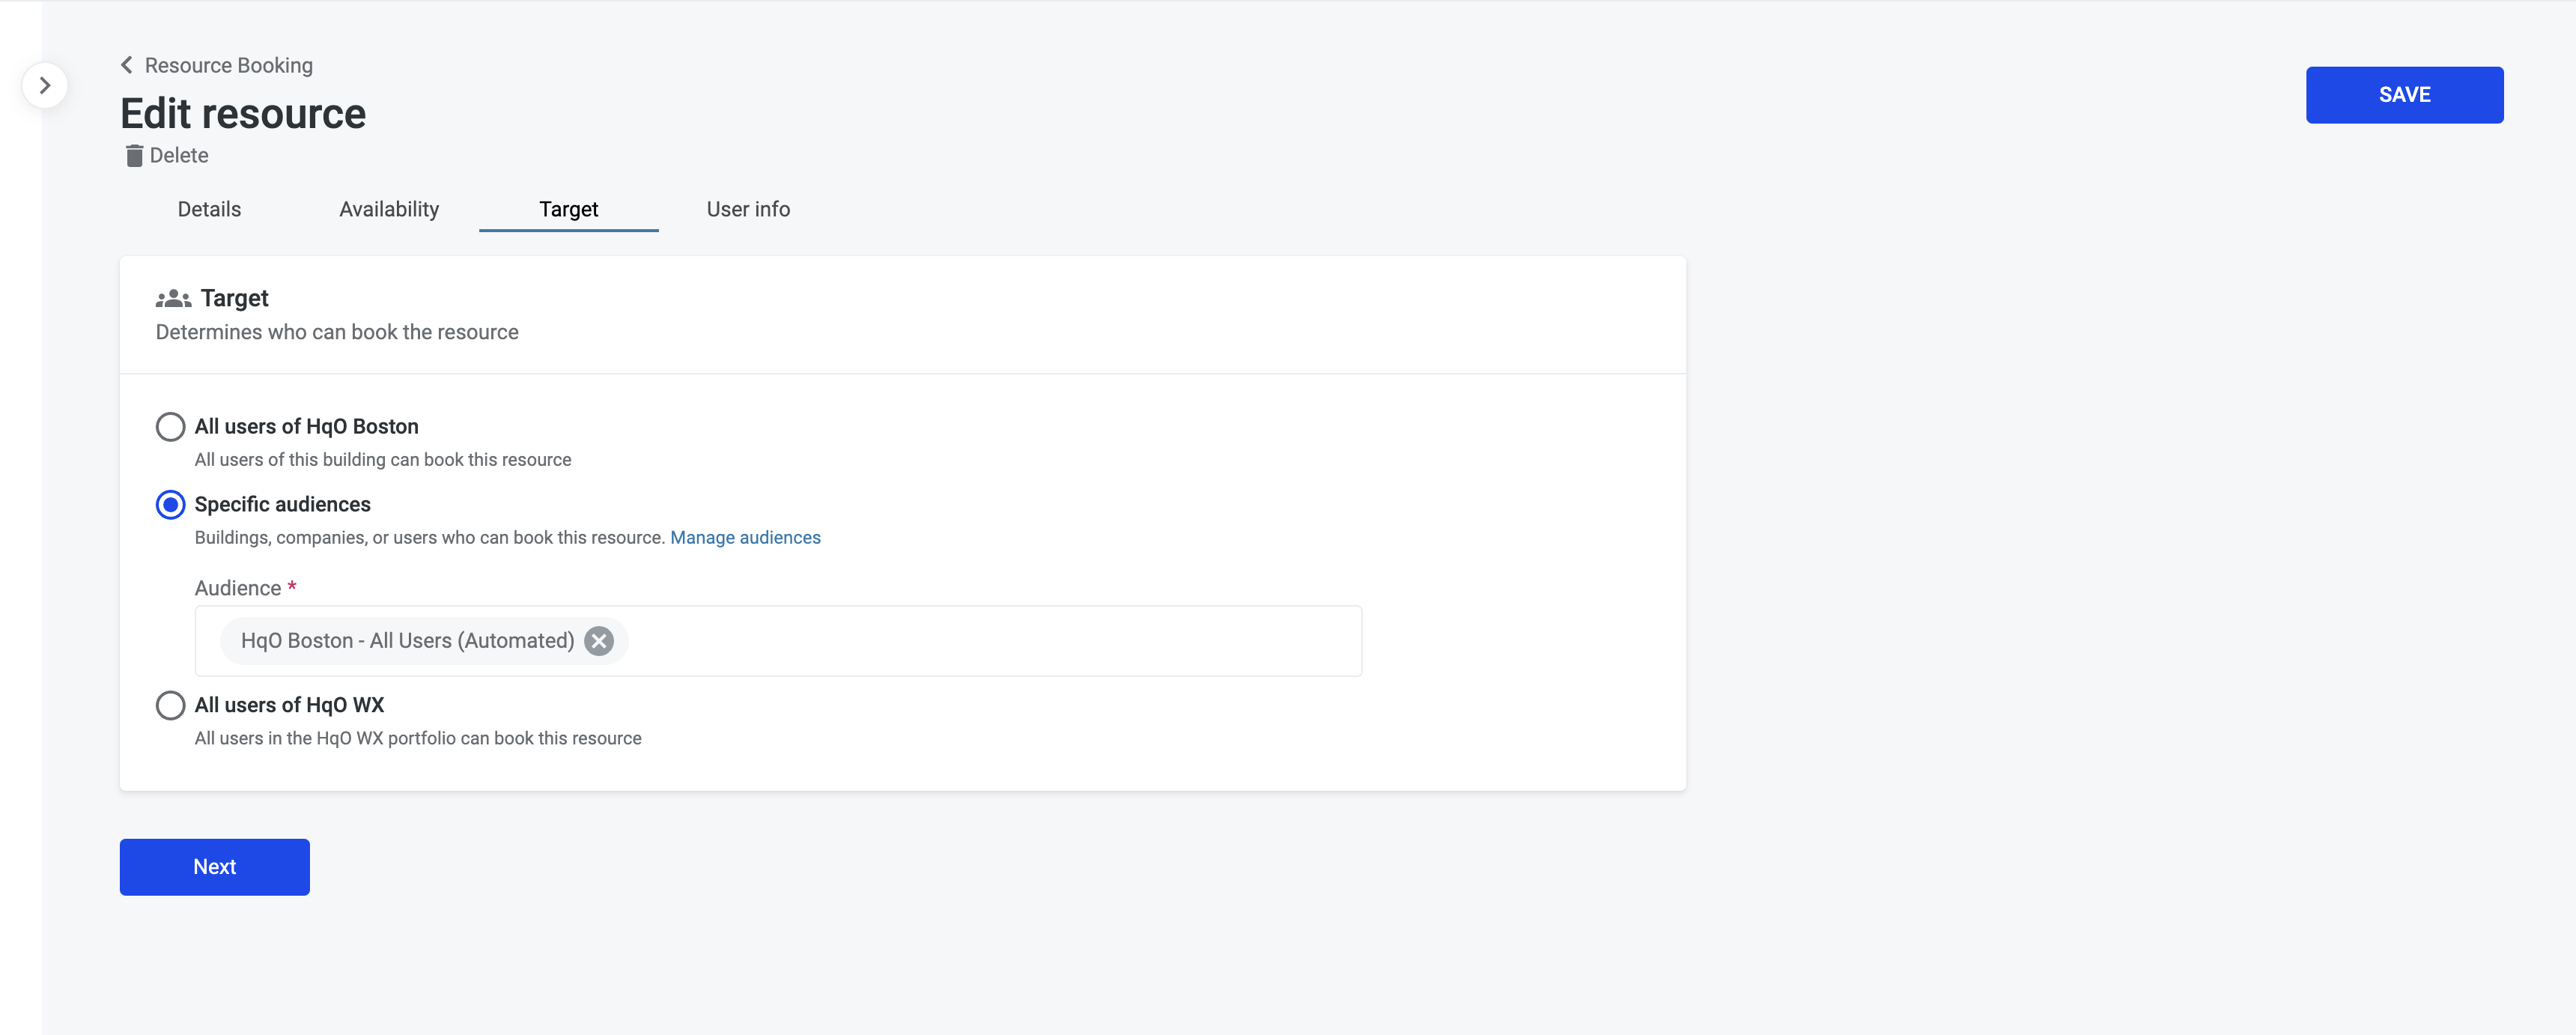
Target Tab: Here you will be able to set who can see the resource.
-
All Users (building): This selection sets the resource as available to all tenants in a given building.
-
Specific Audience: Select a specific company, tenant, or custom audience for any resource - ensuring it remains exclusive if desired.
-
All Users (portfolio): This selection sets a resource as available to your entire portfolio.
User Info Tab: Add custom questions associated to your booking, required to be filled out by the end-user before completing the booking
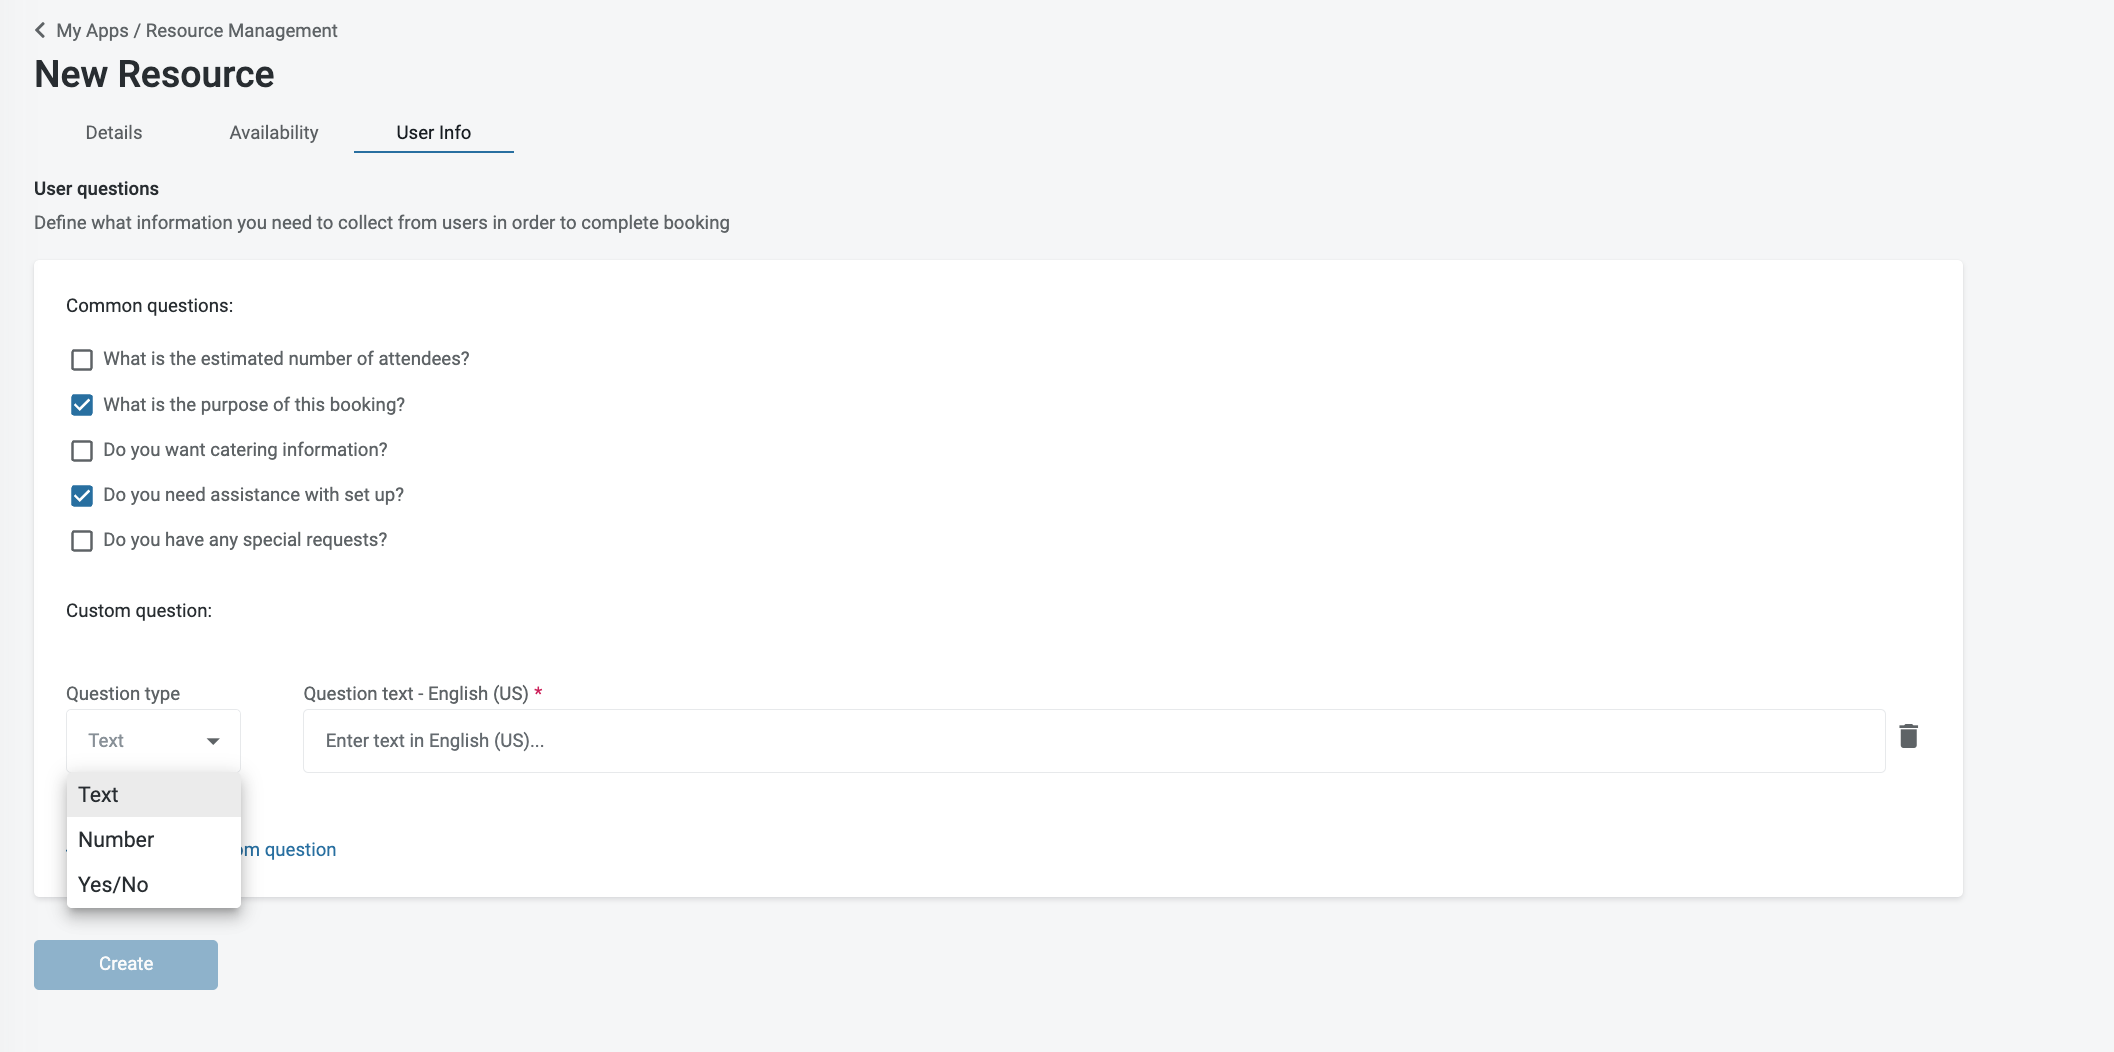
If the “Next” or “Create” button are greyed out, this is because all key information has not been filled out yet.
Step 3: Click ‘Save’ once all required fields have been completed.
Create the Resource Booking Utility Button
Please note: This functionality is not currently available for all users in HqO Admin. If you would like to make changes to your app’s utility buttons, please contact your HqO Customer Success Manager or Implementation Manager.