Header Sections
Content Header Sections help you organize your content into different labeled areas of your app, so your end users can easily navigate and explore the information available. These header sections are customizable and can be updated at anytime, giving you complete flexibility and control over the organization of your app.
Why Create Header Sections
Having organized and specific header sections helps ensures that your users will be able to seamlessly and confidently navigate the content in your app. Header sections also allow you to choose the order in which information is visible to your users, and to space out your content visually throughout the homescreen.
Header Section Use Cases
You have the ability to customize your header sections to best align with the information you’d like to communicate via your content. You can choose to break your header sections into a variety of different topics, including but not limited to:
-
Building Updates & Announcements
-
Onsite Events and Happenings
-
Deals and Perks
-
Digital Experiences
-
Health & Wellness
-
ESG & Certifications
-
Neighborhood Guide
-
Tenant Handbook & Guidelines
-
Amenity Waivers
Within a single content header section on the homescreen, you can add as many pieces of content as you would like. It is important to note that when end users are navigating the header sections of your app, they will initially only see four content tiles in a swipeable carousel. If you nest more than four content tiles under a single header section, the end user will be able to click a hyperlinked button that says “See More” next to your header section to view the rest of the content tiles.
How to Create Header Sections
Step 1: Navigate to the Content Creator section by clicking on the “Content” tab in the Left Hand Navigation menu under Experience.
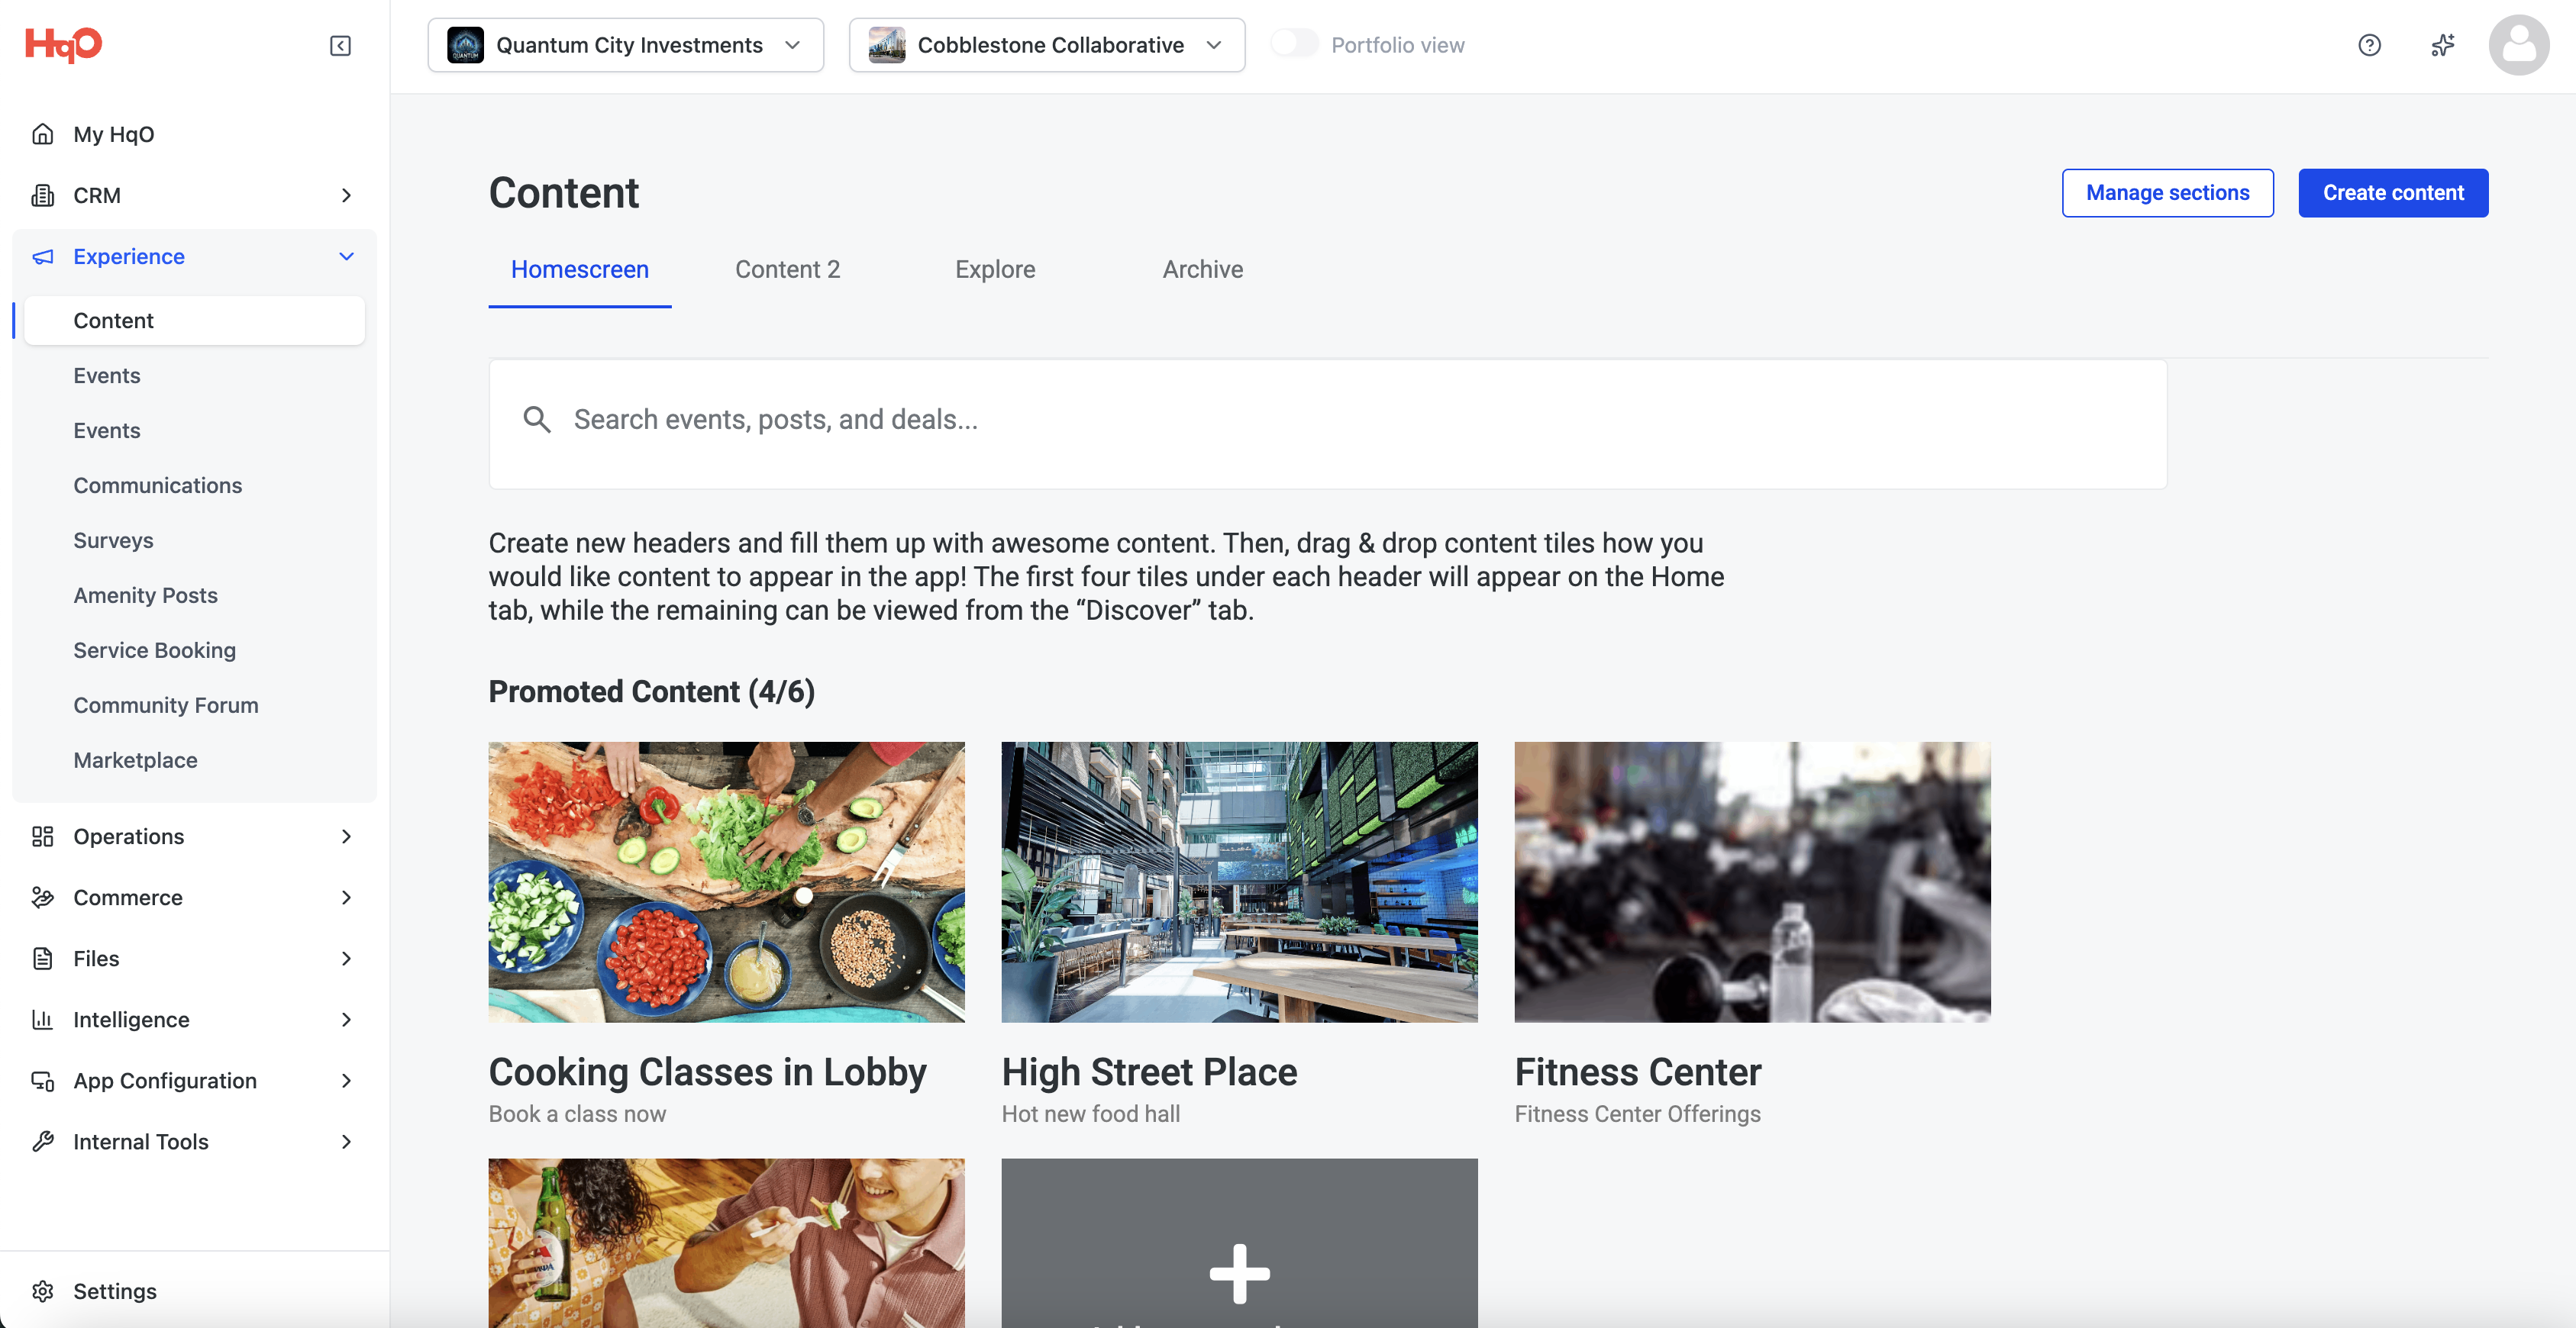
Step 2: In the header, navigate to the right-hand side and click on the “Manage sections” button.
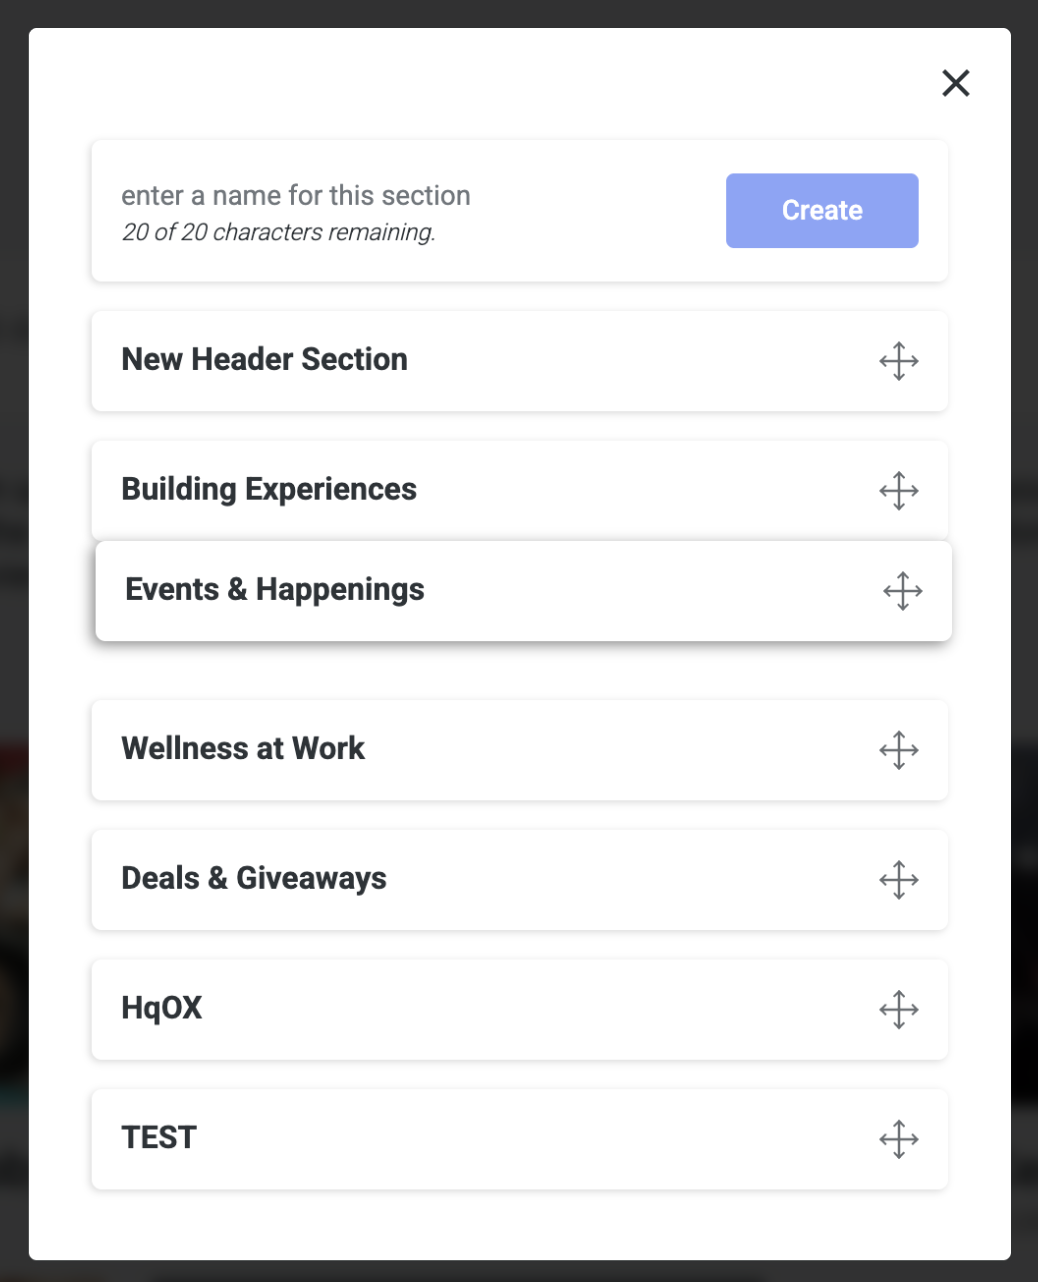
Step 3: A popup will appear showing you the current header sections set up for your app. At the top of the popup, you will be able to type in the copy for a new header section. Once you’ve typed in your new header section title, click the blue “Create” button.
Step 4: To reorder sections you can drag and drop from this screen
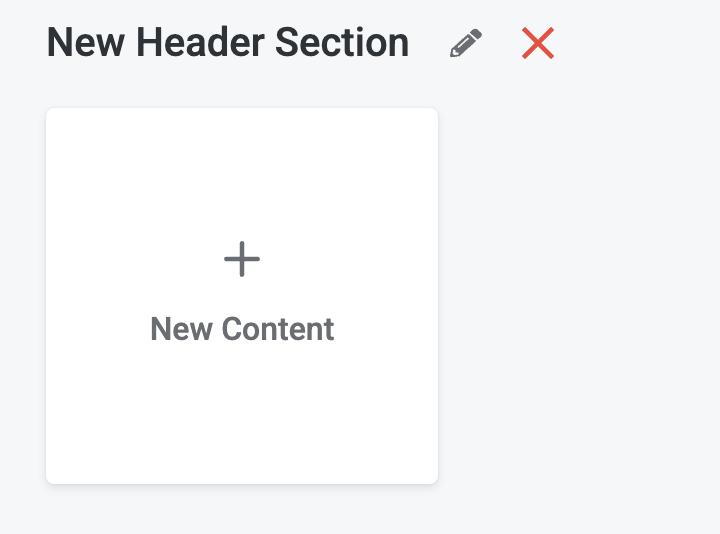
Step 5: To rename the new section click the pencil icon
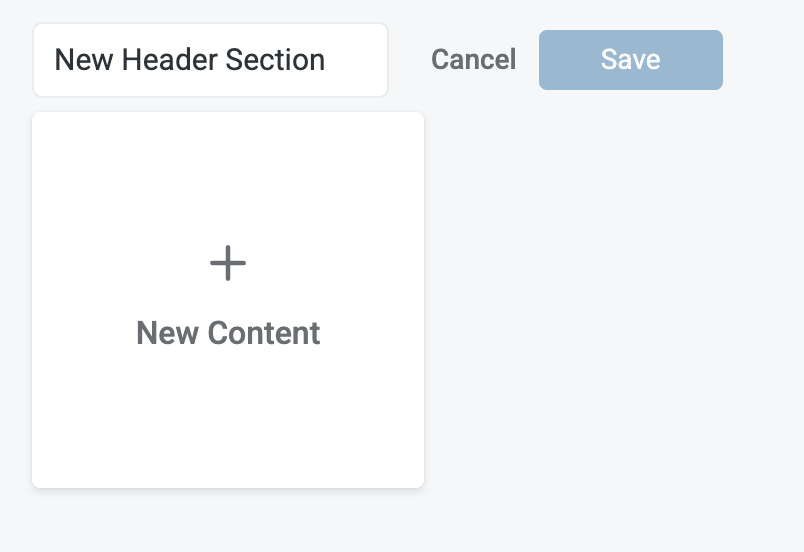
Step 6: Rename section and click ‘save’
How to Delete Existing Header Sections
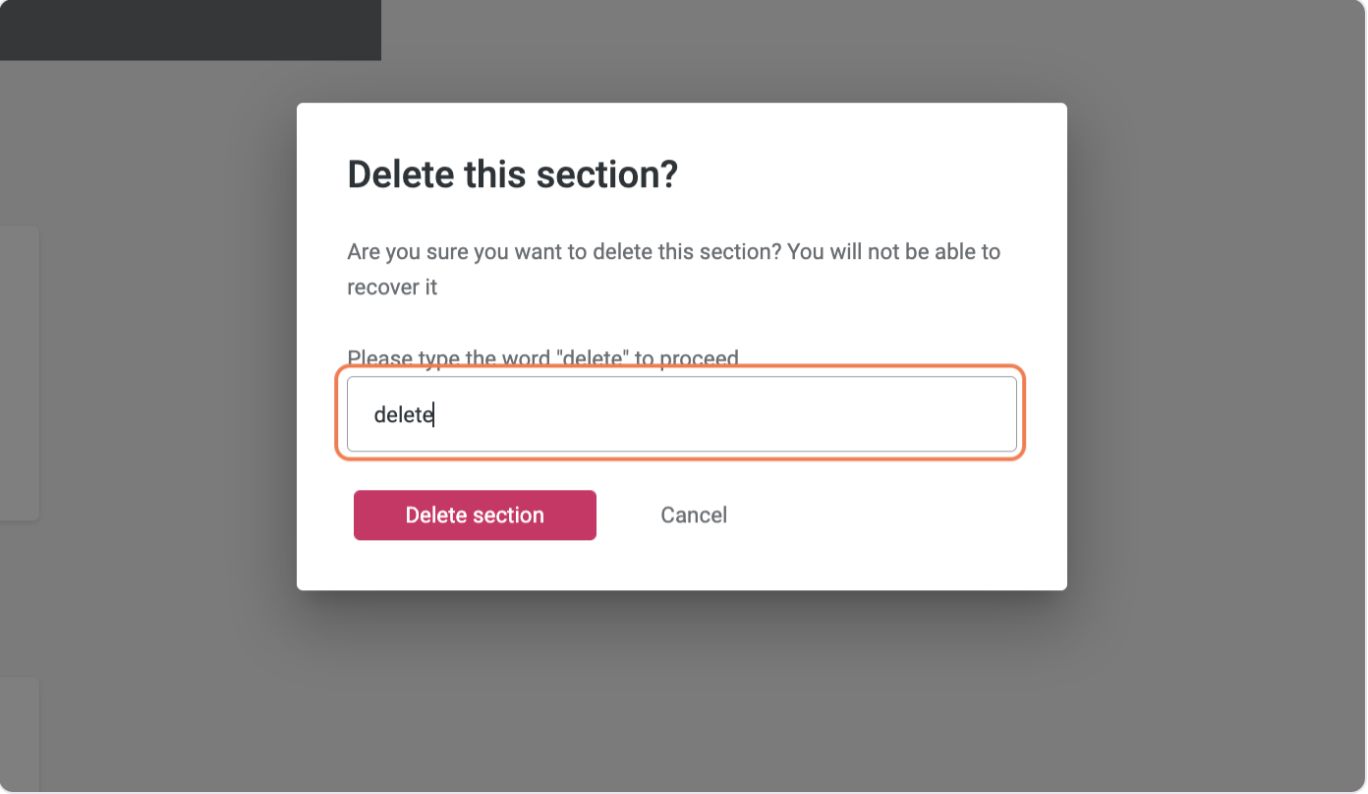
Step 6: To delete the section click the red X next to the section
Step 7: Type ‘delete’ and click ‘delete section’
Please note: All content within that section header will be deleted when deleting a section
Create Content
Once you have navigated to the Content Creator tab, you can click the button labeled “Create Content” in the heading you would like the piece of content to live under. Once you have clicked “Create Content” you can follow the below steps to either create a new piece of content or edit a live or scheduled piece of content.
Required Modules
Edit
Step 1: Add ‘Title’
Step 2: Add ‘Subtitle'
Step 3: Add media by clicking ‘upload image’ and either drag and dropping or selecting a PNG or JPEG file from your saved files
Step 4: Alt Text
Step 5: In this section, add the main body of your post.
-
If you are using Basic text, type your message directly into the editor. This is the original content experience and supports standard rich-text formatting.
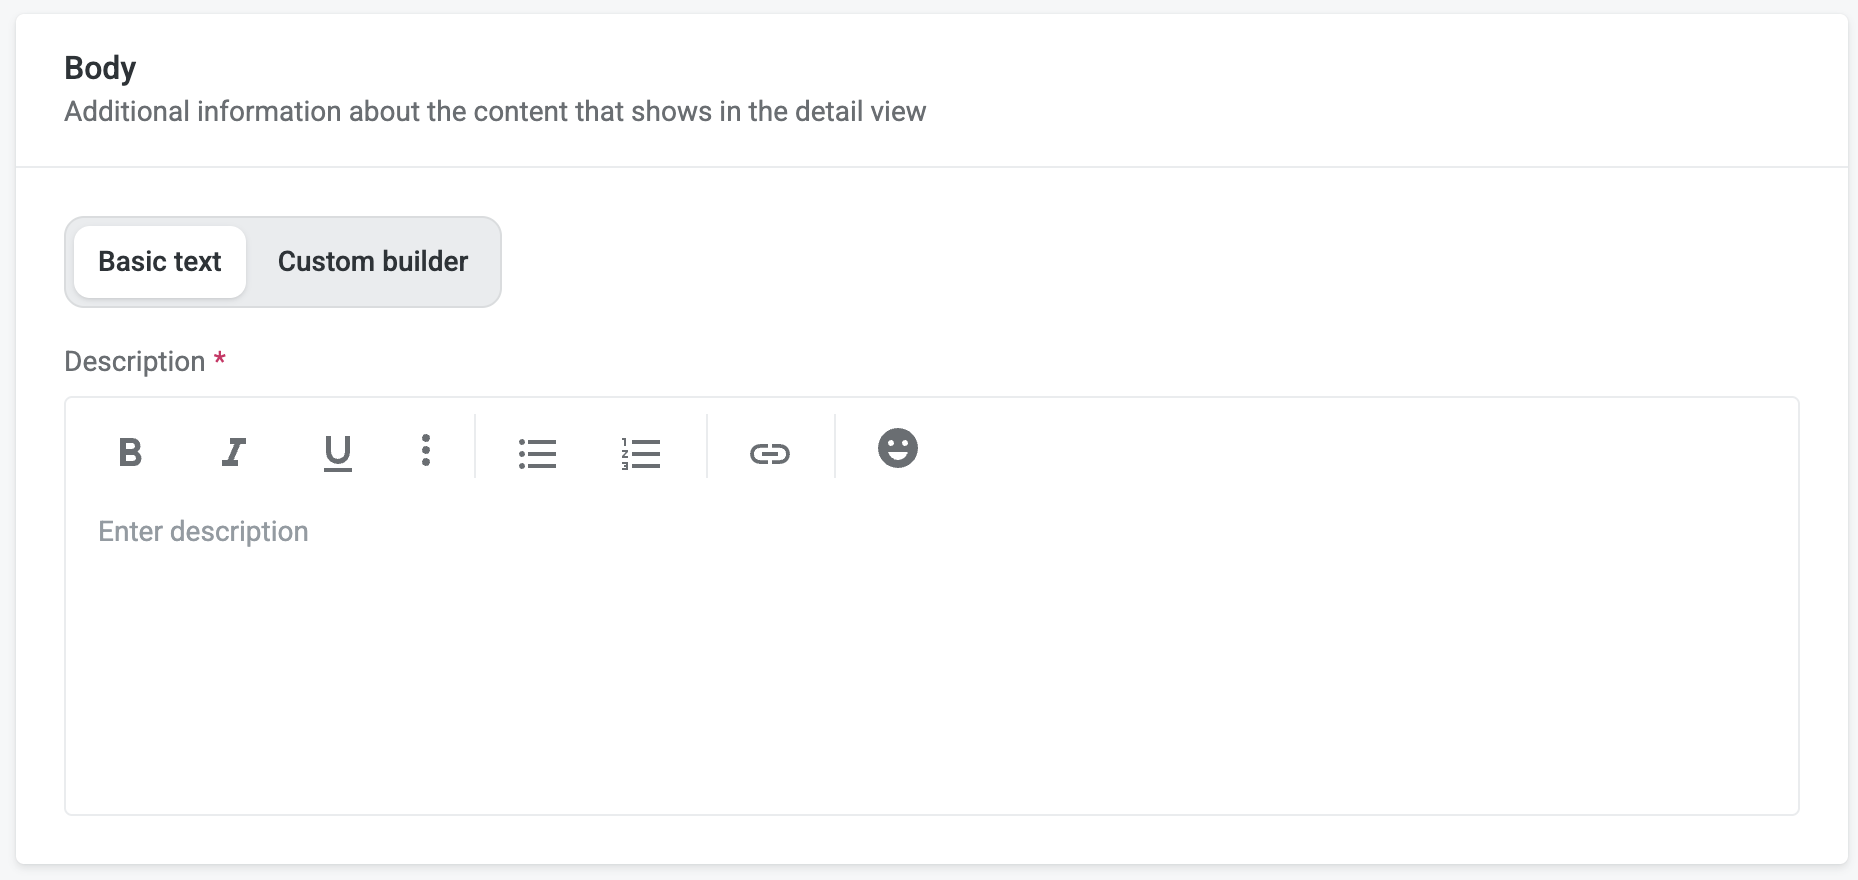
Use rich text to:
-
Bold, Italicize, Underline Strikethrough, Superscript, and Subscript
-
Bullet point list and numbered list
-
Hyperlink to a URL
-
To add a hyperlink that opens an external link within the body of the tile, click the “link” icon.
-
You’ll see two options, for an external link you’ll want to select “External URL.” Enter the link you want to link out to in the “Link/URL” field. Click Save.
-
To add a hyperlink that opens a file within the body of the tile, click the “link” icon.
-
You’ll see two options, for a file you’ll want to select “Uploaded media.” Drag & Drop or click the “Upload Media” field to link the pdf, jpeg,
or png file you would like to upload. And click “Save”.
-
-
Add Emojis
-
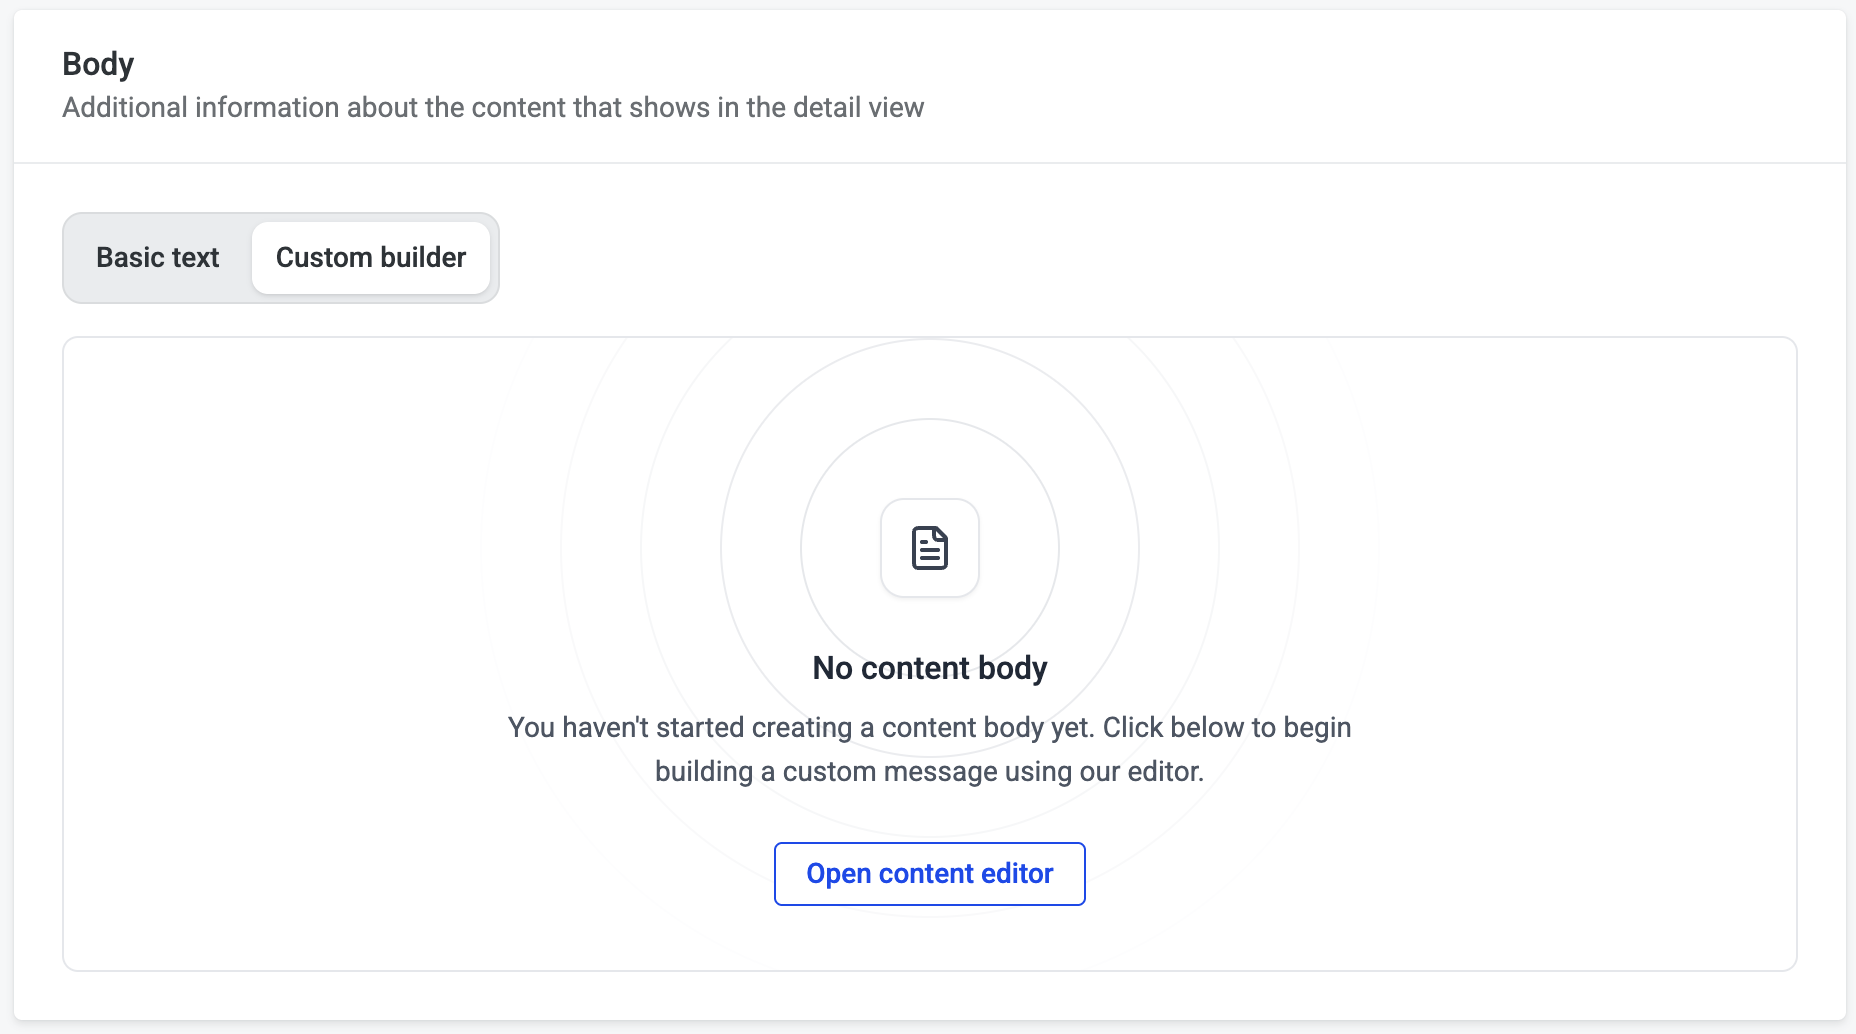
If you are using Custom builder, build your post using content blocks. You can add rich text blocks, embed images, add video, and insert or attach files from the File Repository directly into the post so tenants can open important documents in context.

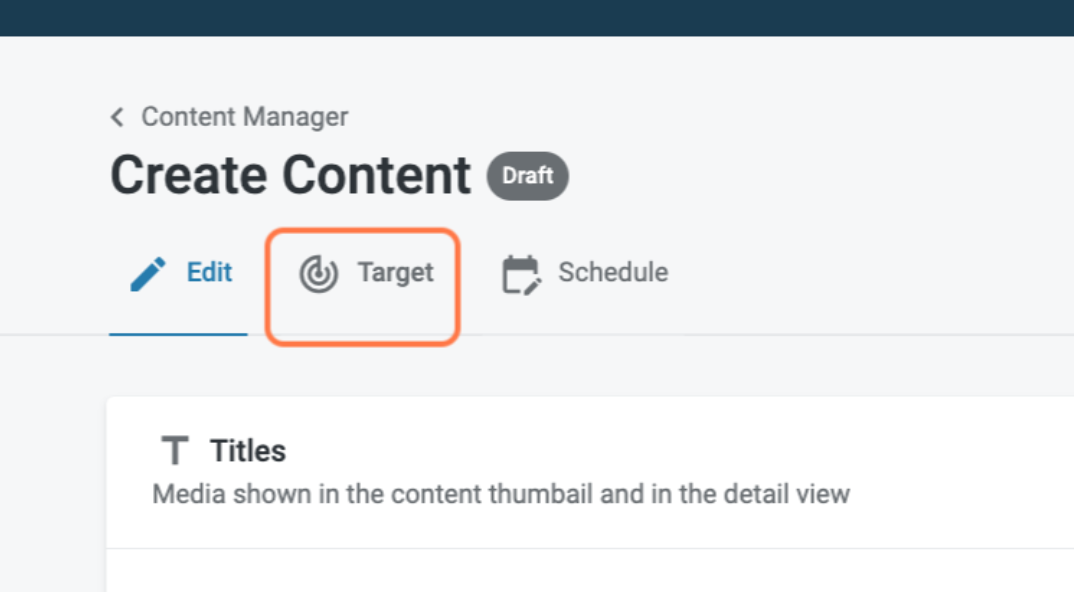
Target
Audience
Step 1: To add a Host, click the radio button in the right rail title ‘Host’
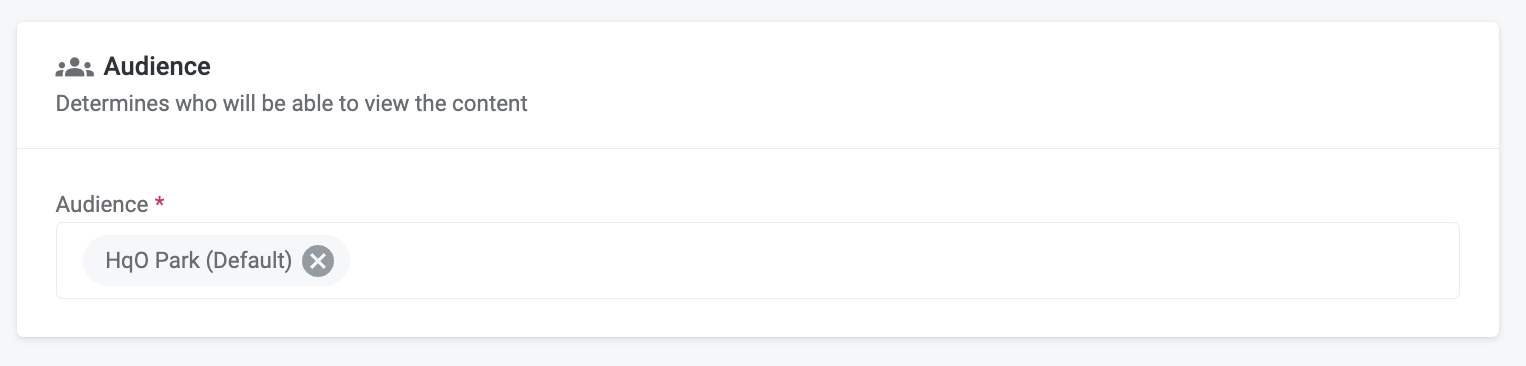
To learn how to create additional audiences click this link:
Schedule
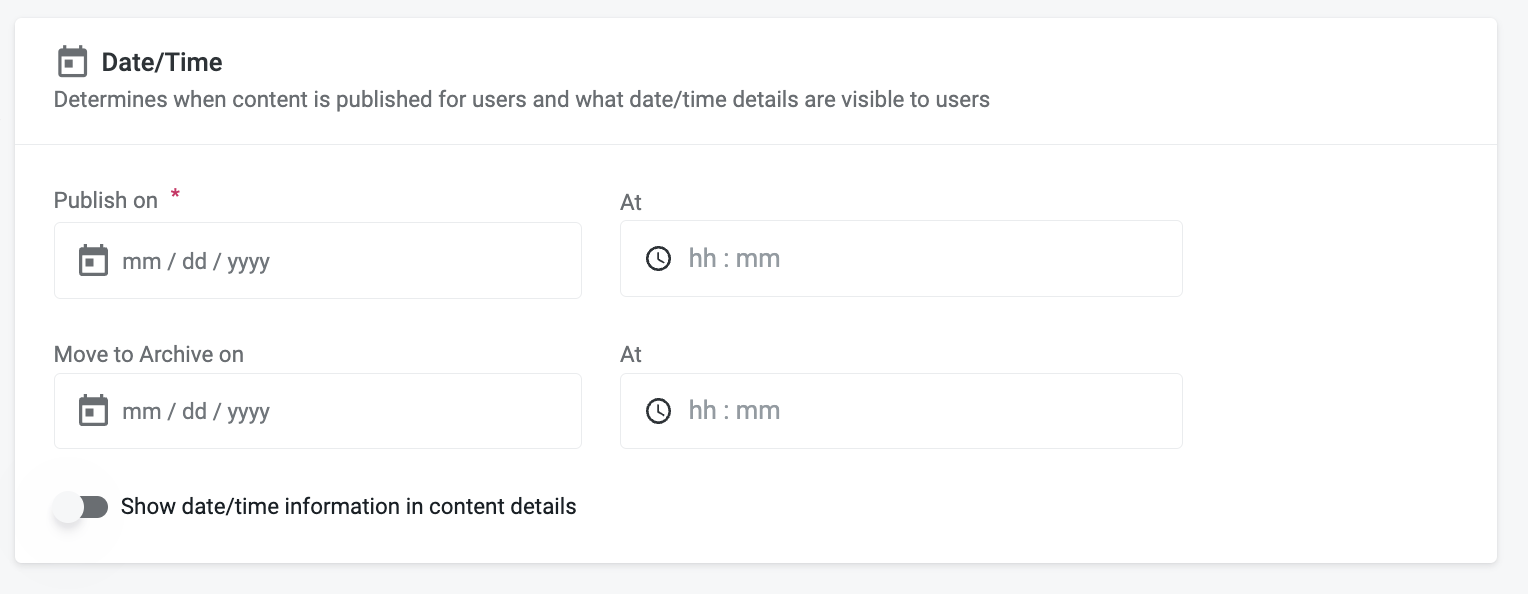
Date/Time
Step 1: Select the desired date and time that you would like the content to be published on
Step 2: Select the desired date and time that you would like the content to be archived on (recommended for events and timely information)
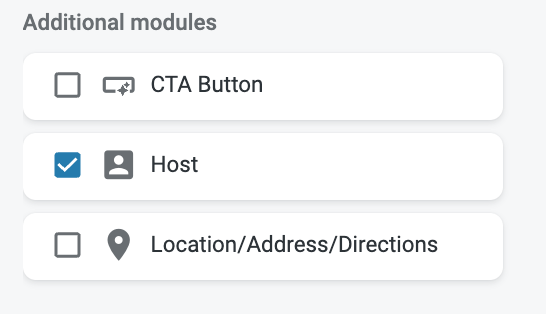
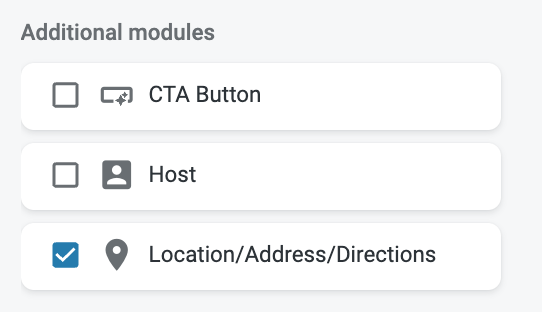
Additional Modules
Content creation is flexible and allows you to add functionality as a “module” to you piece of content. Think of it as a choose-your-own adventure when creating content.
The list of available modules are:
-
-
RSVP
-
Claims
-
External links/Deeplinks (to other apps)/Native links (mail to & sms)
-
Attachables: Uploaded Media
-
-
-
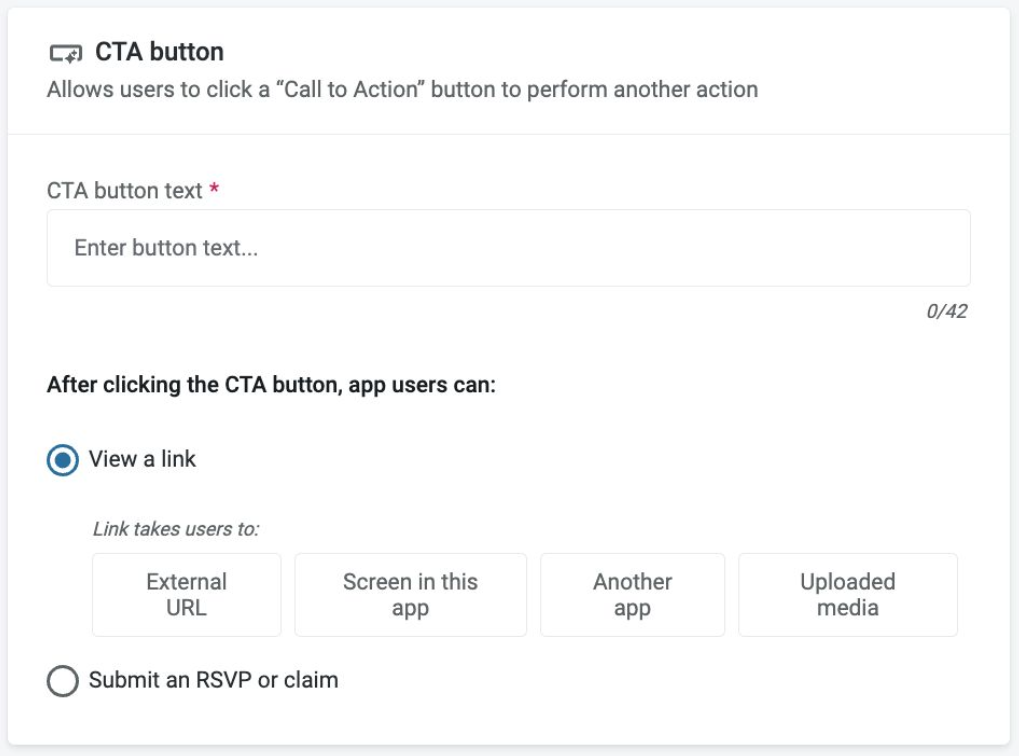
CTA Button
Step 1: To add a Call to Action (“CTA”) button that opens an external link, click the radio button in the right rail for “CTA Button”
Step 2: Click on CTA button text and add a title (ex. Click here to learn more, View memo, etc)
Step 3: Select ‘View a Link’ or ‘Submit an RSVP or claim’
‘View a Link’ Options
-
External URL
Step 1: Select 'External Url'
Step 2: Paste URL link
-
Screen in this app
Step 1: Select ‘Screen in this app’
Step 2: From the drop-down menu select Amenity, Company, Service Provider, or Surveys
-
Another app
Step 1: Insert mobile app URL.
-
Uploaded Media
Step 1: Select ‘Uploaded media’
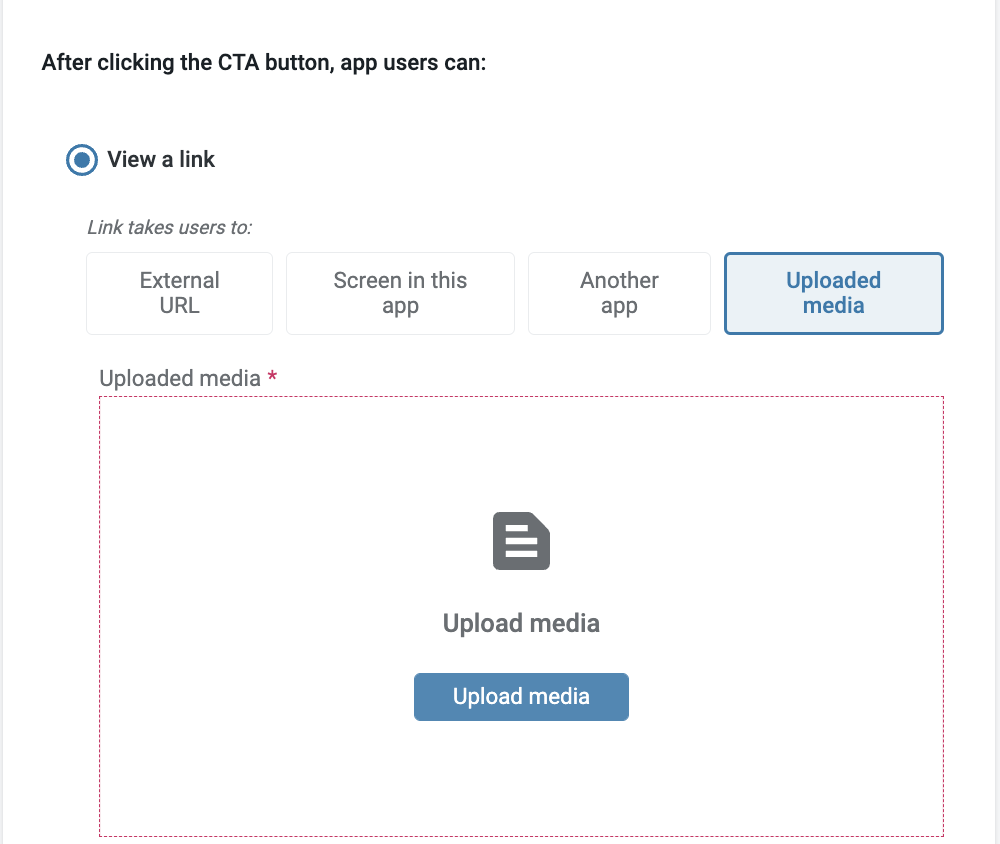
Step 2: Select “Upload media'
Step 3: Select and upload media from your computer’s files
RSVP or Claim CTA Buttons
Step 1: Select ’Submit an RSVP or claim'
-
RSVP
Step 1: Select ’RSVP'
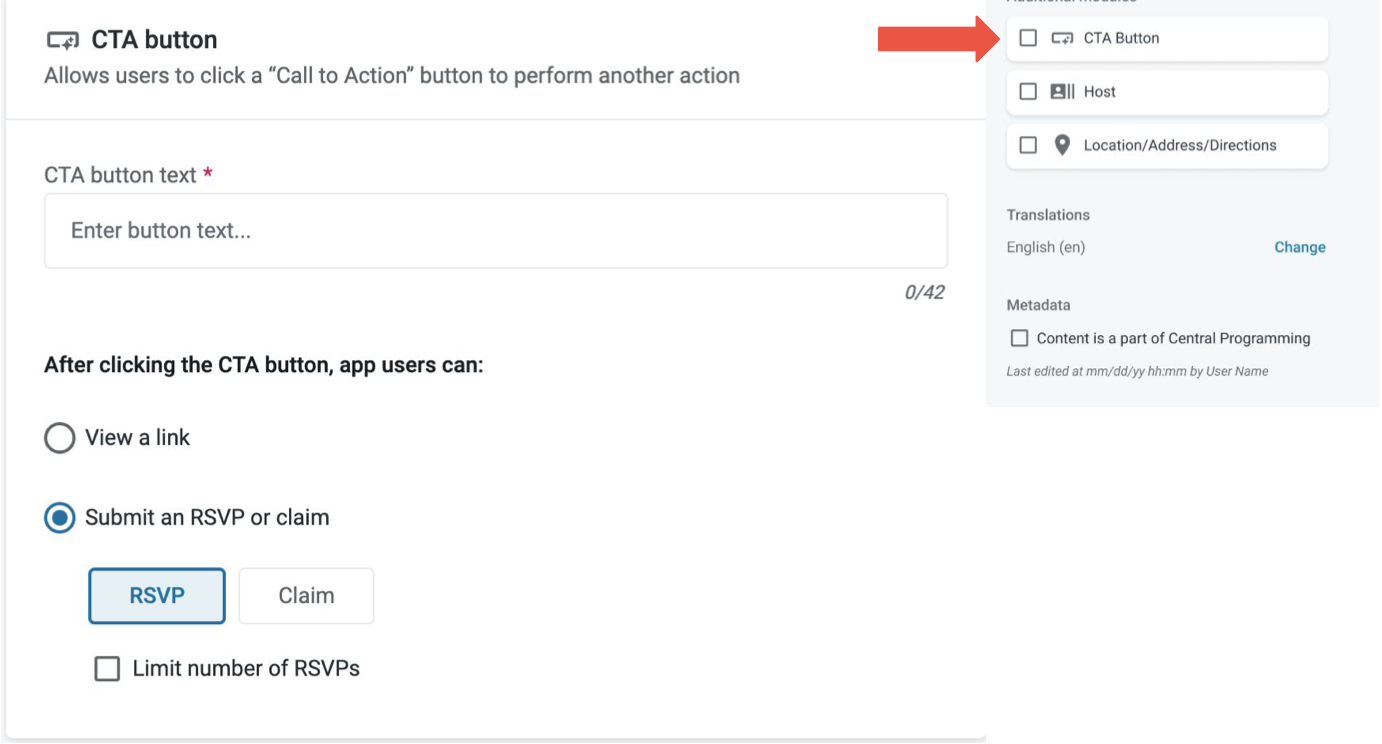
Step 2: If you would like to limit the number of total RSVPs allowed, click ‘Limit number of RSVPs’
Step 3a: Enter in the max number of RSVPs
Step 3b: Select either ‘Change CTA button text’ once the limit is reach, or ‘Unpublish content’
Step 3c: If you selected ‘Change CTA button text’, enter what you would like the CTA button to say once the limit has been reached
-
Claim
Step 1: Select ’Claim'
Step 2: If you would like to limit the number of total claims allowed, click ‘Limit number of claims’
Step 2a: Enter in the max number of claims
Step 2b: Select either ‘Change CTA button text’ once the limit is reach, or ‘Unpublish content’
Step 2c: If you selected ‘Change CTA button text’, enter what you would like the CTA button to say once the limit has been reached
Step 3: If you would like to limit the number of total claims per individual allowed, click ‘Limit number of claims per individual’
Step 3a: Enter in the max number of total claims allowed
Host
Step 1: To add a Host , click the radio button in the right rail title ‘Host’
Step 2: Scroll down and find the Host section
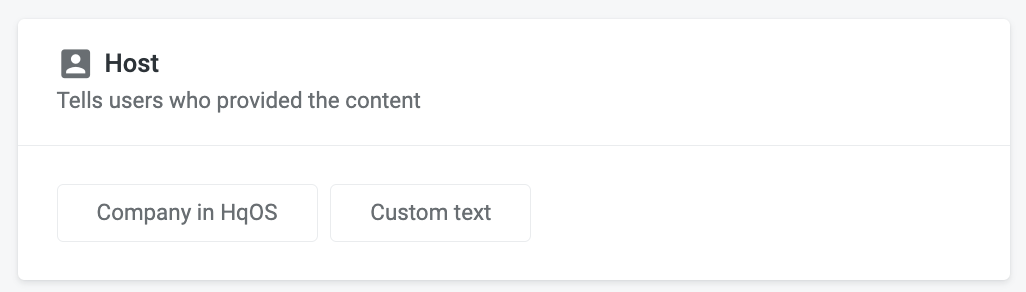
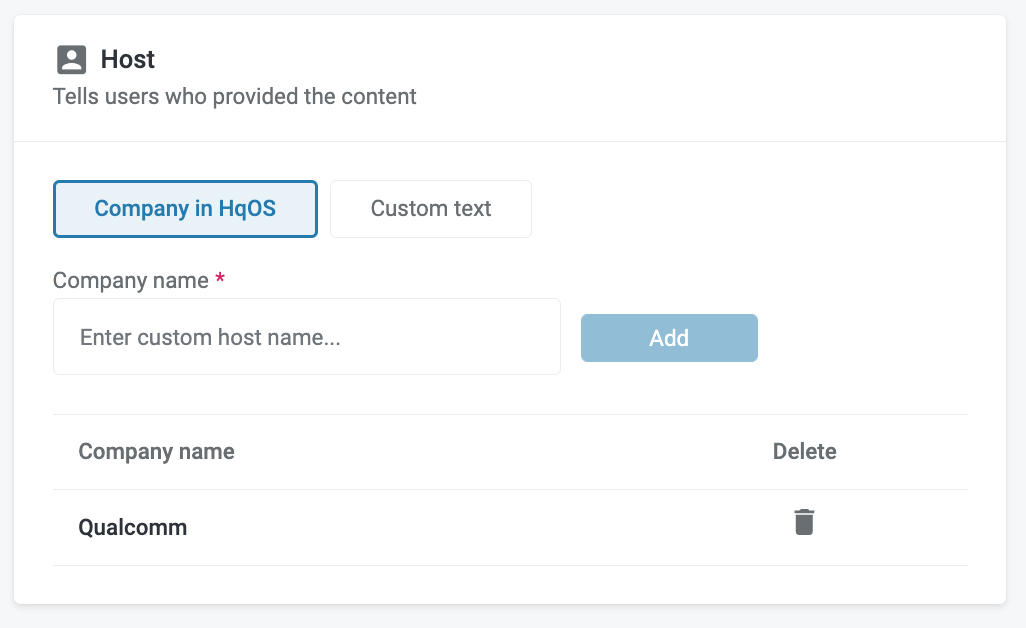
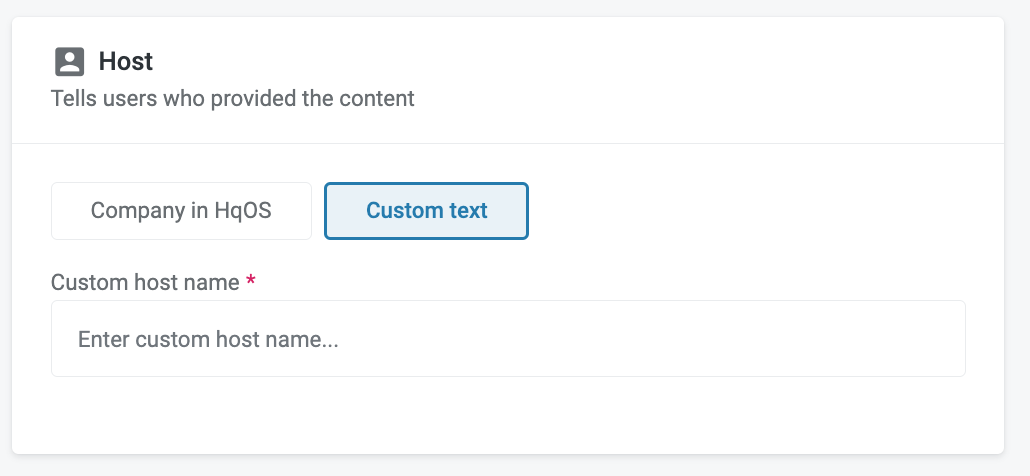
Step 3: Select either ‘Company in HqOS’ or ‘Customer text’
Step 4: Populate Company in HqOS or custom Company Name
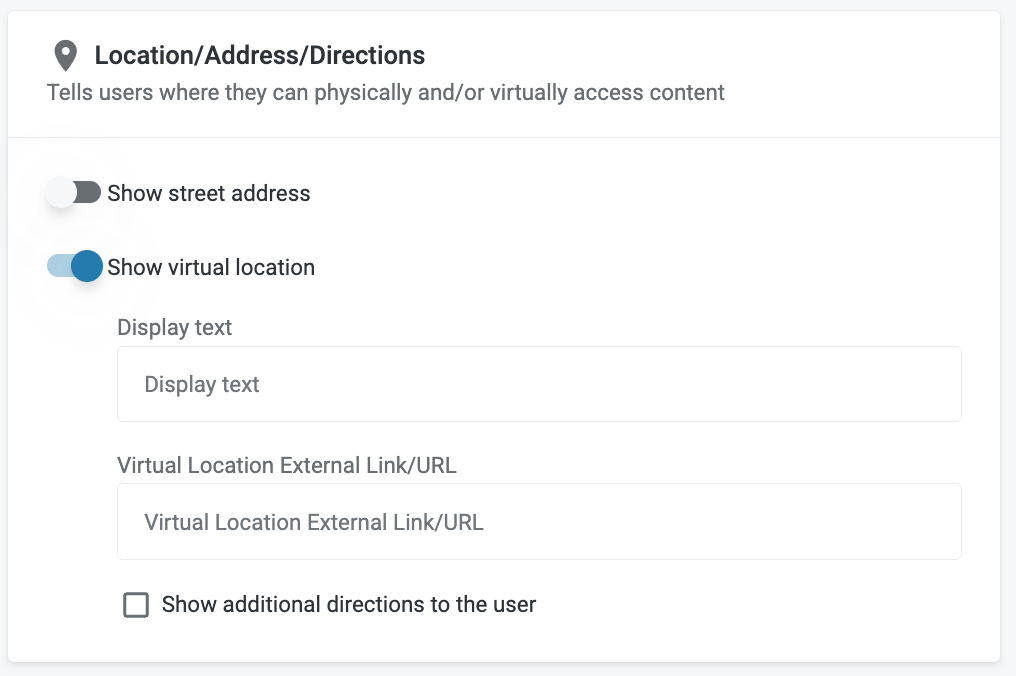
Location/Address/Directions
Step 1: To add a Host , click the radio button in the right rail title ‘Host’
Target
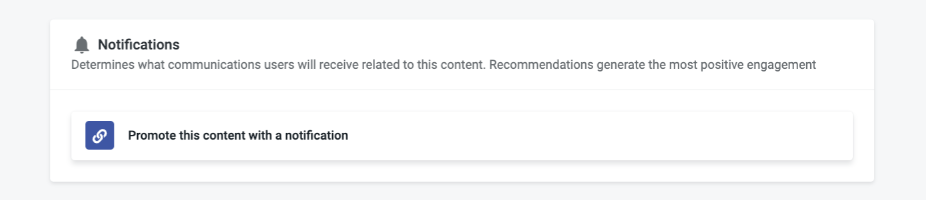
Notifications
Step 1: Navigate to the “Target” tab at the top of the content creator screen
Step 2: Select “Promote this content with a notification” and the flyout will appear
Step 3: Write the notification content by entering the Push notification header and the Push notification body
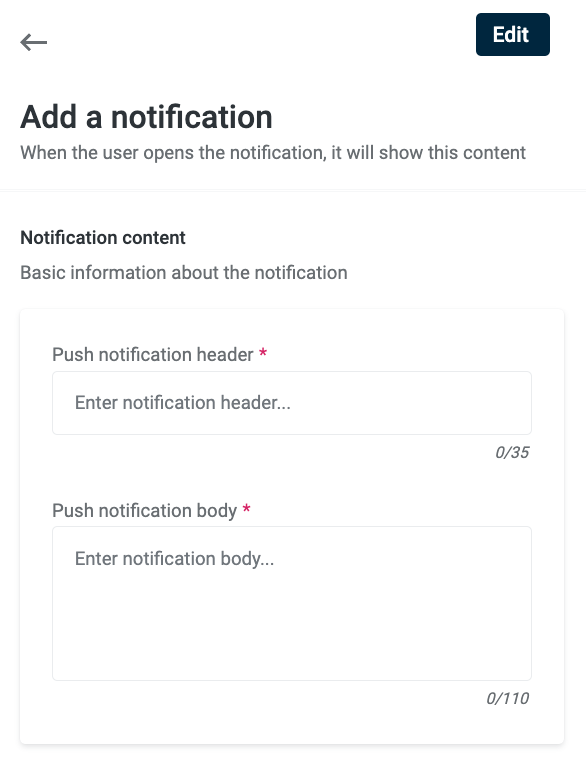
-
The character limits are recommended but not enforced
a. Push notification header = 35 Characters
b. Push notification body = 110 Characters
-
You can add Emojis to a Push notification header or Push notification body
-
To access the emoji keyboard on a Mac computer, during text entry, type Control + Command + Space
-
To access the emoji keyboard on a Windows computer, during text entry, type Windows logo key + . (period)
-
Step 4: Select an audience
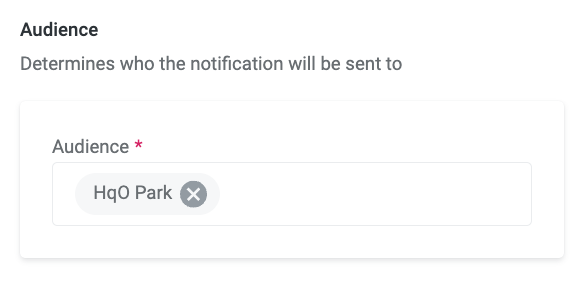
-
The audience on the content tile will be the default
If you would like to send the notification to a different audience, it must be created prior and attached to the content tile.
Step 5: Select a date & time - you can either send ASAP (in 5 minutes time) or schedule this in advance
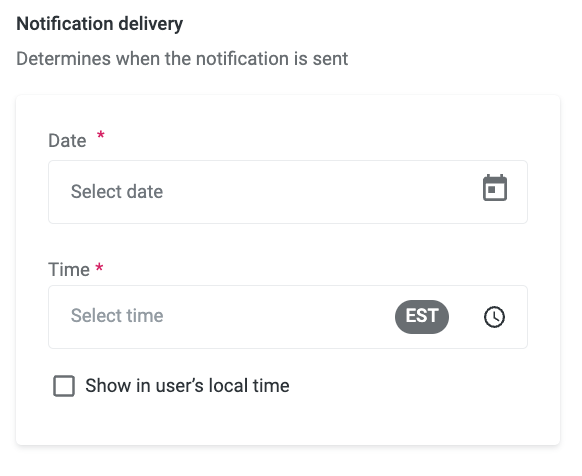
Step 6: Press Schedule/Send the notification
Step 7: Save the piece of content once complete
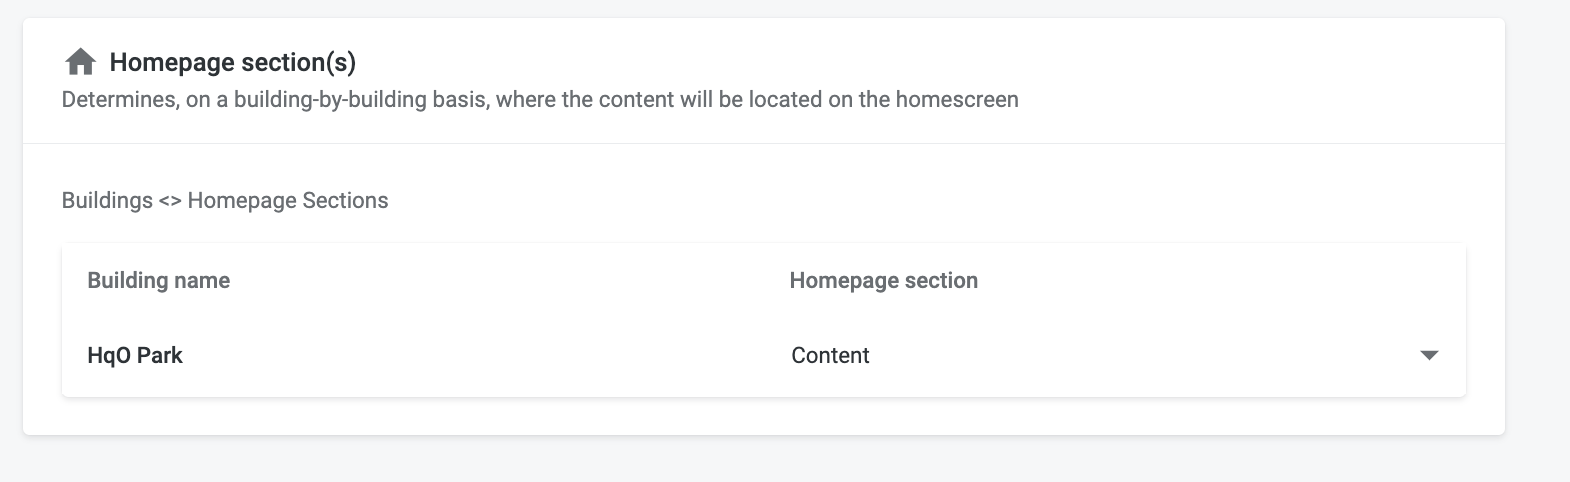
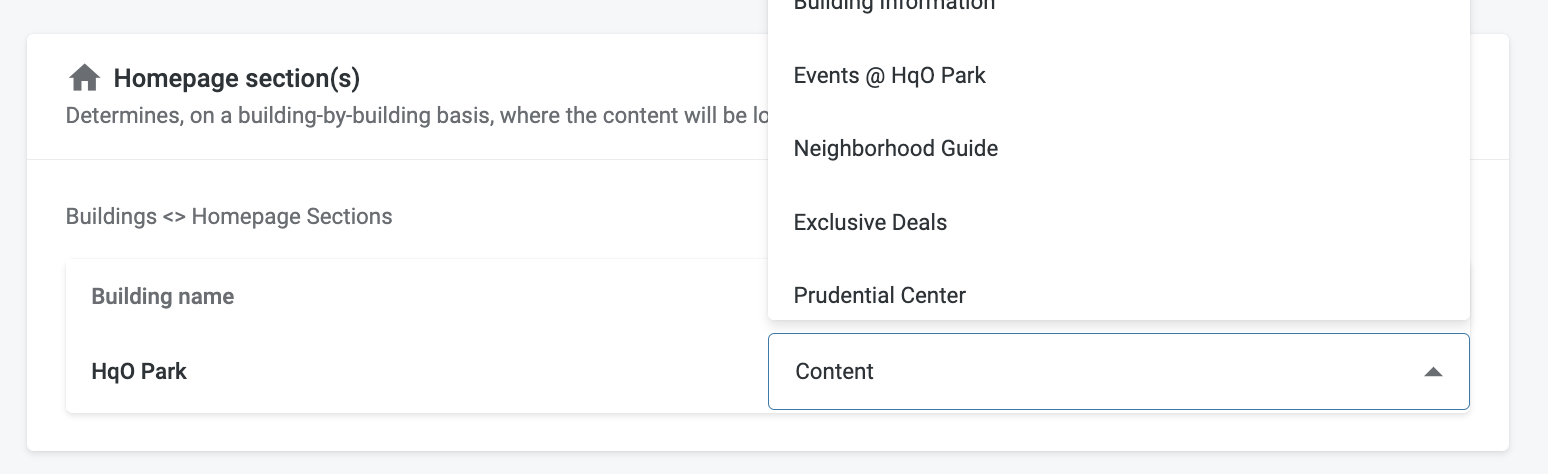
Homepage Section(s)
If your audience has more than 20 buildings, the table will paginate showing 20 buildings at a time in the table. Each building will only appear once so you can ensure you’re assigning content to every building.
Schedule
Show date/time information in content details
Step 1: Click to toggle on
Step 2: Click the check box
Step 3: Select the desired date and time associated with the piece of content (event date, etc.)
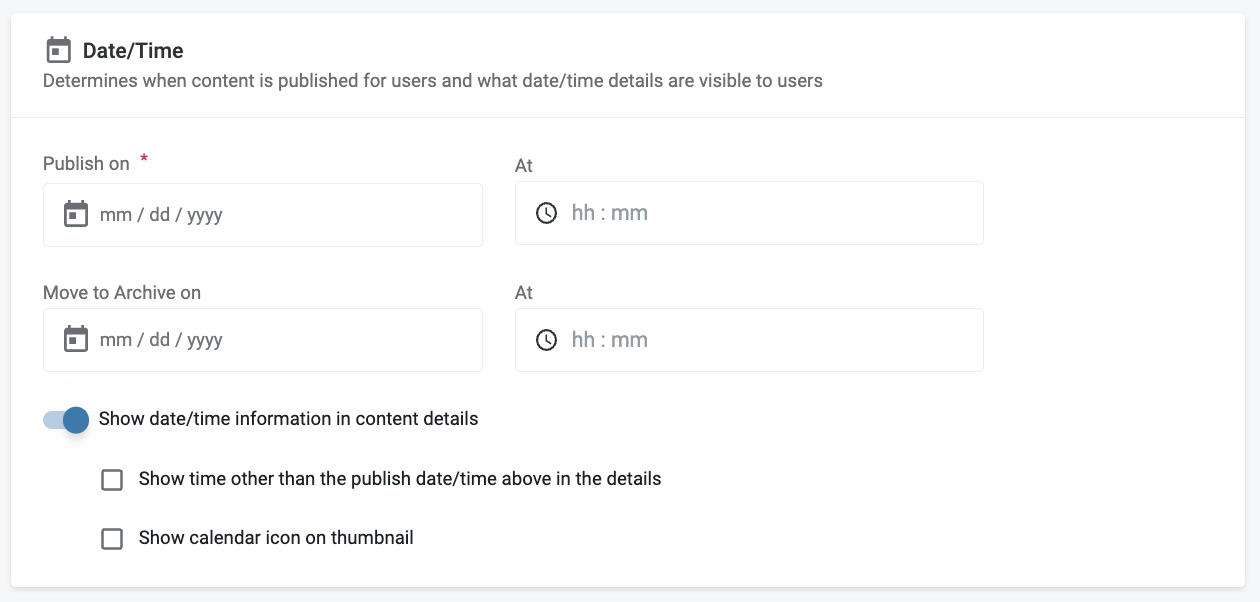
Show calendar icon on thumbnail
Step 1: Click to toggle on
Step 2: Click the check box, once tile is saved a calendar icon will appear in the top right corner of the content tile with the date of the desired date associated with the piece of content (event date, etc.)

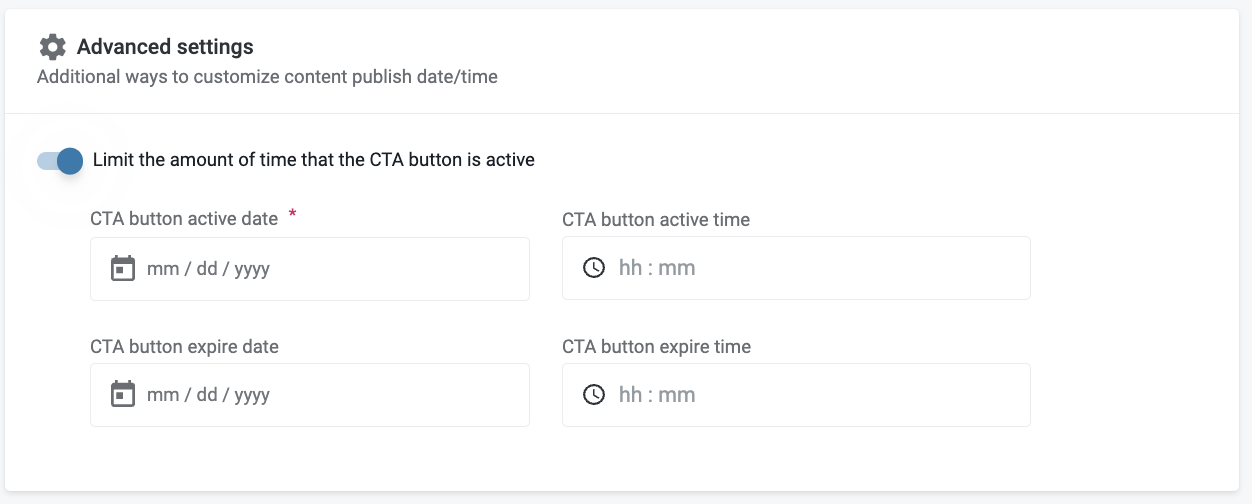
Advanced Settings
Step 1: Click to toggle on
Step 2: Select the desired date and time you would like the CTA button to be active and deactivated.
How to Reorder Content
To move content on the home screen and spotlight tabs of HqO Admin simply drag and drop the content to reorder and drag and drop the tile in a new section. View the video below for reference: