Overview
Managing vendors is an important part of keeping your building running smoothly and securely. HqO Vendor Management makes it easy to track, approve, and monitor the partners and contractors who support your property’s operations.
When you create a new vendor in the system, you can store key contact information, assign access permissions, and upload critical documents such as Certificates of Insurance (COIs) — all in one place. This helps your team maintain compliance, reduce risk, and ensure a seamless experience for both vendors and building staff.
Key Benefits
-
Centralized vendor oversight – All vendor information, COIs, and contacts in one place
-
Improve compliance & reduce risk – Track COI status to ensure only insured vendors gain access
-
Audit-ready reporting – Export vendor and COI data for compliance reviews
-
Simplified communication – Store points of contact and billing info for easy outreach
-
Smarter access controls – Define when and where vendors are allowed onsite
How to Get Started
Create Vendor
-
User must have the following roles to create vendor:
-
Landlord Manager
-
Landlord Super Admin
-
Landlord Security Admin
-
-
Navigate to Vendors on left nav
-
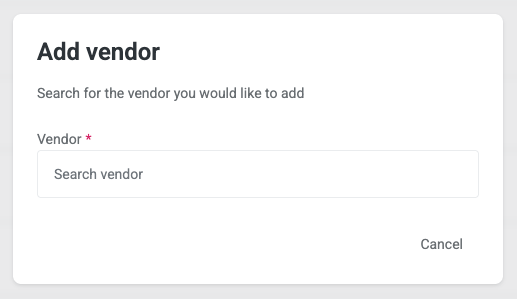
On Vendor’s page, click Add vendor button

-
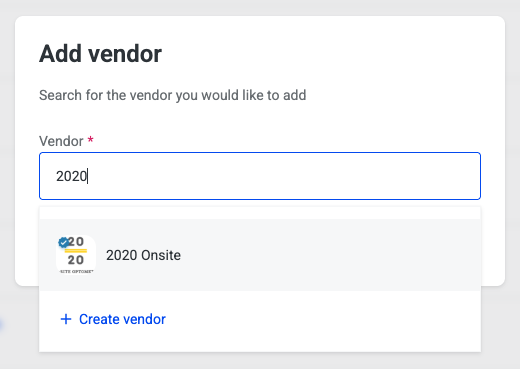
Start typing vendor’s name in the Vendor field
Existing Vendor
-
If the vendor already exists, then you can select the vendor from the dropdown
New Vendor
-
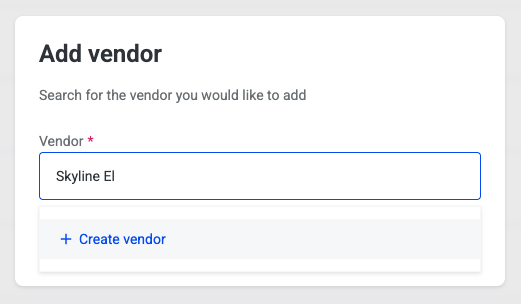
If the vendor does not already exist, then click + Create vendor
-
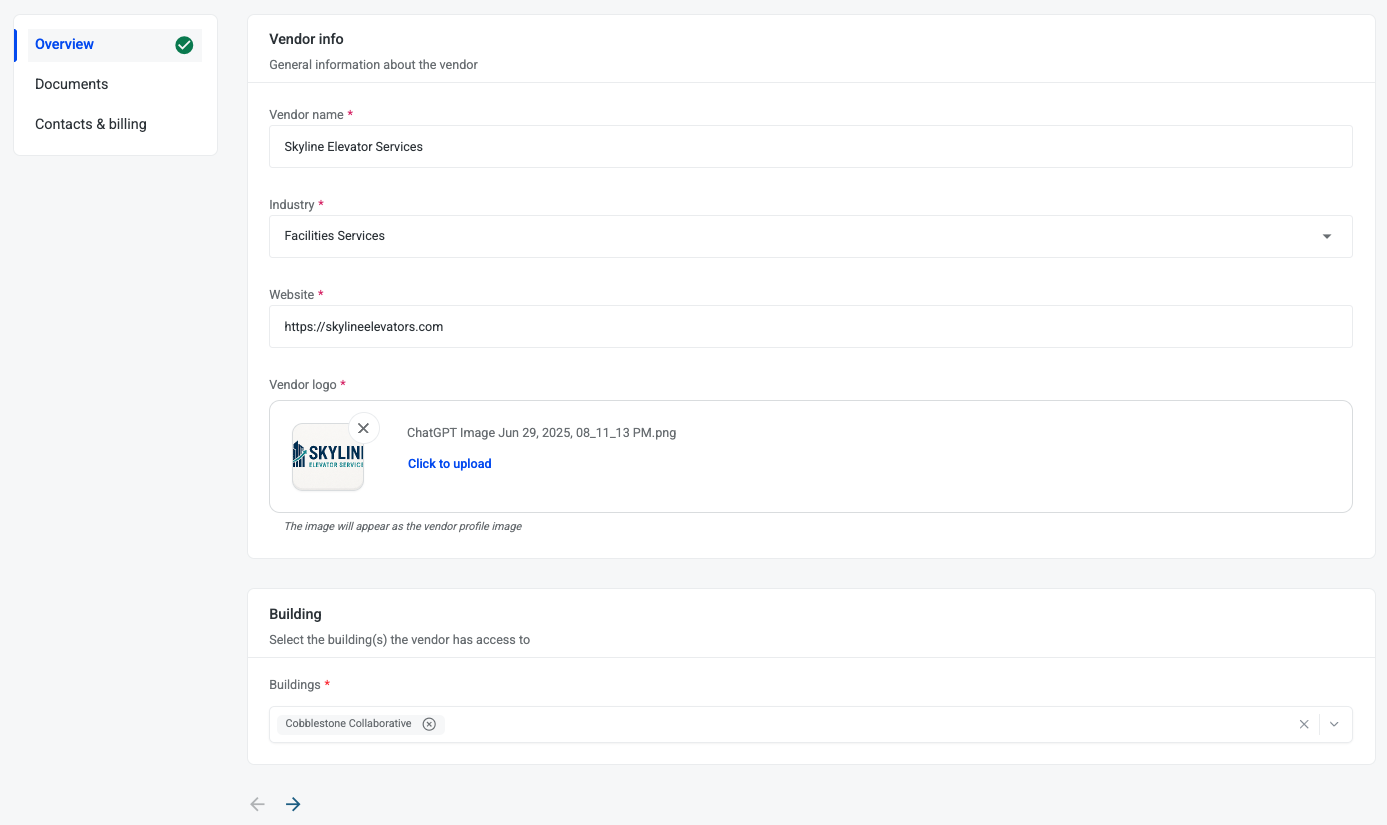
Enter Vendor info including
-
Vendor name
-
Industry
-
Website
-
Vendor logo
-
Click to upload or drag and drop an image
-
Support PNG, JPEG
-
Max size 2.5MB
-
-
-
-
Select Buildings this vendor has access to
-
Click right arrow to move to the Documents section
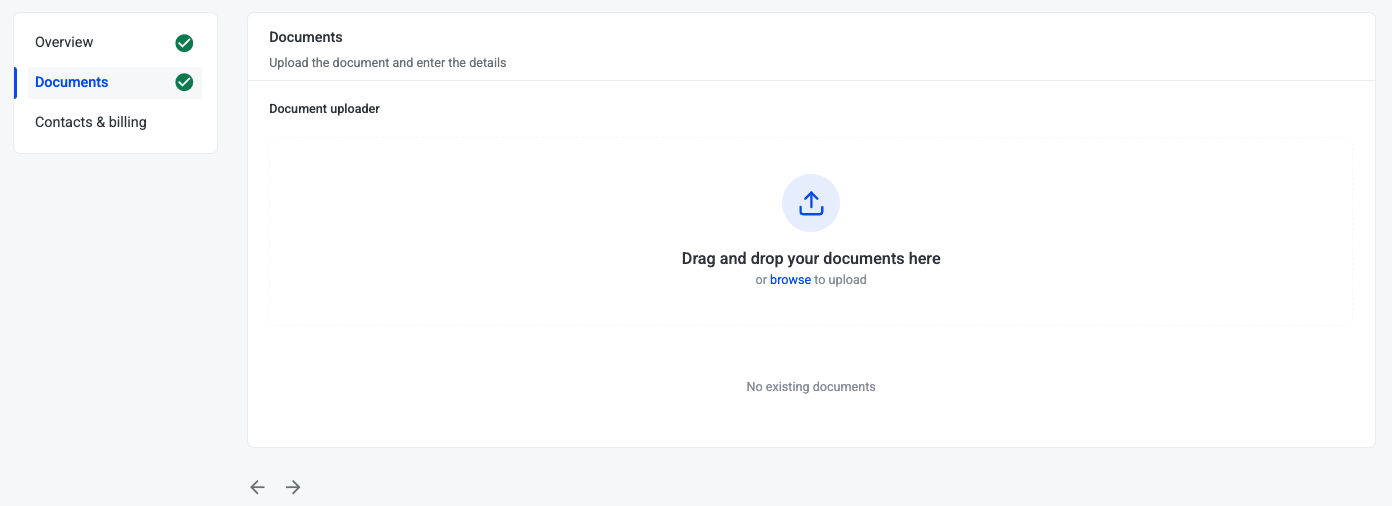
Upload COI
A Certificate of Insurance (COI) is a document that verifies a vendor or contractor has active insurance coverage, protecting both the building owner and tenants from liability. Storing COIs in the HqO platform helps property teams easily track vendor compliance, reduce risk, and maintain safe, secure operations by ensuring only properly insured vendors are approved for work on-site.
Certification of Insurance is important.
-
Click to browse to upload or drag and drop a PDF
-
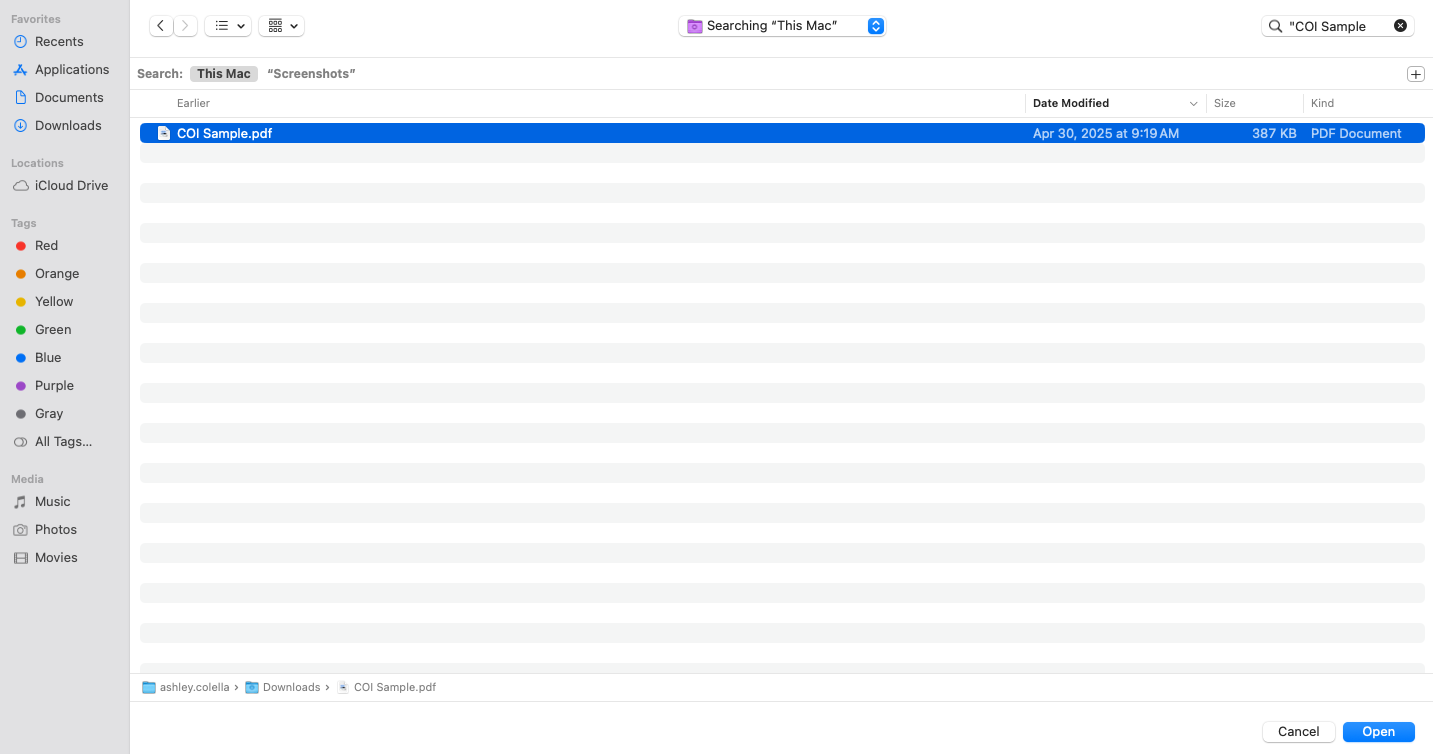
Search local storage for the vendor’s COI document
-
Select document and click Open button
-
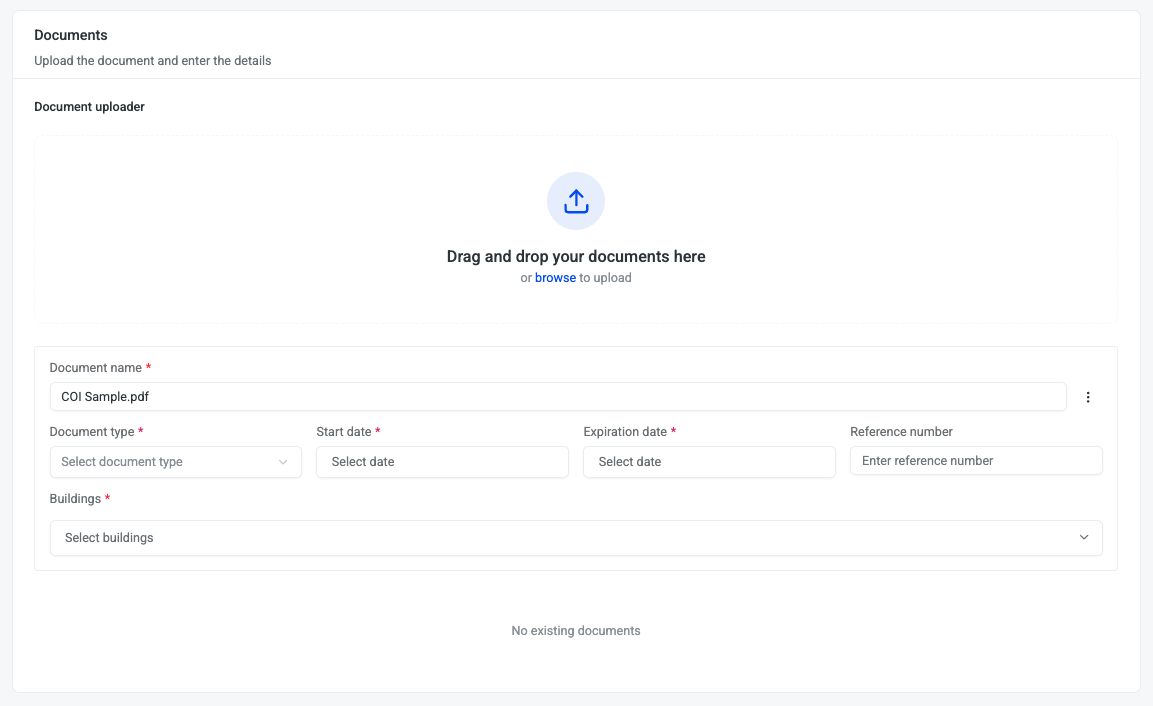
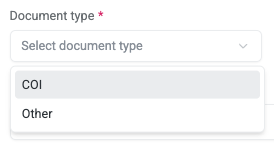
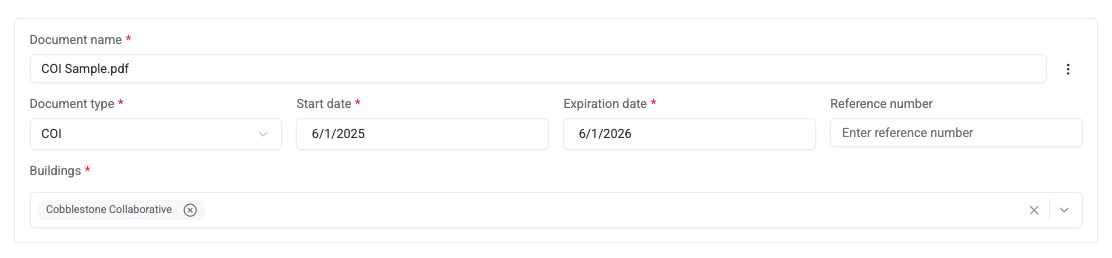
Select Document type = COI
-
Enter the COI’s Start date
-
Enter the COI’s Expiration date

-
Enter Reference number (optional)
-
Select Building’s this COI covers
-
Some vendors may have multiple COIs depending on state or region
-
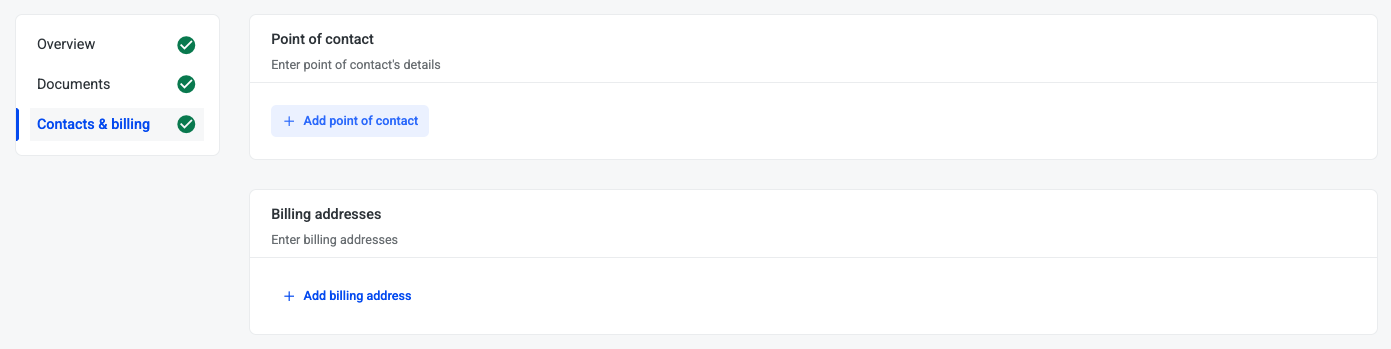
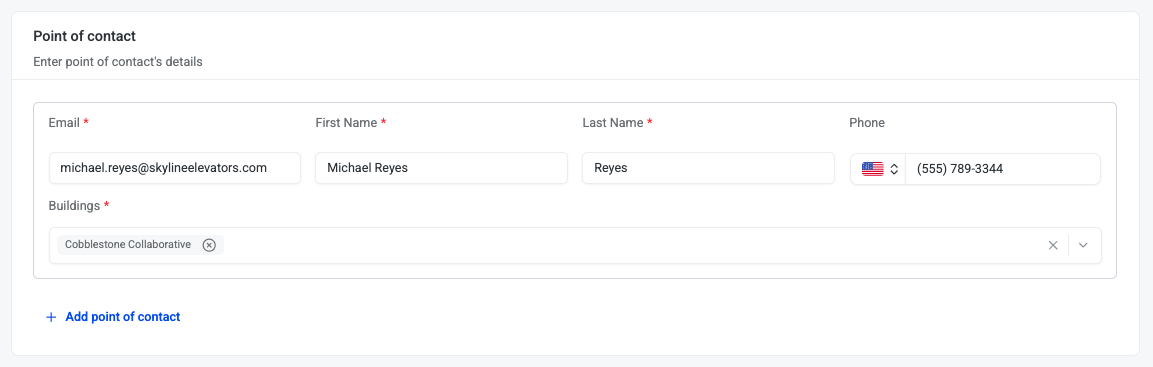
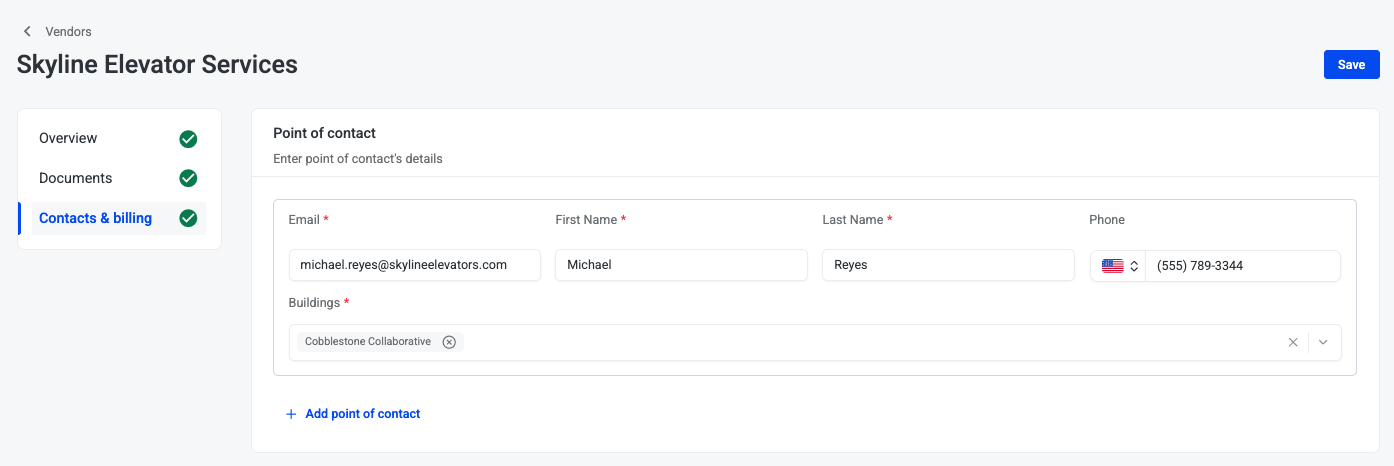
Add Point of Contact
Identify the primary person responsible for coordinating vendor services and communications.
-
Click Add point of contact
-
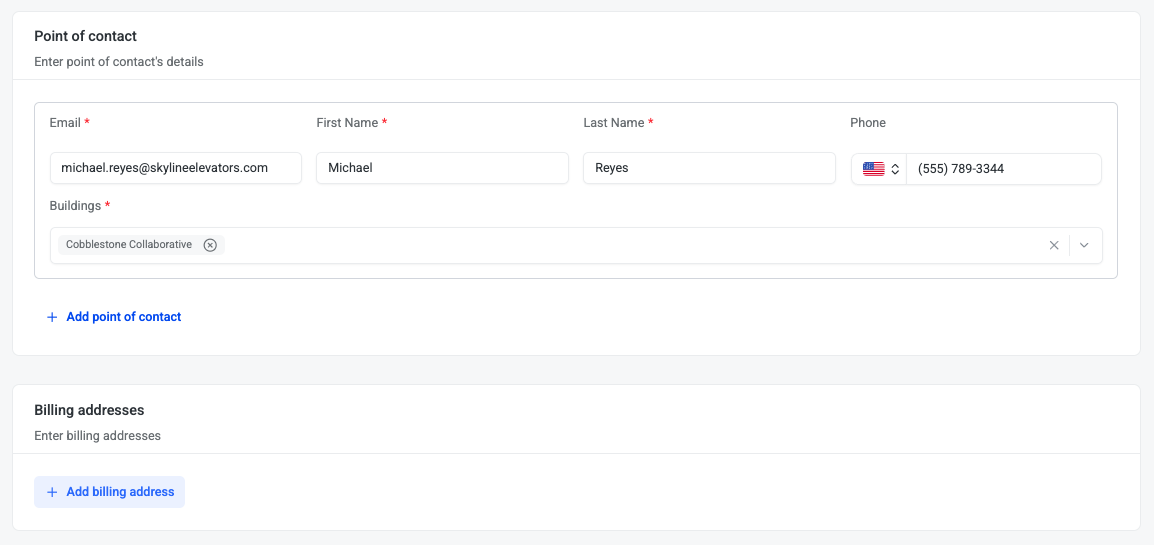
Enter the point of contact’s details
-
Email
-
First name
-
Last Name
-
Phone
-
Buildings
-
Some buildings may have a different point of contact for a vendor depending on state or region
-
-
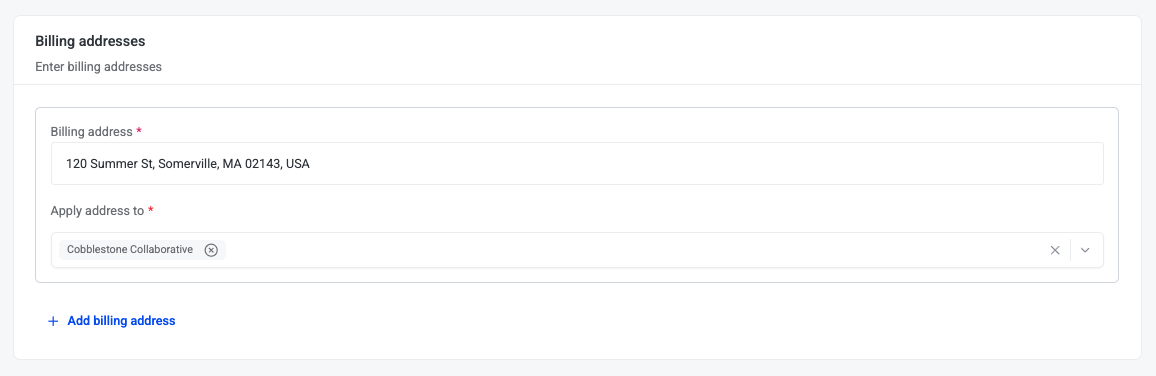
Add Billing Address
Record the official address where invoices and payment information should be sent.
-
Click Add billing address
-
Enter Billing address
-
Enter buildings billing address should be applied to
-
Some buildings may have a different billing address for a vendor depending on state or region
-
-
Click Save vendor button on top right
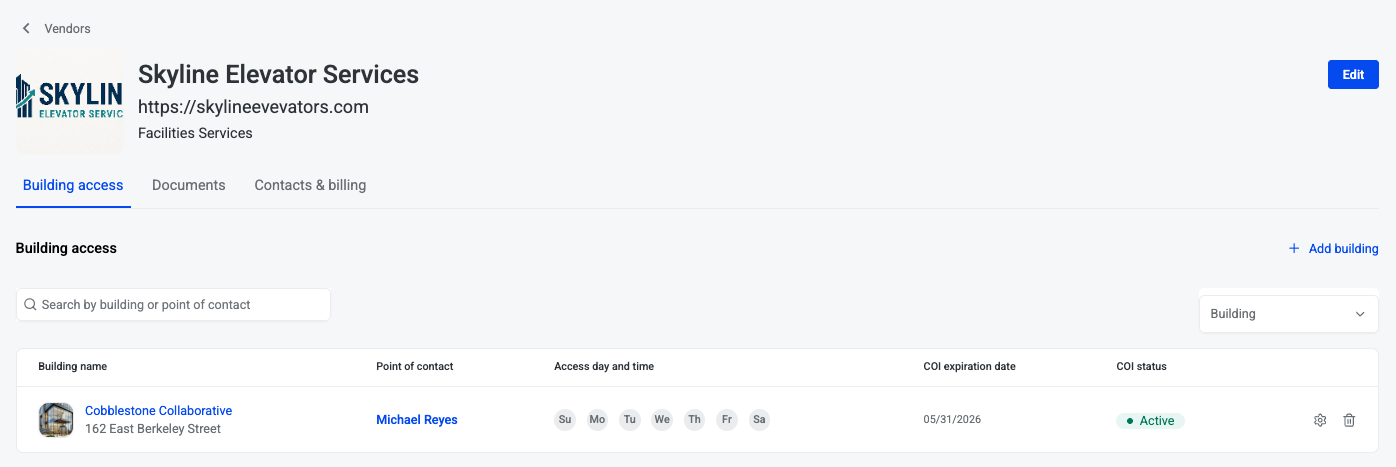
Building access
-
To select the days the vendor has access to the building click the gear icon near the building on the Building access tab

-
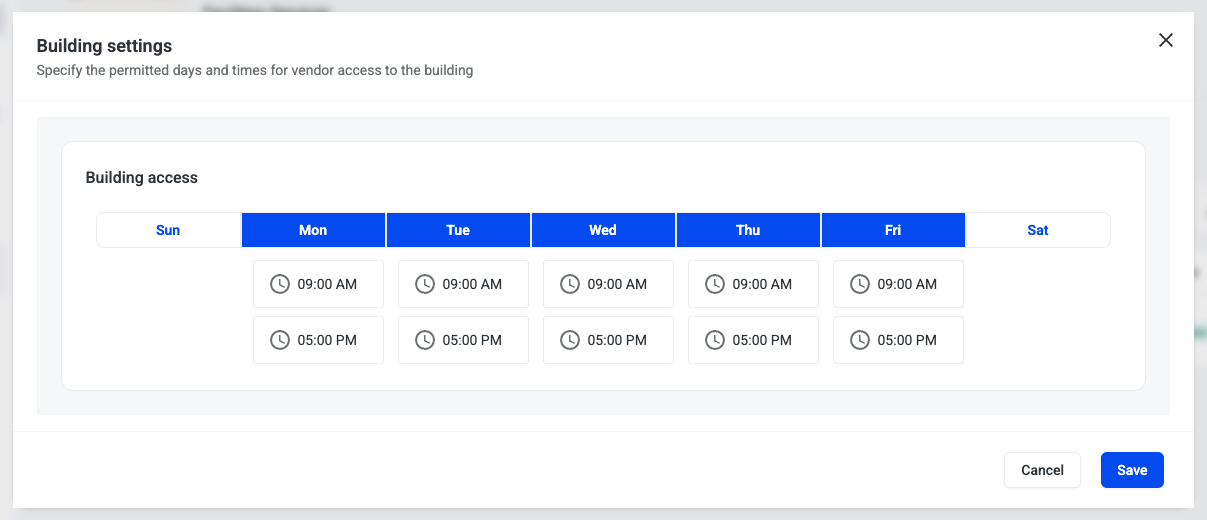
Specify the permitted days and times for vendor access to the building
-
By default all days are selected (highlighted blue)
-
By default permitted times are 9:00AM to 5:00PM
-

-
To remove day(s) click the day. When deselected the day will be white and times are removed
-
Click Save button
COI Management
Stay on top of vendor compliance with COI (Certificate of Insurance) management. Within the HqO platform, you can easily filter vendors by COI status — to quickly identify gaps, take corrective action, and ensure every vendor working on-site meets your safety and liability requirements.
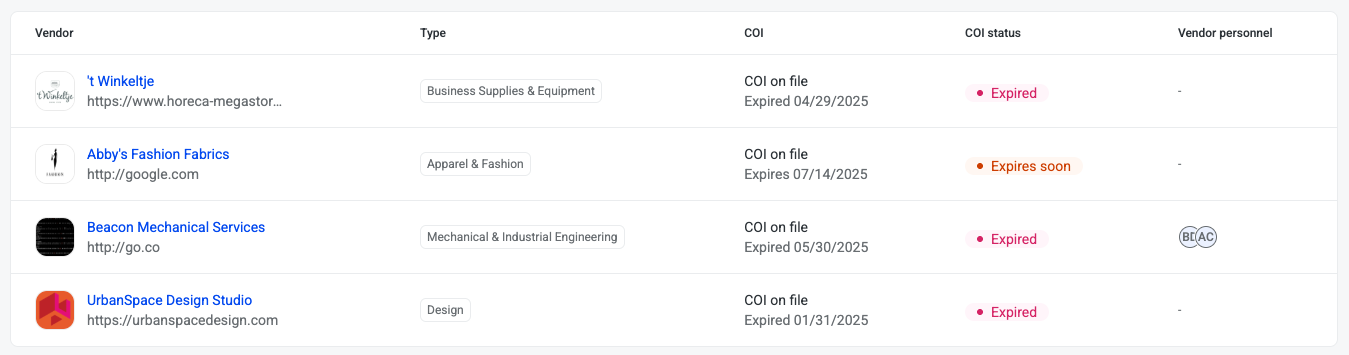
On Vendor list you can view:
-
Vendor (name, logo, website)
-
Industry
-
COI information
-
COI on file, Expire date
-
No COI
-
-
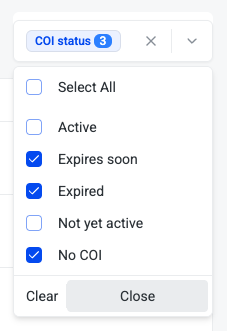
COI Status
-
Active
-
Expires soon
-
Expired
-
Not yet active
-
No COI
-
COI Status Filter
-
Filter for vendors with status No COI, Expired, Expires soon to identify non-compliant or soon to be non-compliant vendors
Reporting
-
To download a report of vendors click the download

-
Report downloads as a CSV with the following information:
-
Vendor name
-
Vendor website
-
Industry
-
COI expiration date
-
COI status
-
Vendor personnel
-
-
Report will include the list of vendors currently in the list. If the vendor list is filtered, report will only include the filtered results.