Overview
Resource Collections provide property managers with an additional layer of organization within Resource Booking. Categorize and group different types of bookable resources—such as desks, meeting rooms, wellness spaces, or lab equipment—into distinct collections.
This hierarchy improves the tenant booking experience by simplifying how users discover and reserve resources. Instead of viewing one long list, tenants can navigate through clearly defined categories such as “Book a Desk” or “Book a Meeting Room.”
Creating a Resource Collection
-
Navigate to Resource Booking in HqO Admin.
Open your Resource Booking Admin view. -
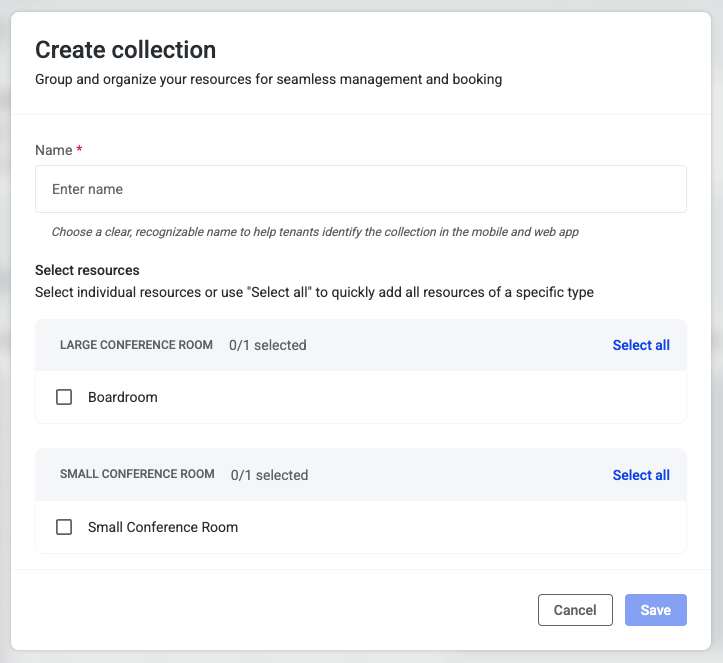
Click “Create Collection.”
This will open a setup window where you can define a new collection. -
Name Your Collection.
This name will appear to tenant users when booking from the web or filtering. Choose something like:-
“Desks”
-
“Collaboration Spaces”
-
“Wellness Spaces”
-
“Lab Equipment”
-
-
Select the Resources to Include.
Choose the relevant resource types that belong in this collection.-
Example: Select all desk-type resources for your “Book a Desk” collection.
-
You can include multiple types (e.g., small and large conference rooms) for a “Book a Collaboration Space” collection.
-
-
Save the Collection.
After saving, the new collection appears as a tab within your Resource Booking admin view. Each tab represents a different collection, displaying only the associated resources.
Managing Collections
Once collections are created, you can manage them using the Manage Collections button.
From here, you can:
-
Edit an existing collection
-
Update its name (e.g., “Desks” → “Book a Desk”)
-
Add or remove resources
-
-
Delete a collection if it’s no longer needed
Publishing Collections to Tenant Users
To ensure tenants can access your new collections from their HqO app, you’ll need to link each collection to a button on the Features Page.
-
Go to the Features Page.
-
Edit or create buttons associated with Resource Booking.
-
For example, update an existing “Book a Desk” button so that it points directly to your Desk Collection rather than all resources.
-
-
Add additional buttons as needed.
-
For example, add a second button titled “Book a Meeting Room,” linking it to your Collaboration Spaces Collection. Or, create a button titled “Lab Equipment,” and link it to your Lab Equipment Collection.
-
-
Activate and reorder buttons.
-
Arrange buttons (e.g., “Book a Desk” and “Book a Meeting Room”) for an intuitive tenant experience.
-
After saving changes, tenants will see distinct buttons in their app that correspond to your collections. Desktop users will automatically see tabs in the Resource Booking calendar view for each collection.
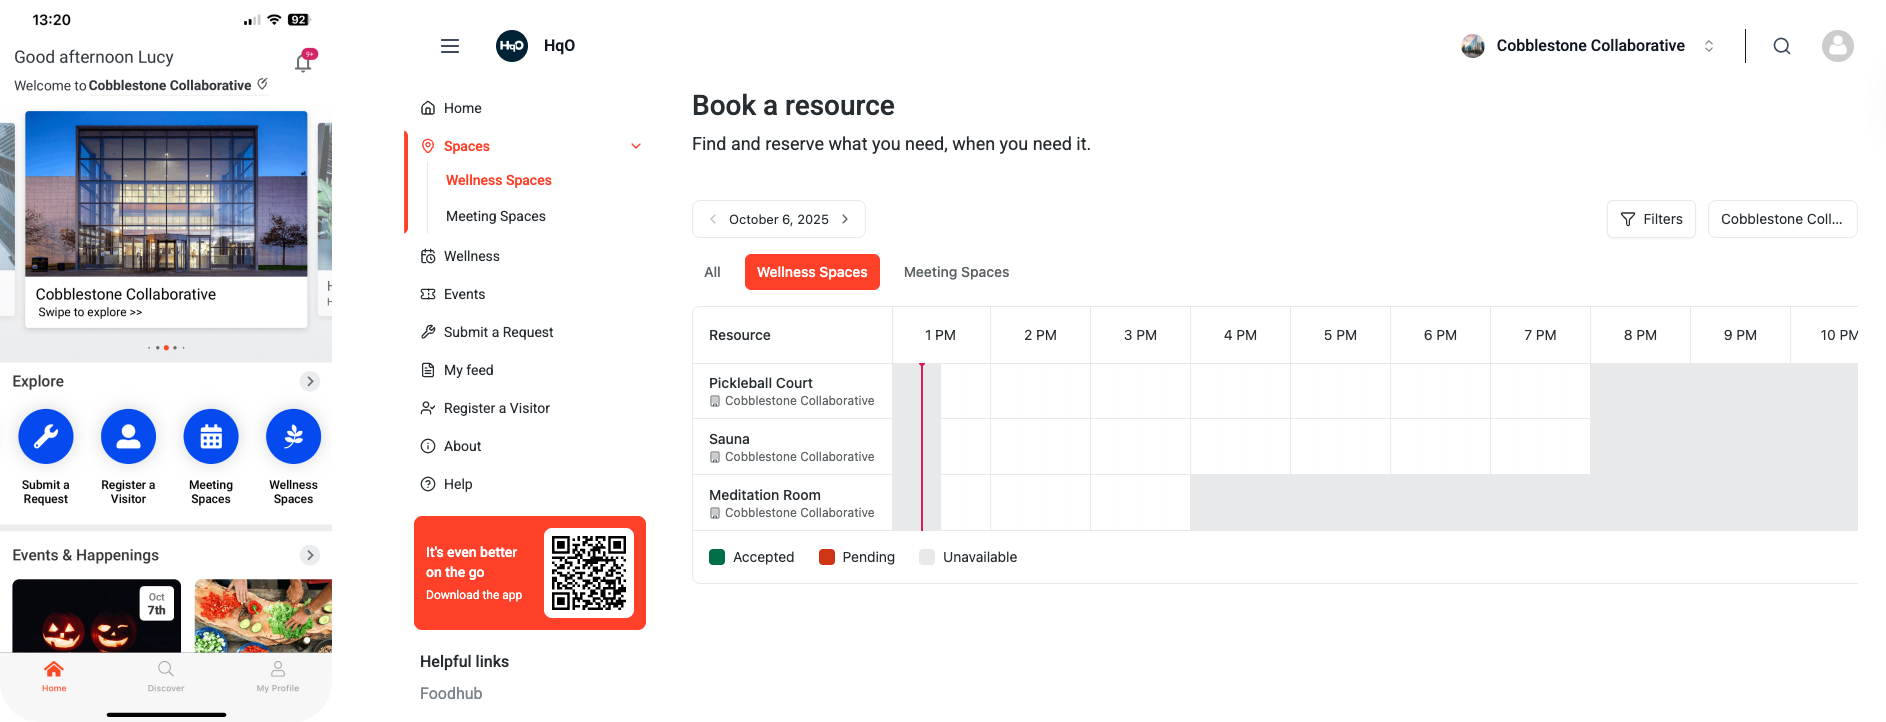
Tenant Experience
Once configured:
-
Tenants will see a separate button for each collection (e.g., “Book a Desk,” “Book a Meeting Room”).
-
Selecting a button filters the available resources to show only those within that collection.
-
Tenants can further adjust their view by using the filter icon to display multiple collections at once if desired.
Best Practices and Examples
Resource Collections are flexible and can be customized based on the types of spaces in your property:
-
Office Building: Desks, Collaboration Spaces, Meeting Rooms
-
Wellness Center: Gym, Meditation Room, Sauna
-
Lab or Research Facility: Lab Equipment, Lab Benches
By organizing resources in this way, the booking process is streamlined and discoverability is improved for tenants, resulting in a more seamless experience.