Overview
The Watchlist feature helps property teams proactively flag and manage high-risk or restricted individuals during the visitor registration process. When a tenant submits a visit request, HqO automatically checks the submitted visitor information against the active Watchlist and initiates the appropriate escalation workflow if a match is found.
Enable at Property
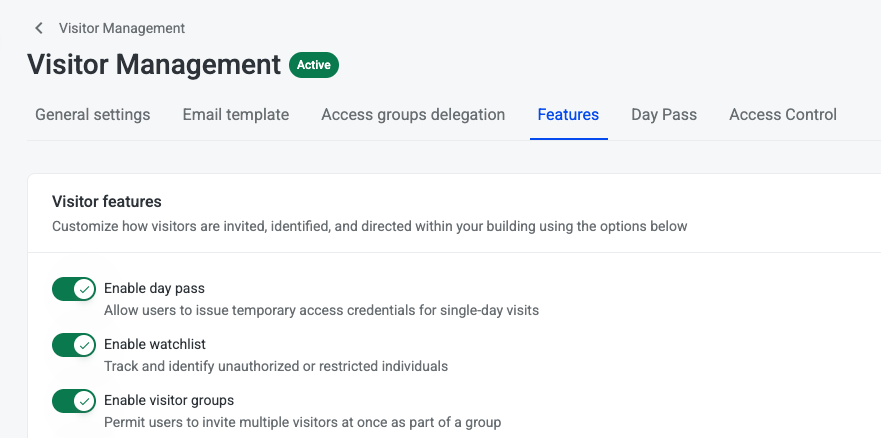
HqO can enable the watchlist at a property by navigating to Settings gear, Features tab, and turn “Enable Watchlist” toggle on
Adding users to watchlist
-
Security Admin can add people to the watchlist by navigating to Visitor Management, then navigating to the Watchlist tab
-
Click on the Manage watchlist button
-
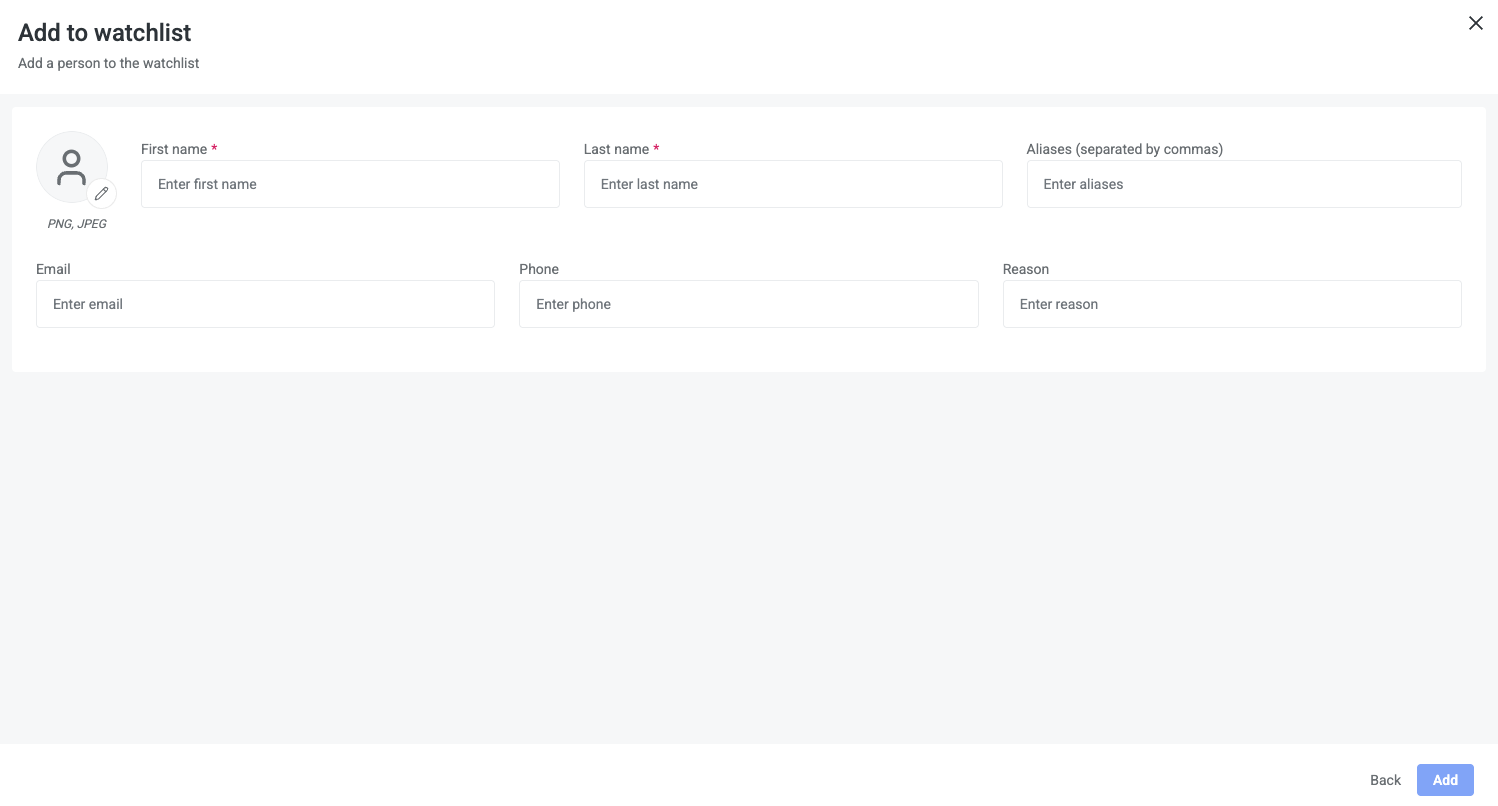
Click Add button to open the Add to watchlist form
-
-
Enter person's information:
-
First name (required)
-
Last name (required)
-
Aliases (separated by commas)
-
Email
-
Phone
-
Reason
-
Upload photo (png, jpeg)
-
-
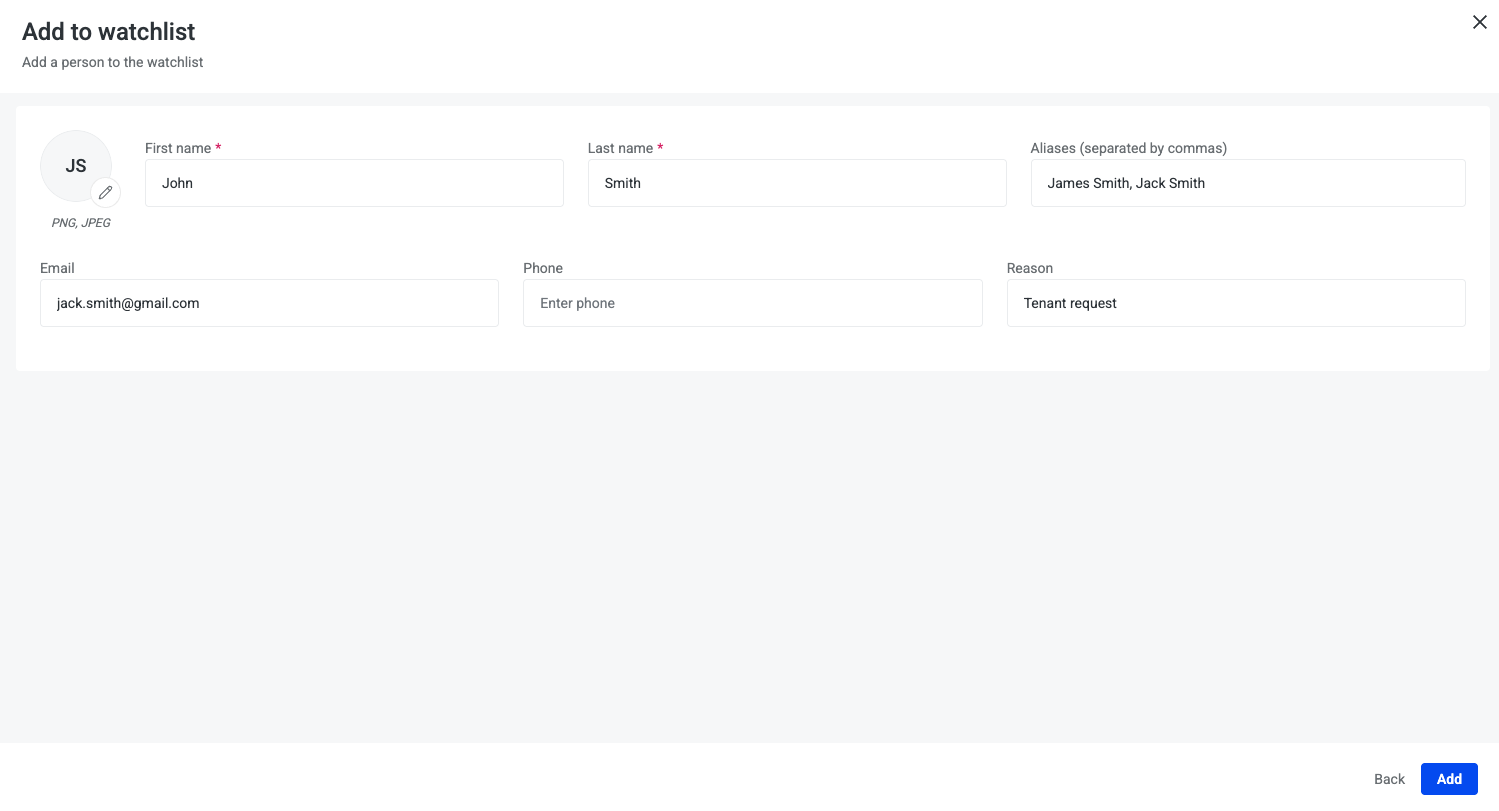
Click Add button
Watchlist Criteria
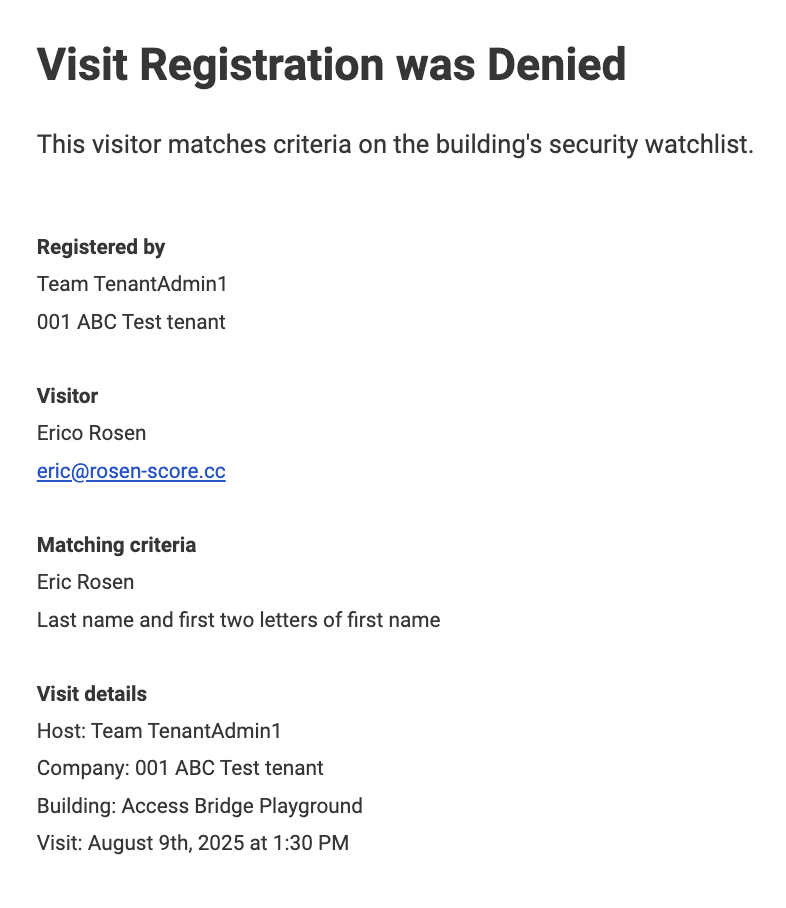
If a visitor matches one of the following critera with a person on the building’s watchlist then their visit will require building’s approval
-
Last name and first two letters of first name
-
Email
-
Phone
Tenant Registers Visitor that Matches Watchlist Criteria
-
Tenant registers a visitor including first and last name, phone or email, and visit details.
-
The REX platform automatically scans the submitted data for matches against the Watchlist.
-
-
If a visitor’s information matches the watchlist criteria then the visit is flagged for the building
-
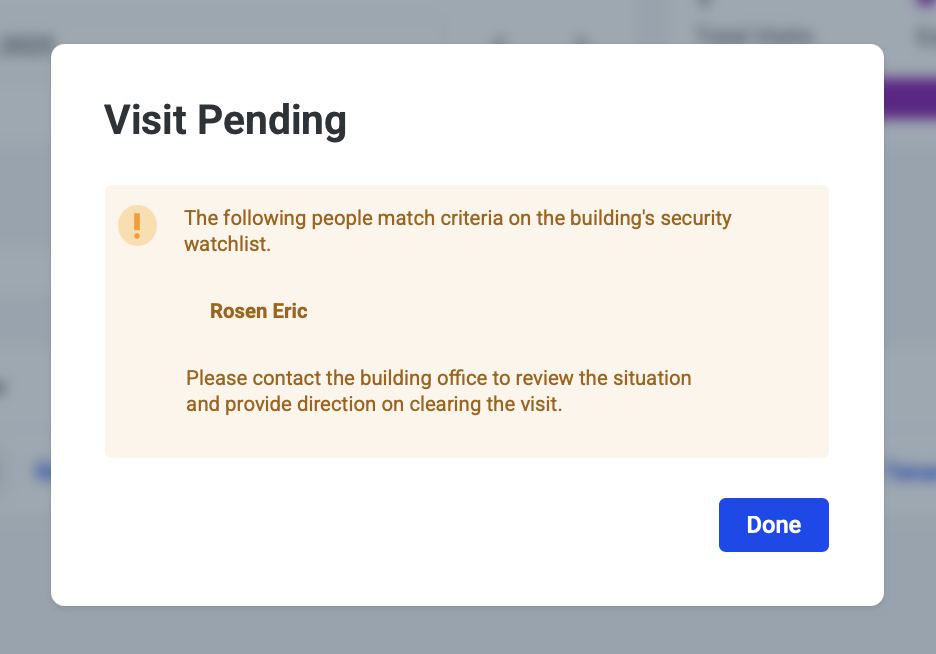
Tenant host that submitted the visitor that meets the watchlist criteria receives a Visit Pending alert after submitting visit
-
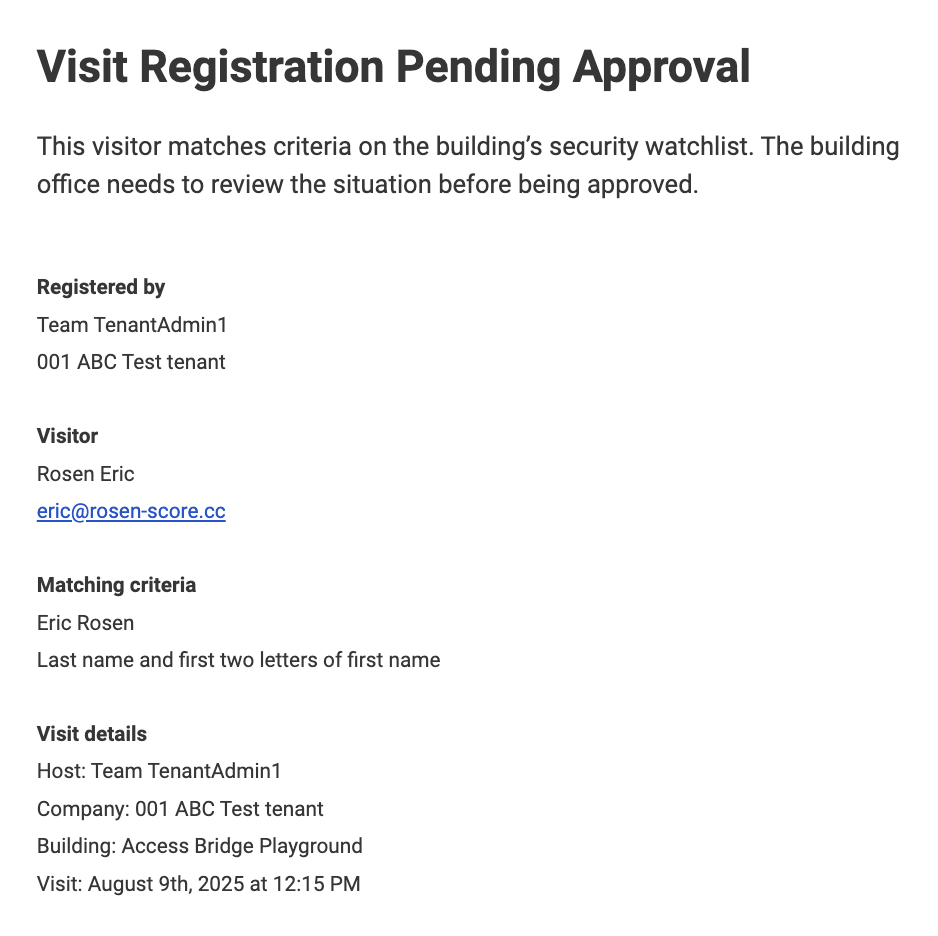
Tenant host receives an email advising that their visitor is pending the building’s review
-
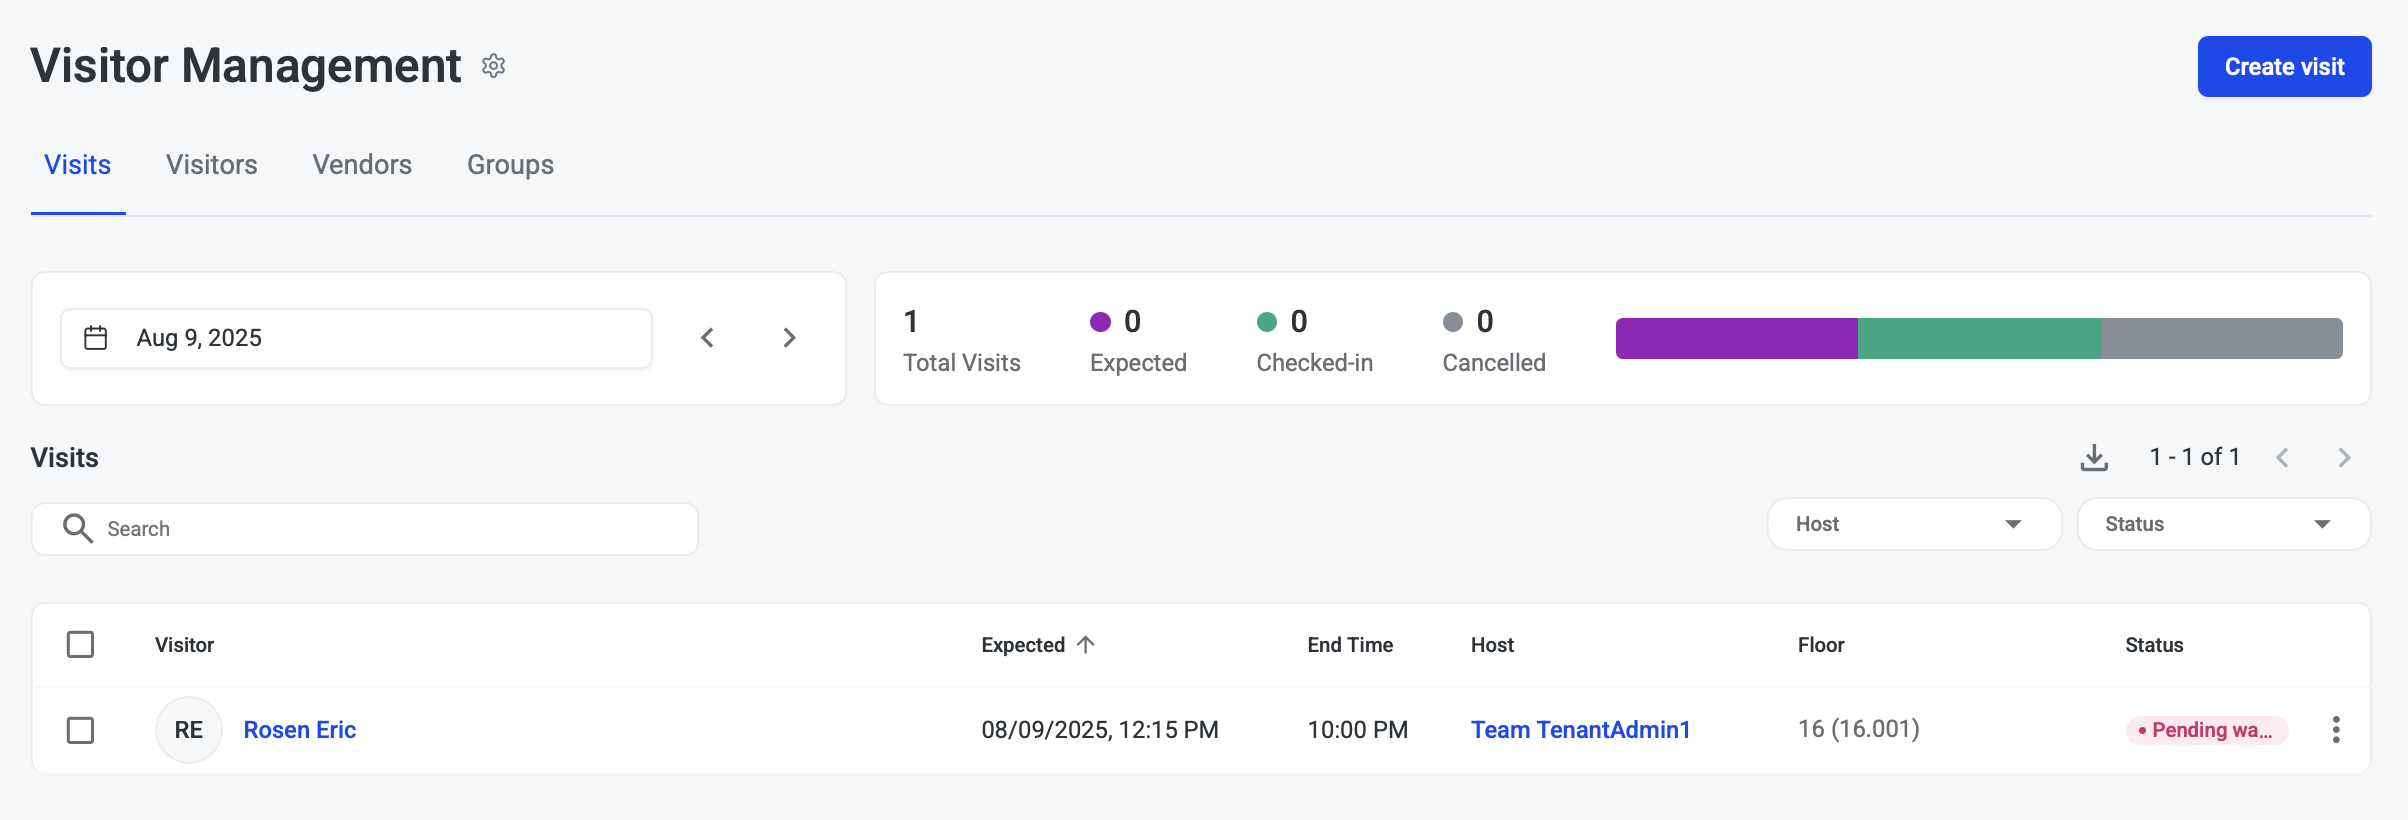
Visit Status is Pending watchlist until visitor is approved or denied by the building’s security team
Security Team Reviews Visitor that Matches Watchlist Criteria
-
Security Admin receives an email that a visitor matches the Watchlist

-
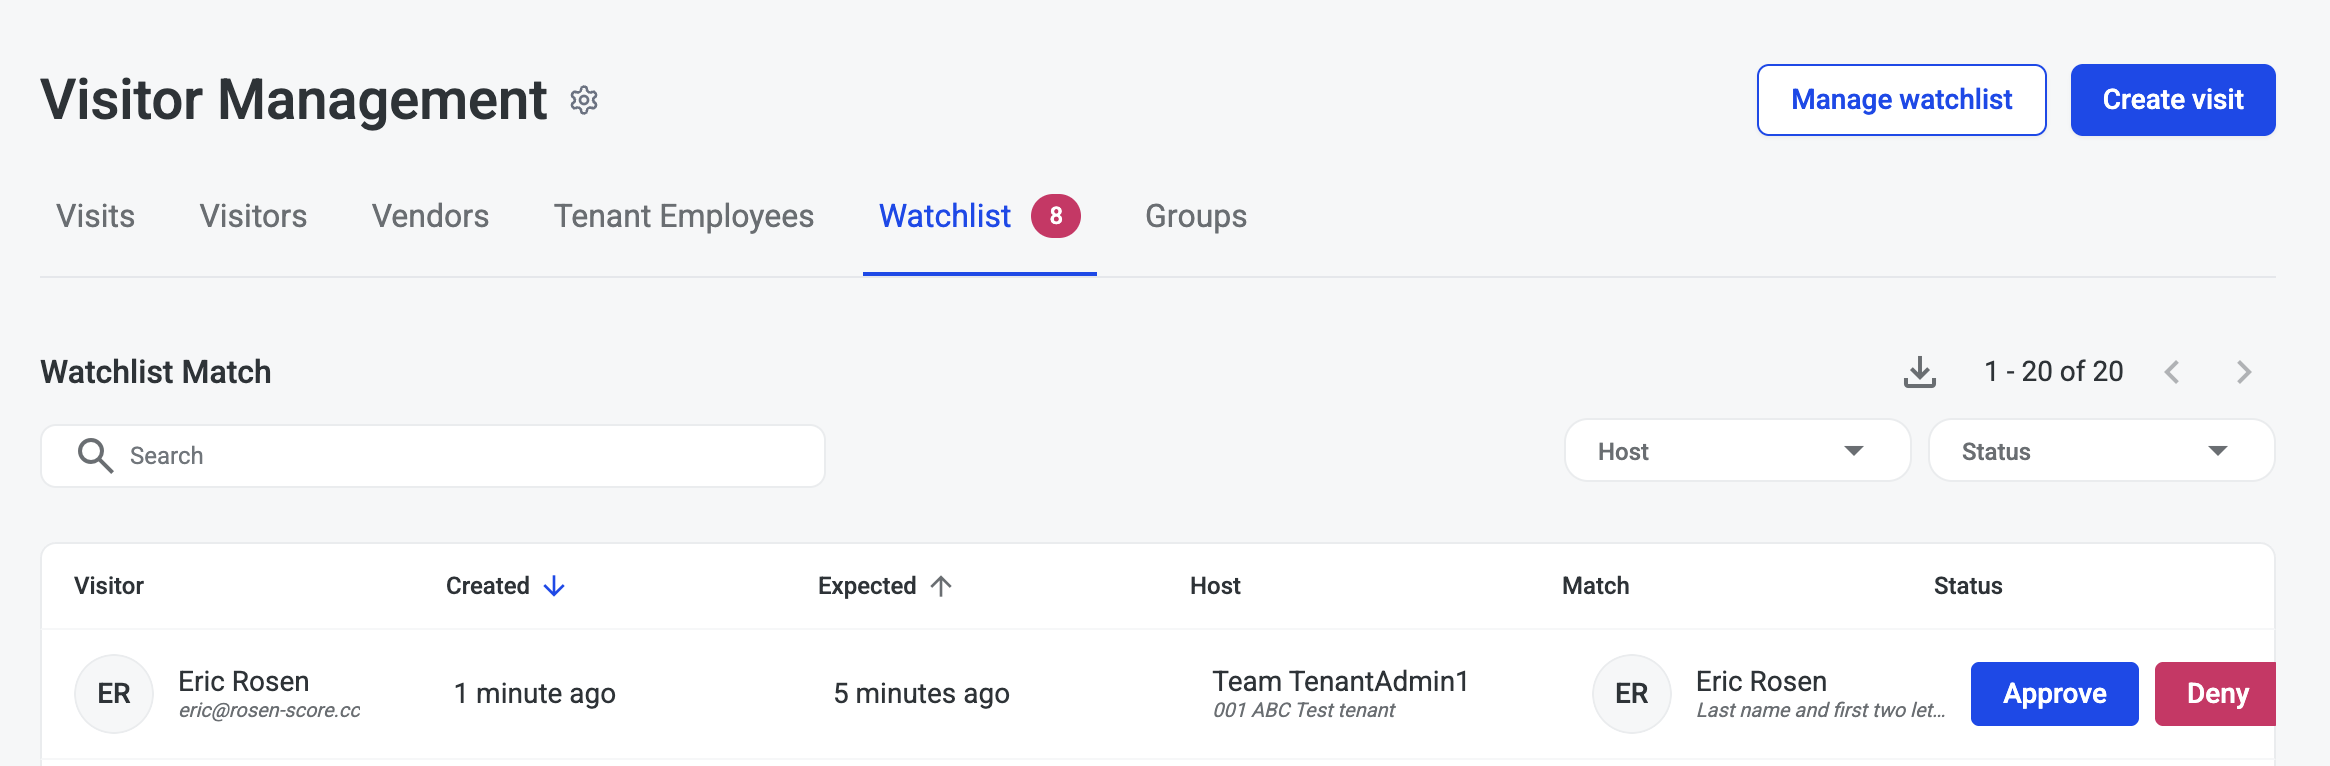
Security Admin can see a new notification badge on the watchlist tab
-
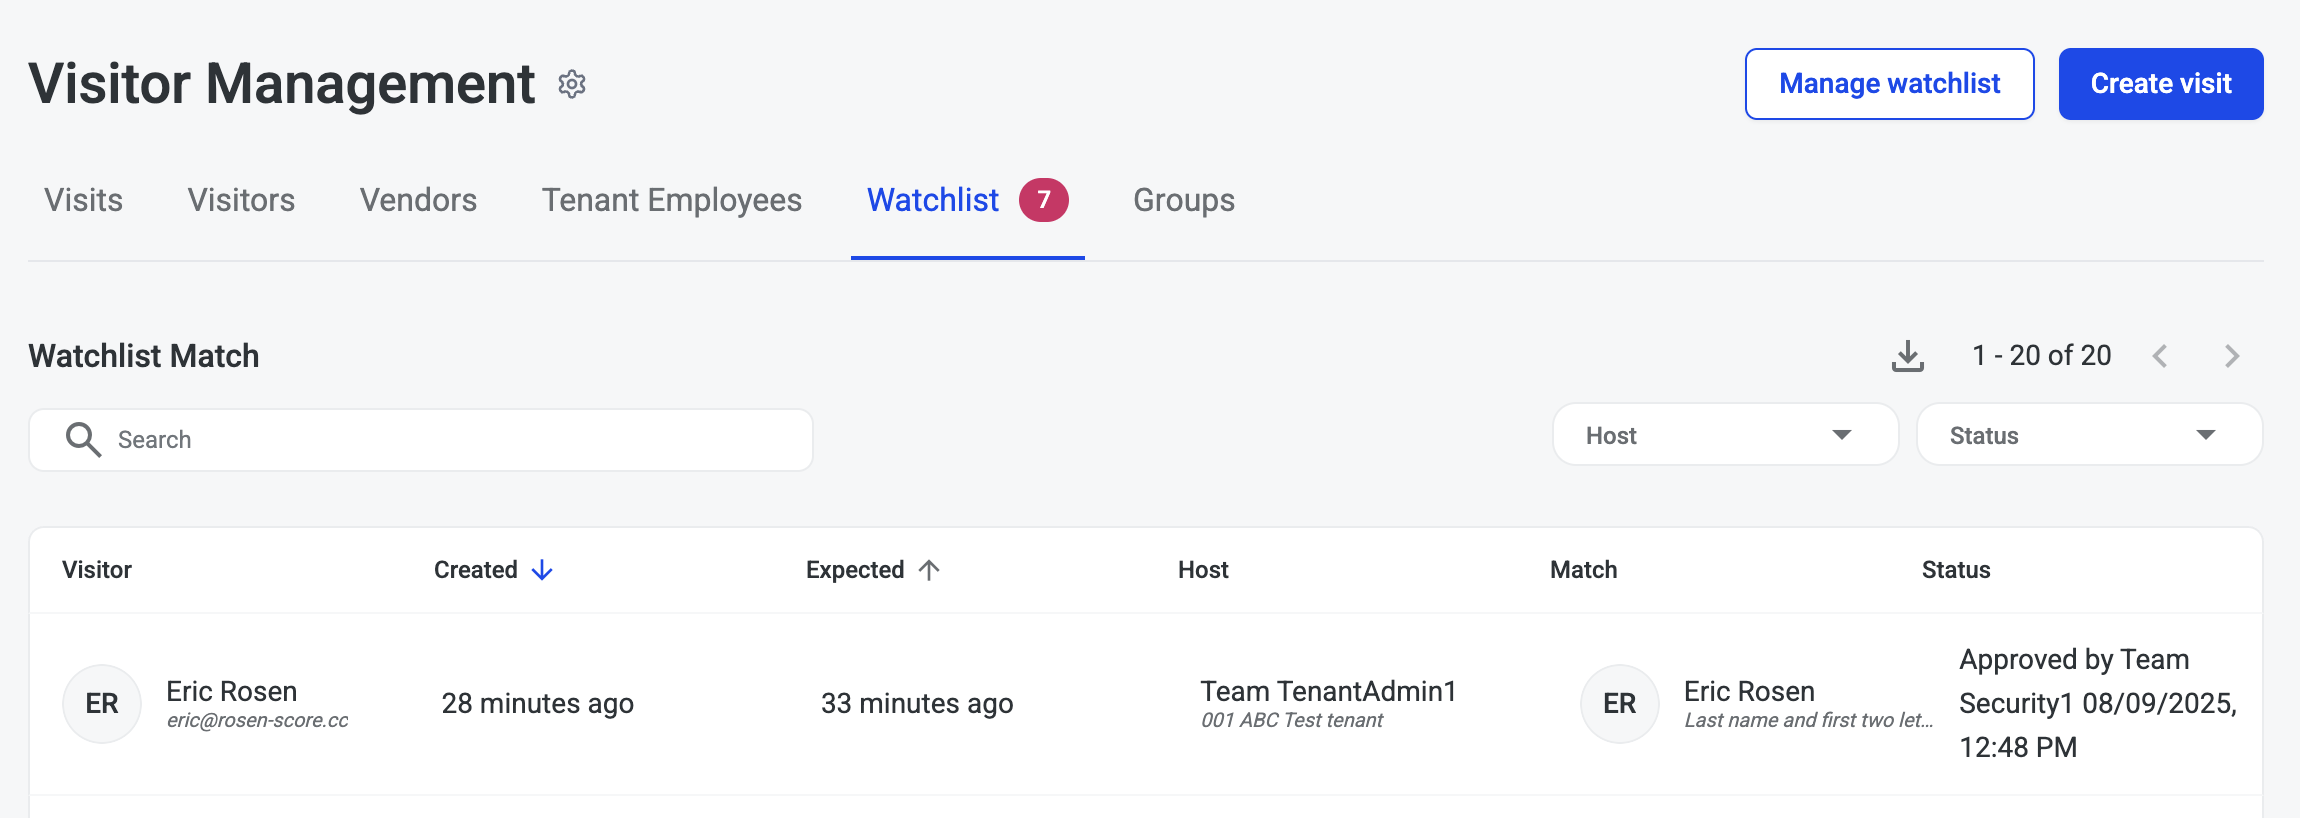
Security Admin clicks on the Watchlist tab to review the watchlist match and follow the building’s protocol
-
To approve the visit click the Approve button on the visitor
-
Add note with any details
-
Click Approve button
-

-
Visitor’s Status is now Approved on Watchlist page with Security Admin’s name who approved
-
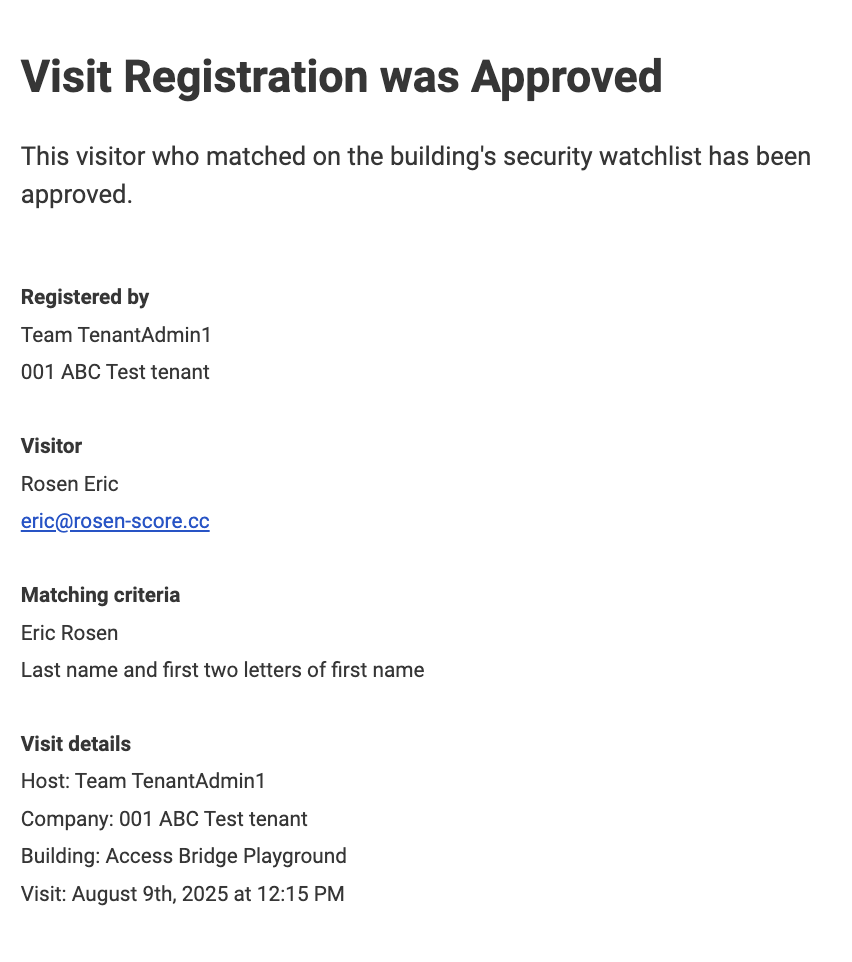
Tenant host receives email that their visitor has been approved
-
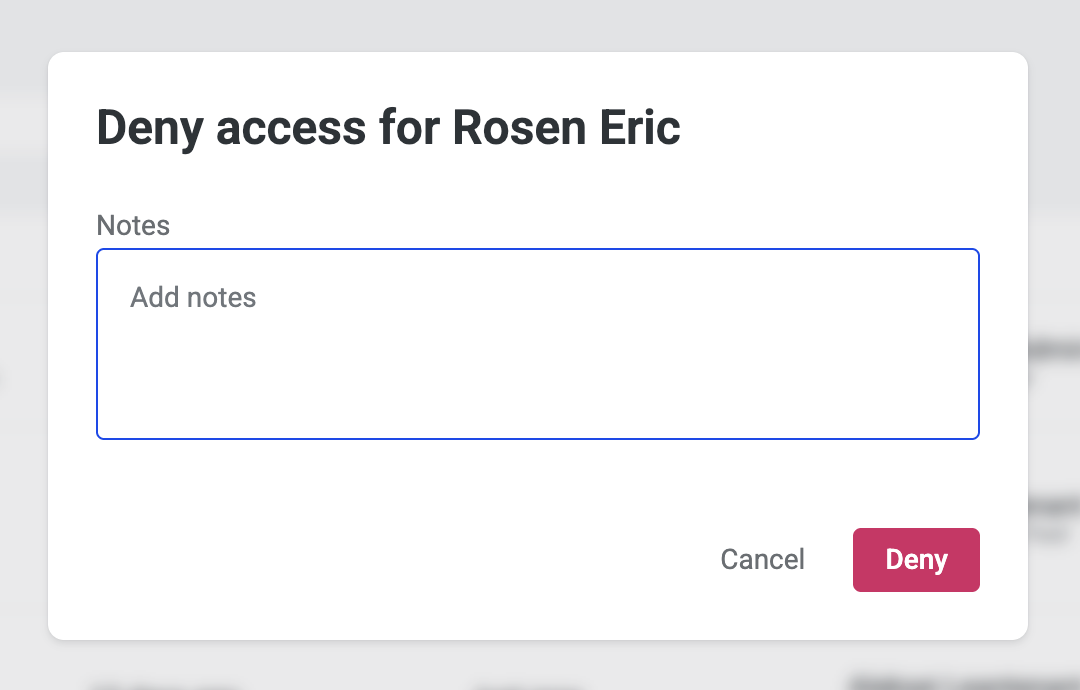
To deny the visit click the Deny button on the visitor
-
Add note with any details
-
Click Deny button
-
-
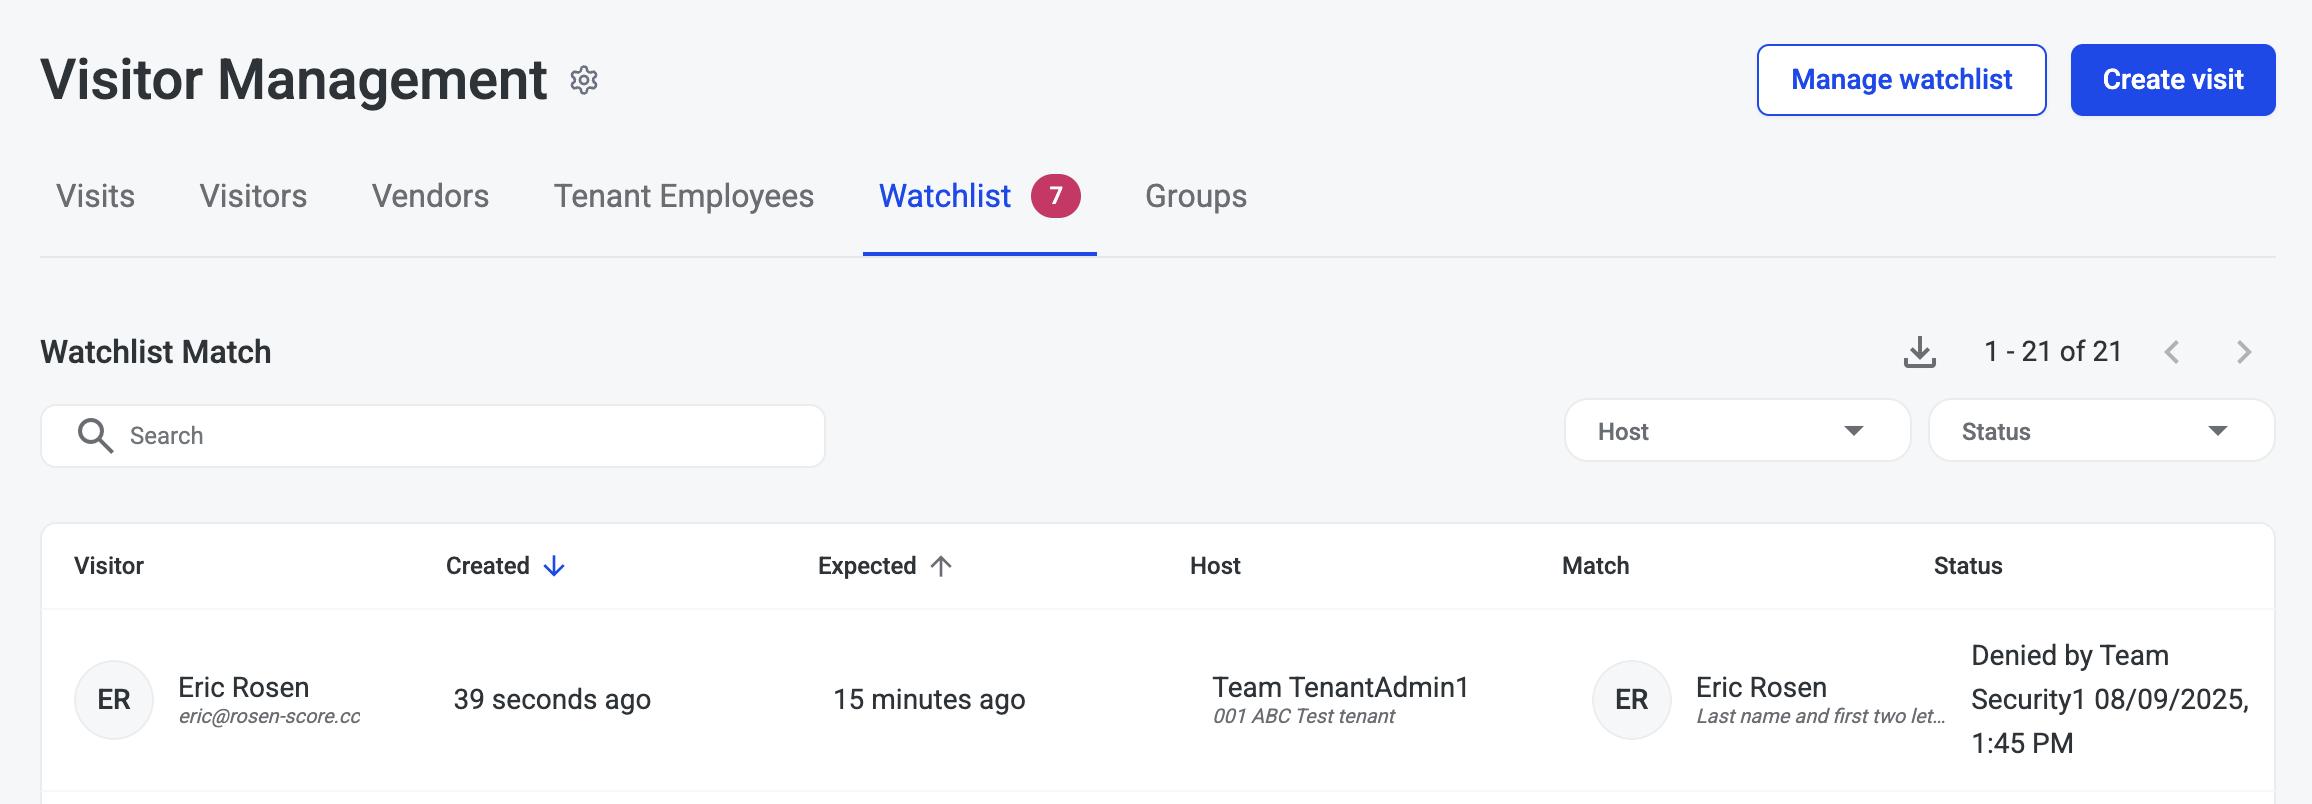
Visitor’s Status is now Denied on Watchlist page with Security Admin’s name who denied visitor
-
Tenant host receives email that their visitor has been denied